Tutorial 10: Resources
Who this page is for: client website admins — the volunteers who will load content and run the day-to-day site, generally with no prior web-admin experience.
What you'll have at the end
You'll have added a resource with a downloadable link, published it, and seen it live on your public site.
Before you start
Whether your site has resources at all is a decision from onboarding — see question 5 of the decision questionnaire.
Turning it on (AMS_RESOURCES_ENABLED) needs an environment change and a restart, so if you don't see Resources in the Django admin yet, your provider hasn't switched it on — see the resources admin guide.
Resources are managed in the Django admin, not the CMS — see Tutorial 1: Orientation if you're not sure how to get there.
Steps
-
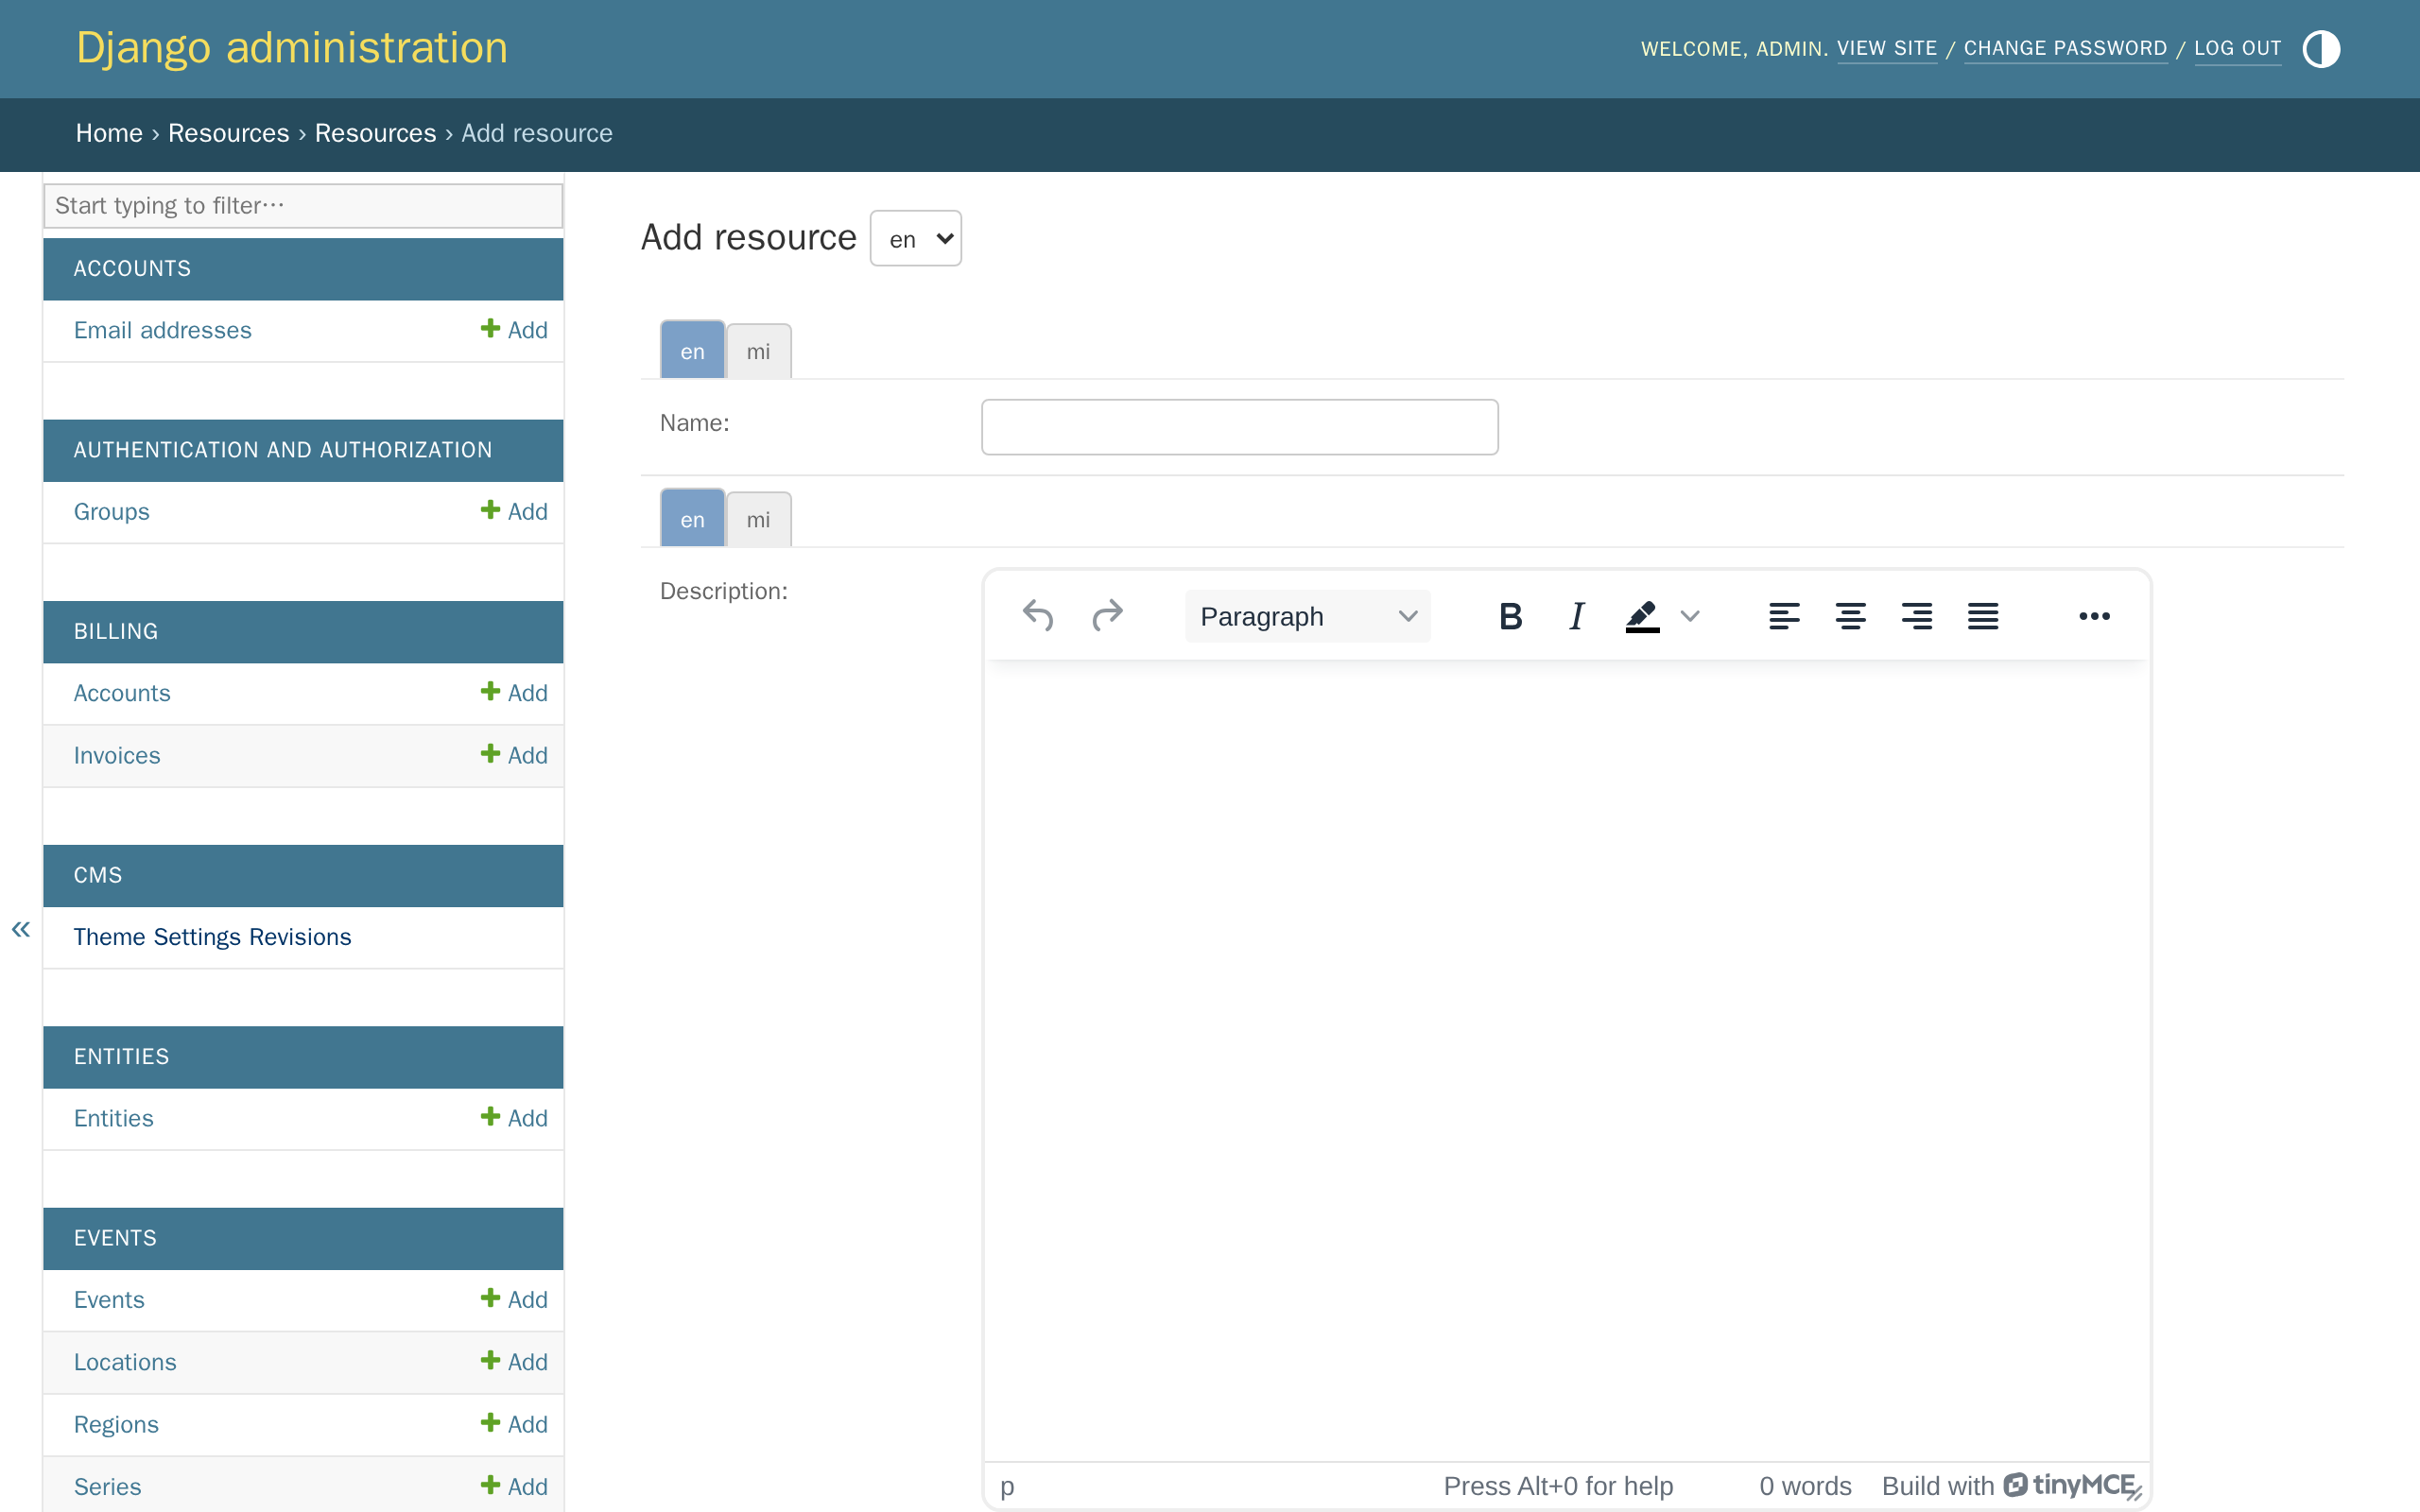
In the Django admin, click Resources, then click Add next to Resources.
-
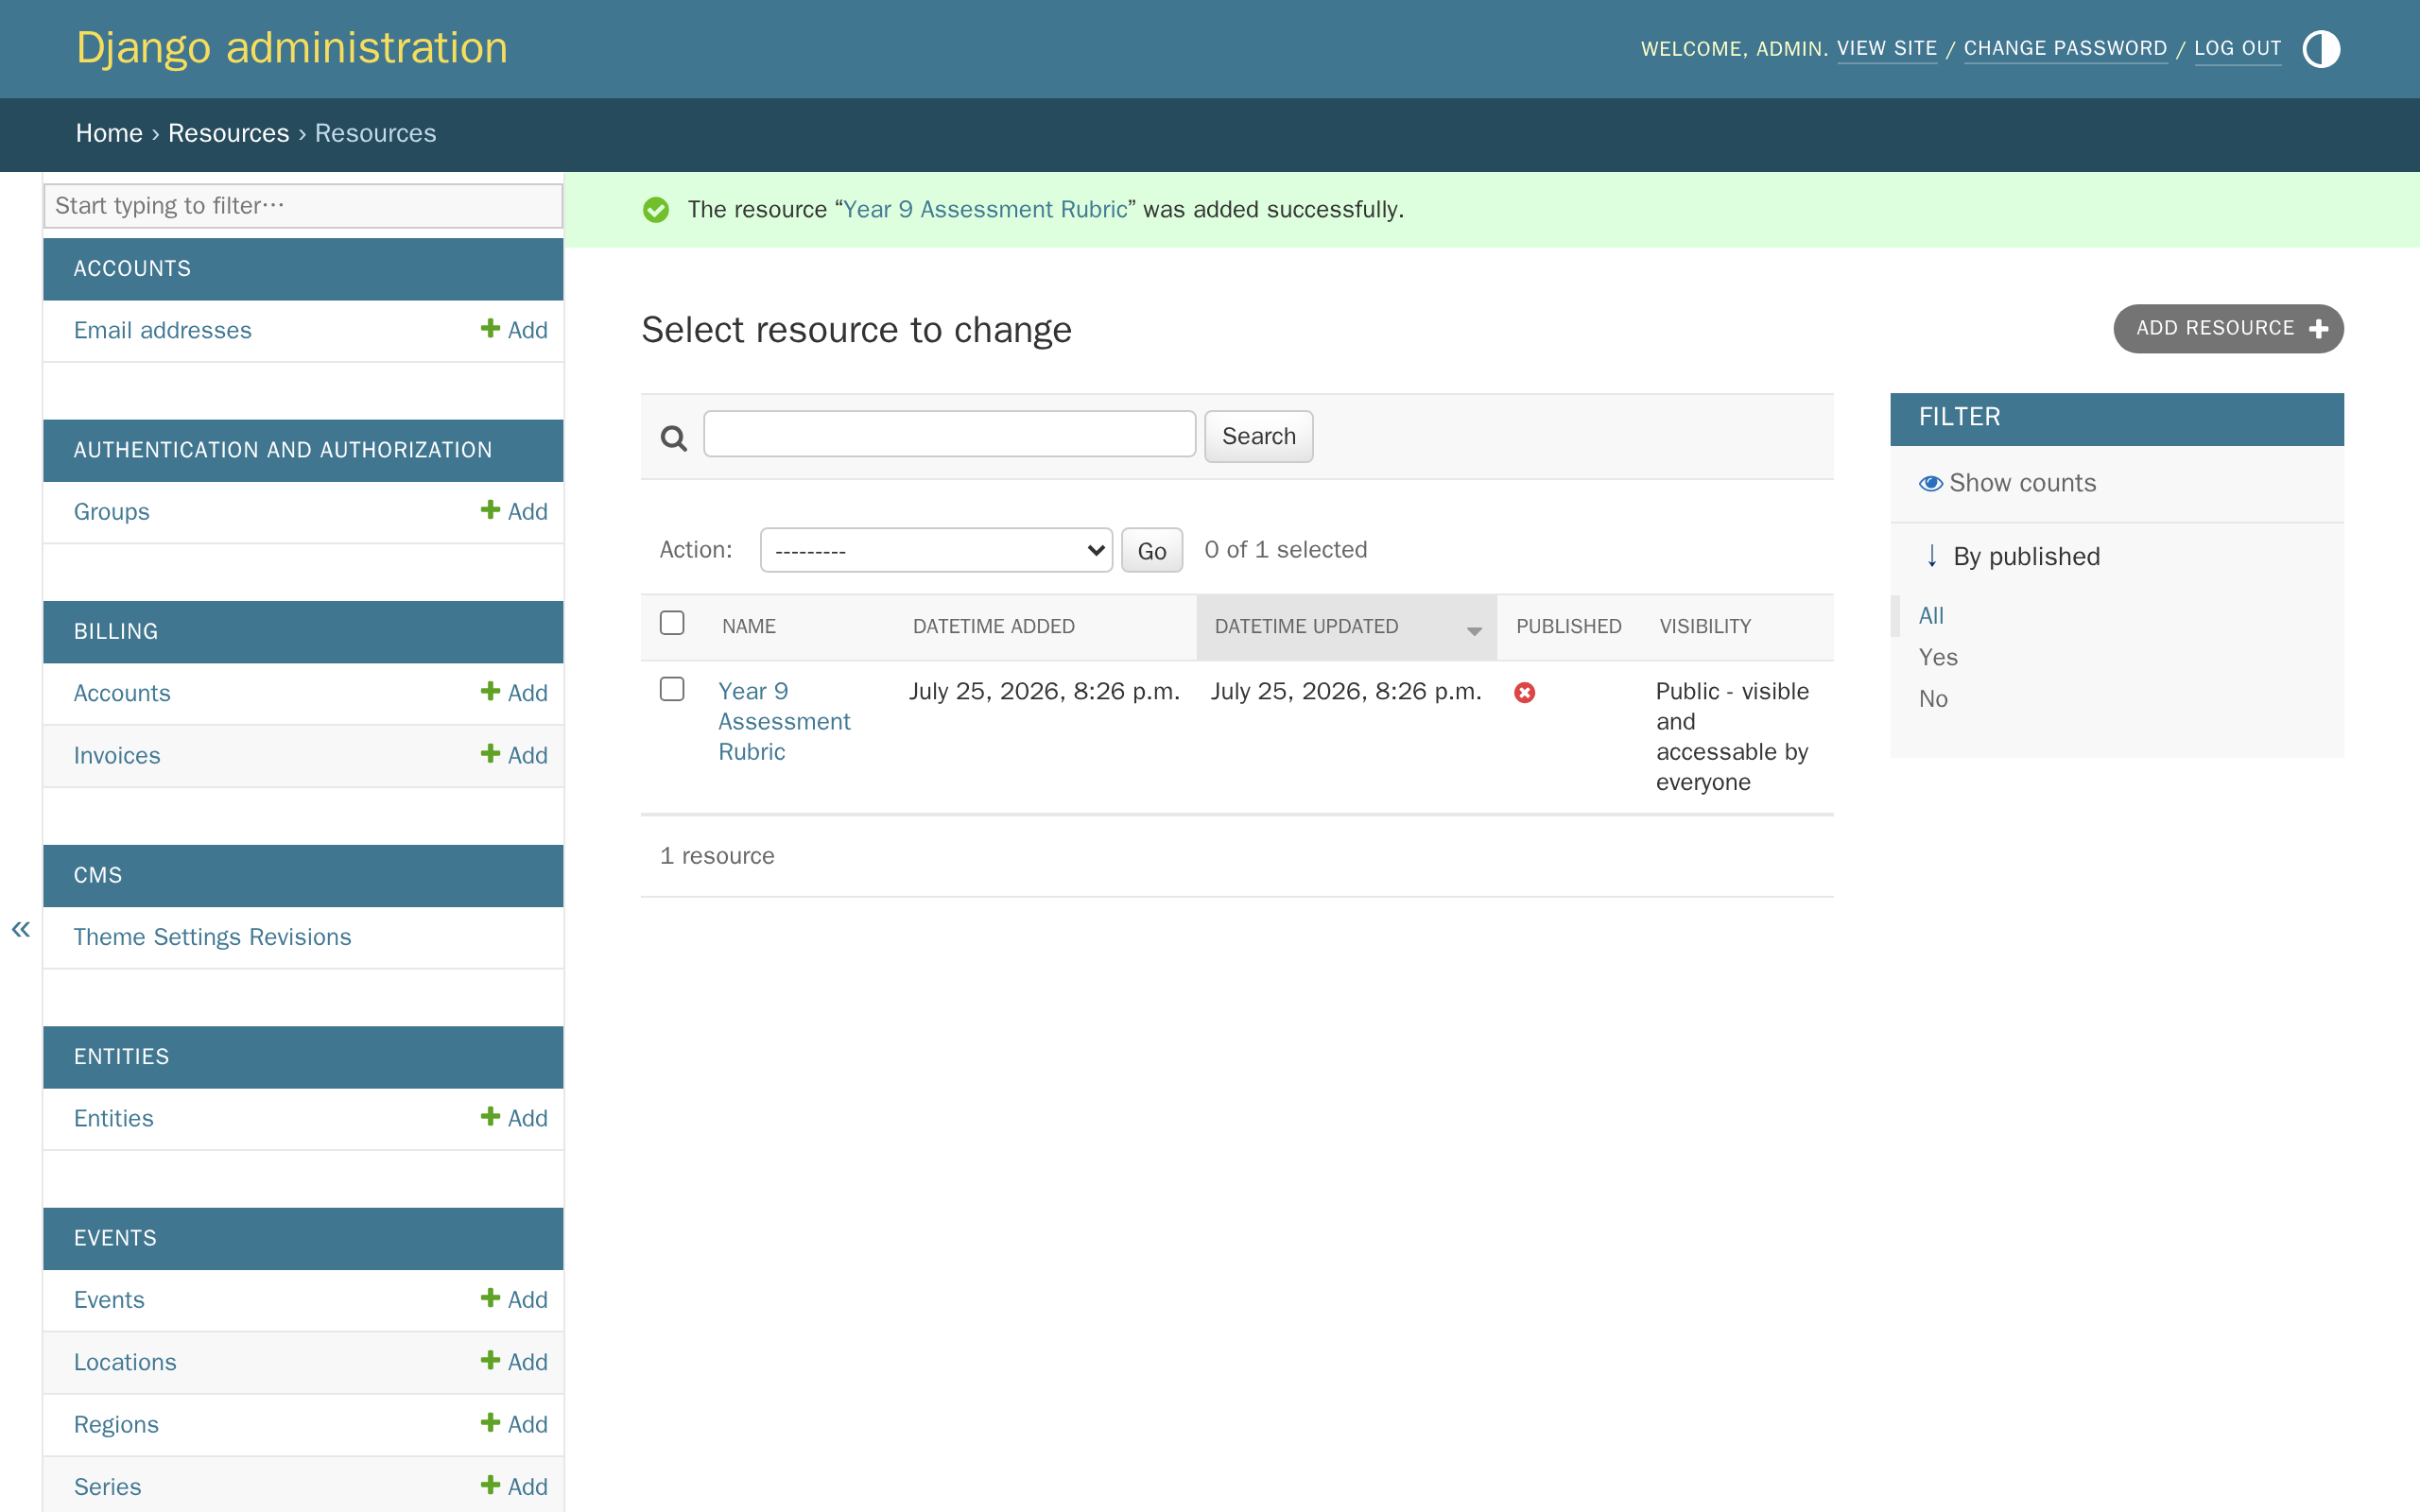
Fill in the fields below, then click Save.
Field What it does Name The resource's title. Description Shown on the resource's own page. Thumbnail Optional. A small image shown on the resource card and its own page — leave blank if you don't have one. Author entities / Author users Who made this resource — an entity is an organisation or group rather than a person. At least one author, of either kind, is required. Tags Optional. See Categories and tags below. Visibility Who can see and access this resource — see Who can see a resource below. Leave it as Public for this tutorial. Resource components The resource's actual content — at least one is required. Give it a name, then fill in exactly one of Component url, Component file, or Component resource (a link to another resource already in the system). Click Add another Resource component for more than one. A component's type (PDF, document, video, website, and so on) is worked out automatically from what you gave it — you don't choose it yourself.
-
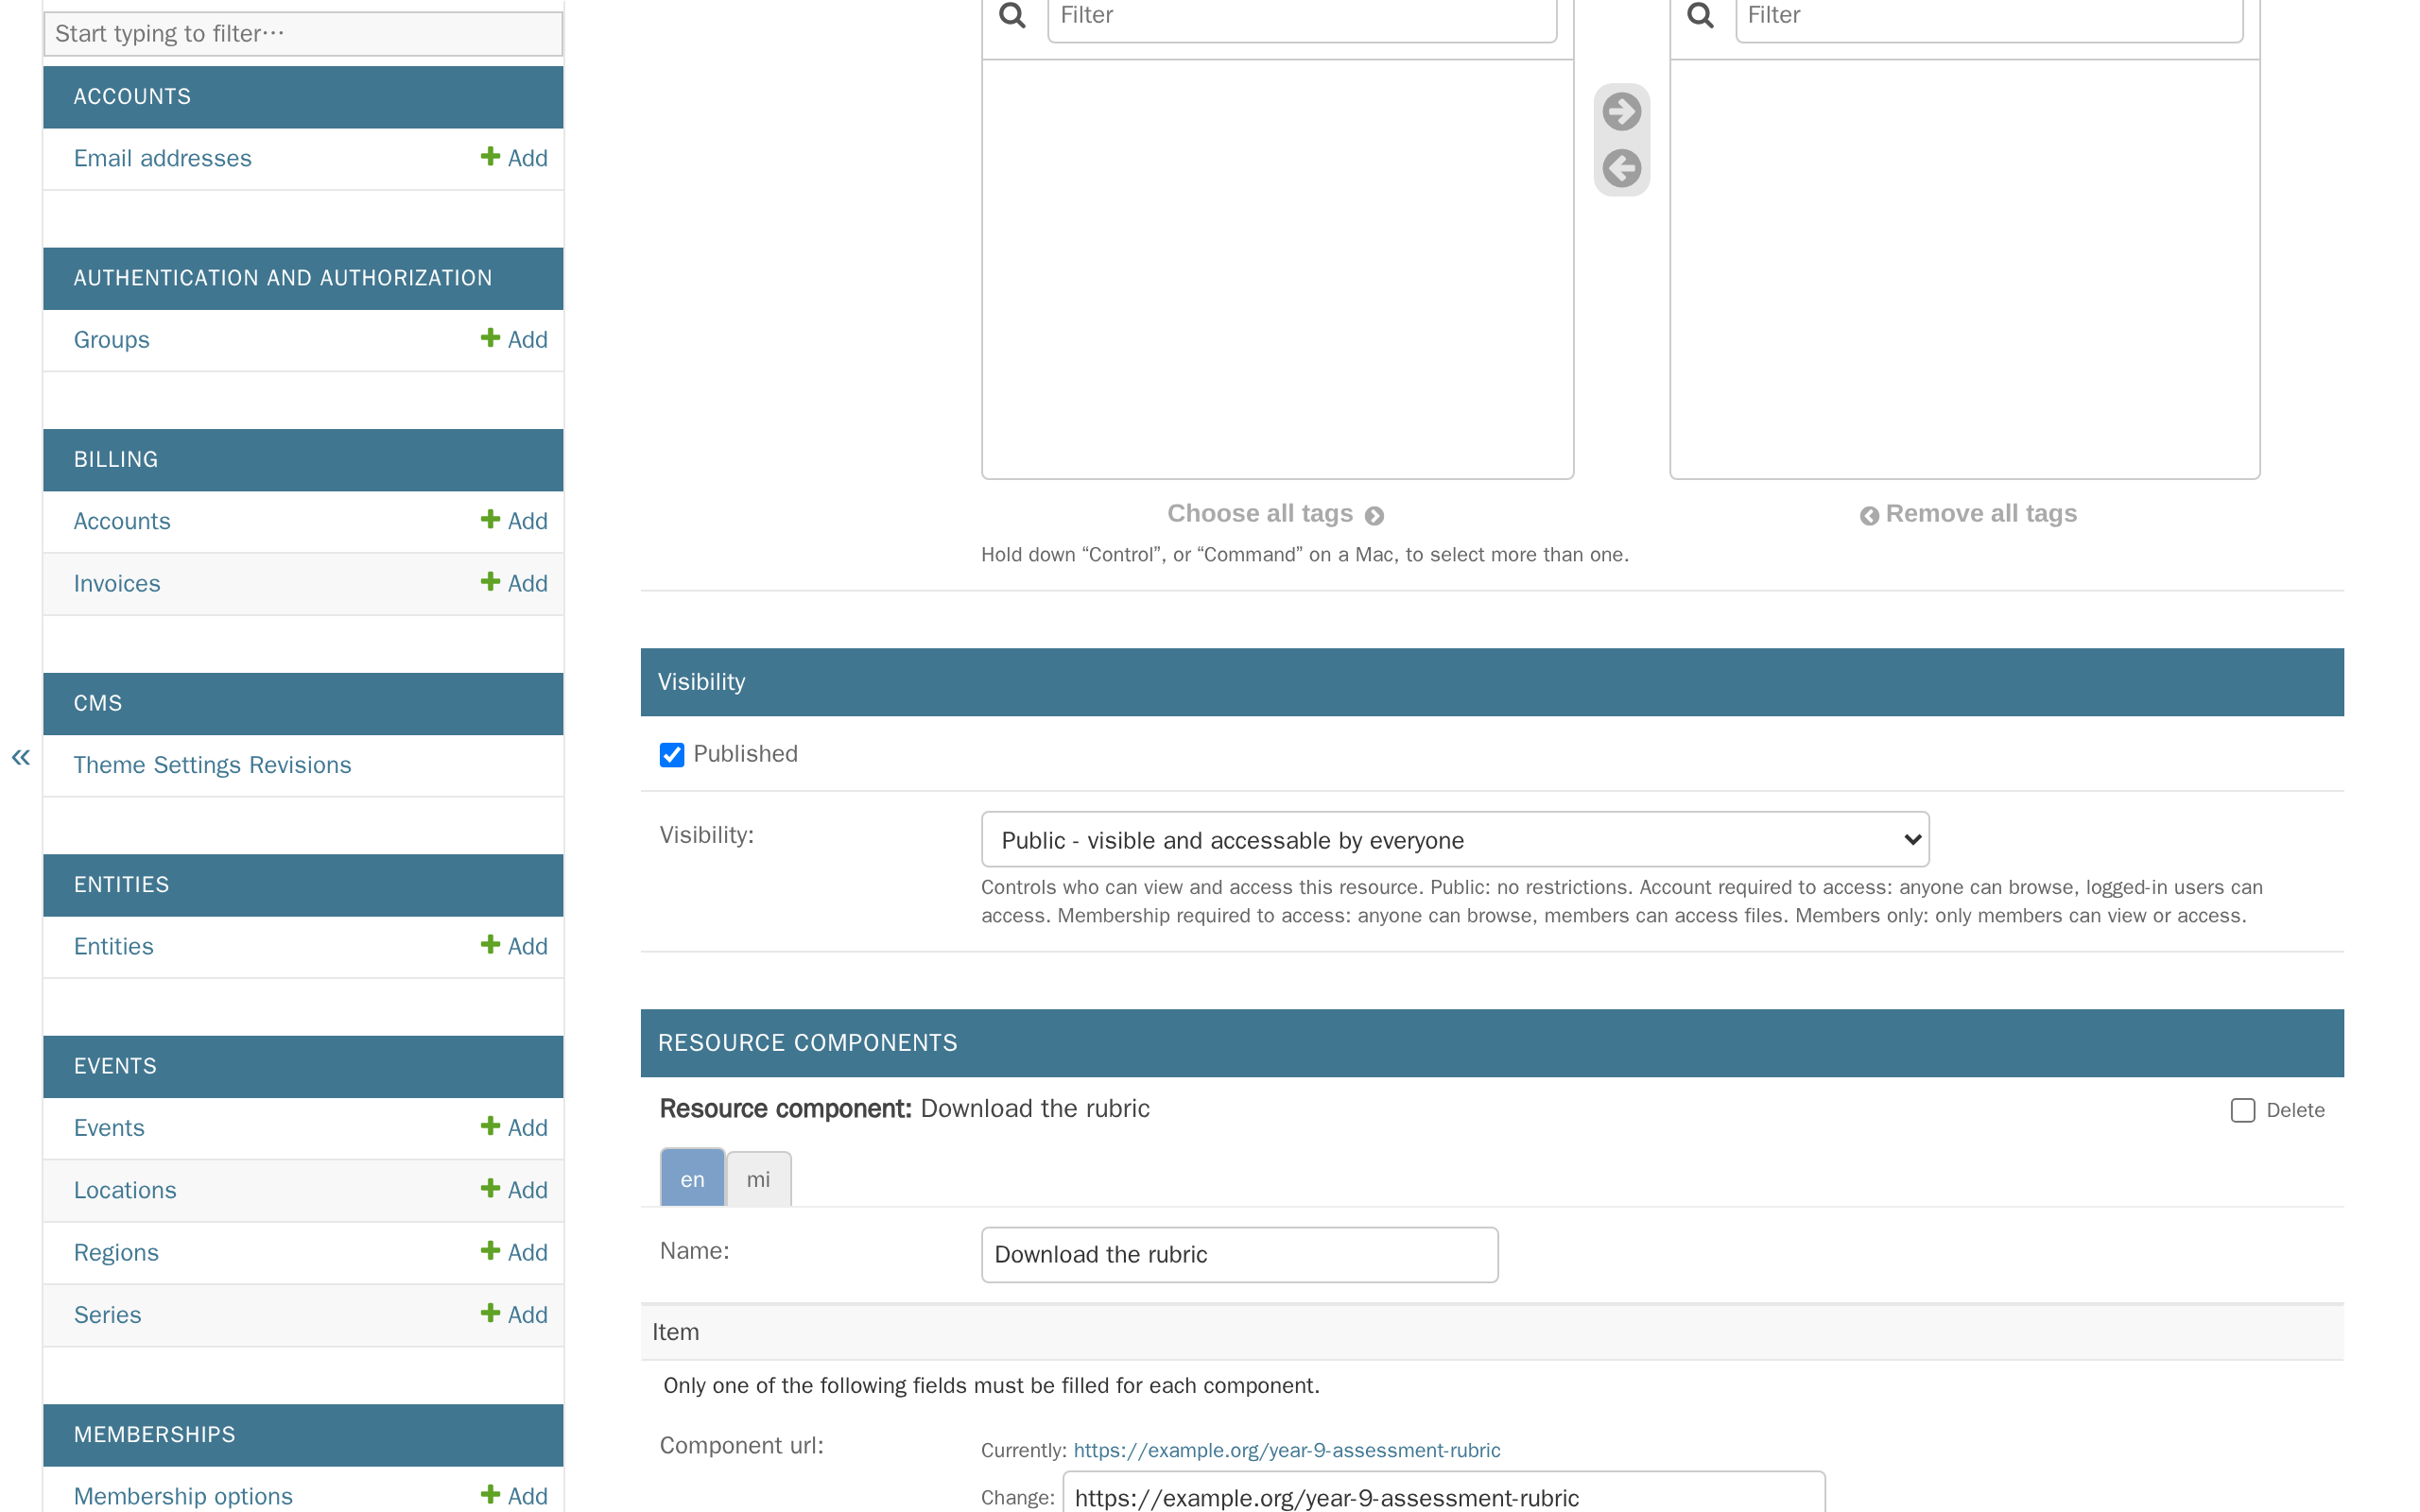
The resource is hidden from the public until you mark it as published — the same way a CMS page stays a draft until you publish it. Open the resource, check Published, then click Save.
-
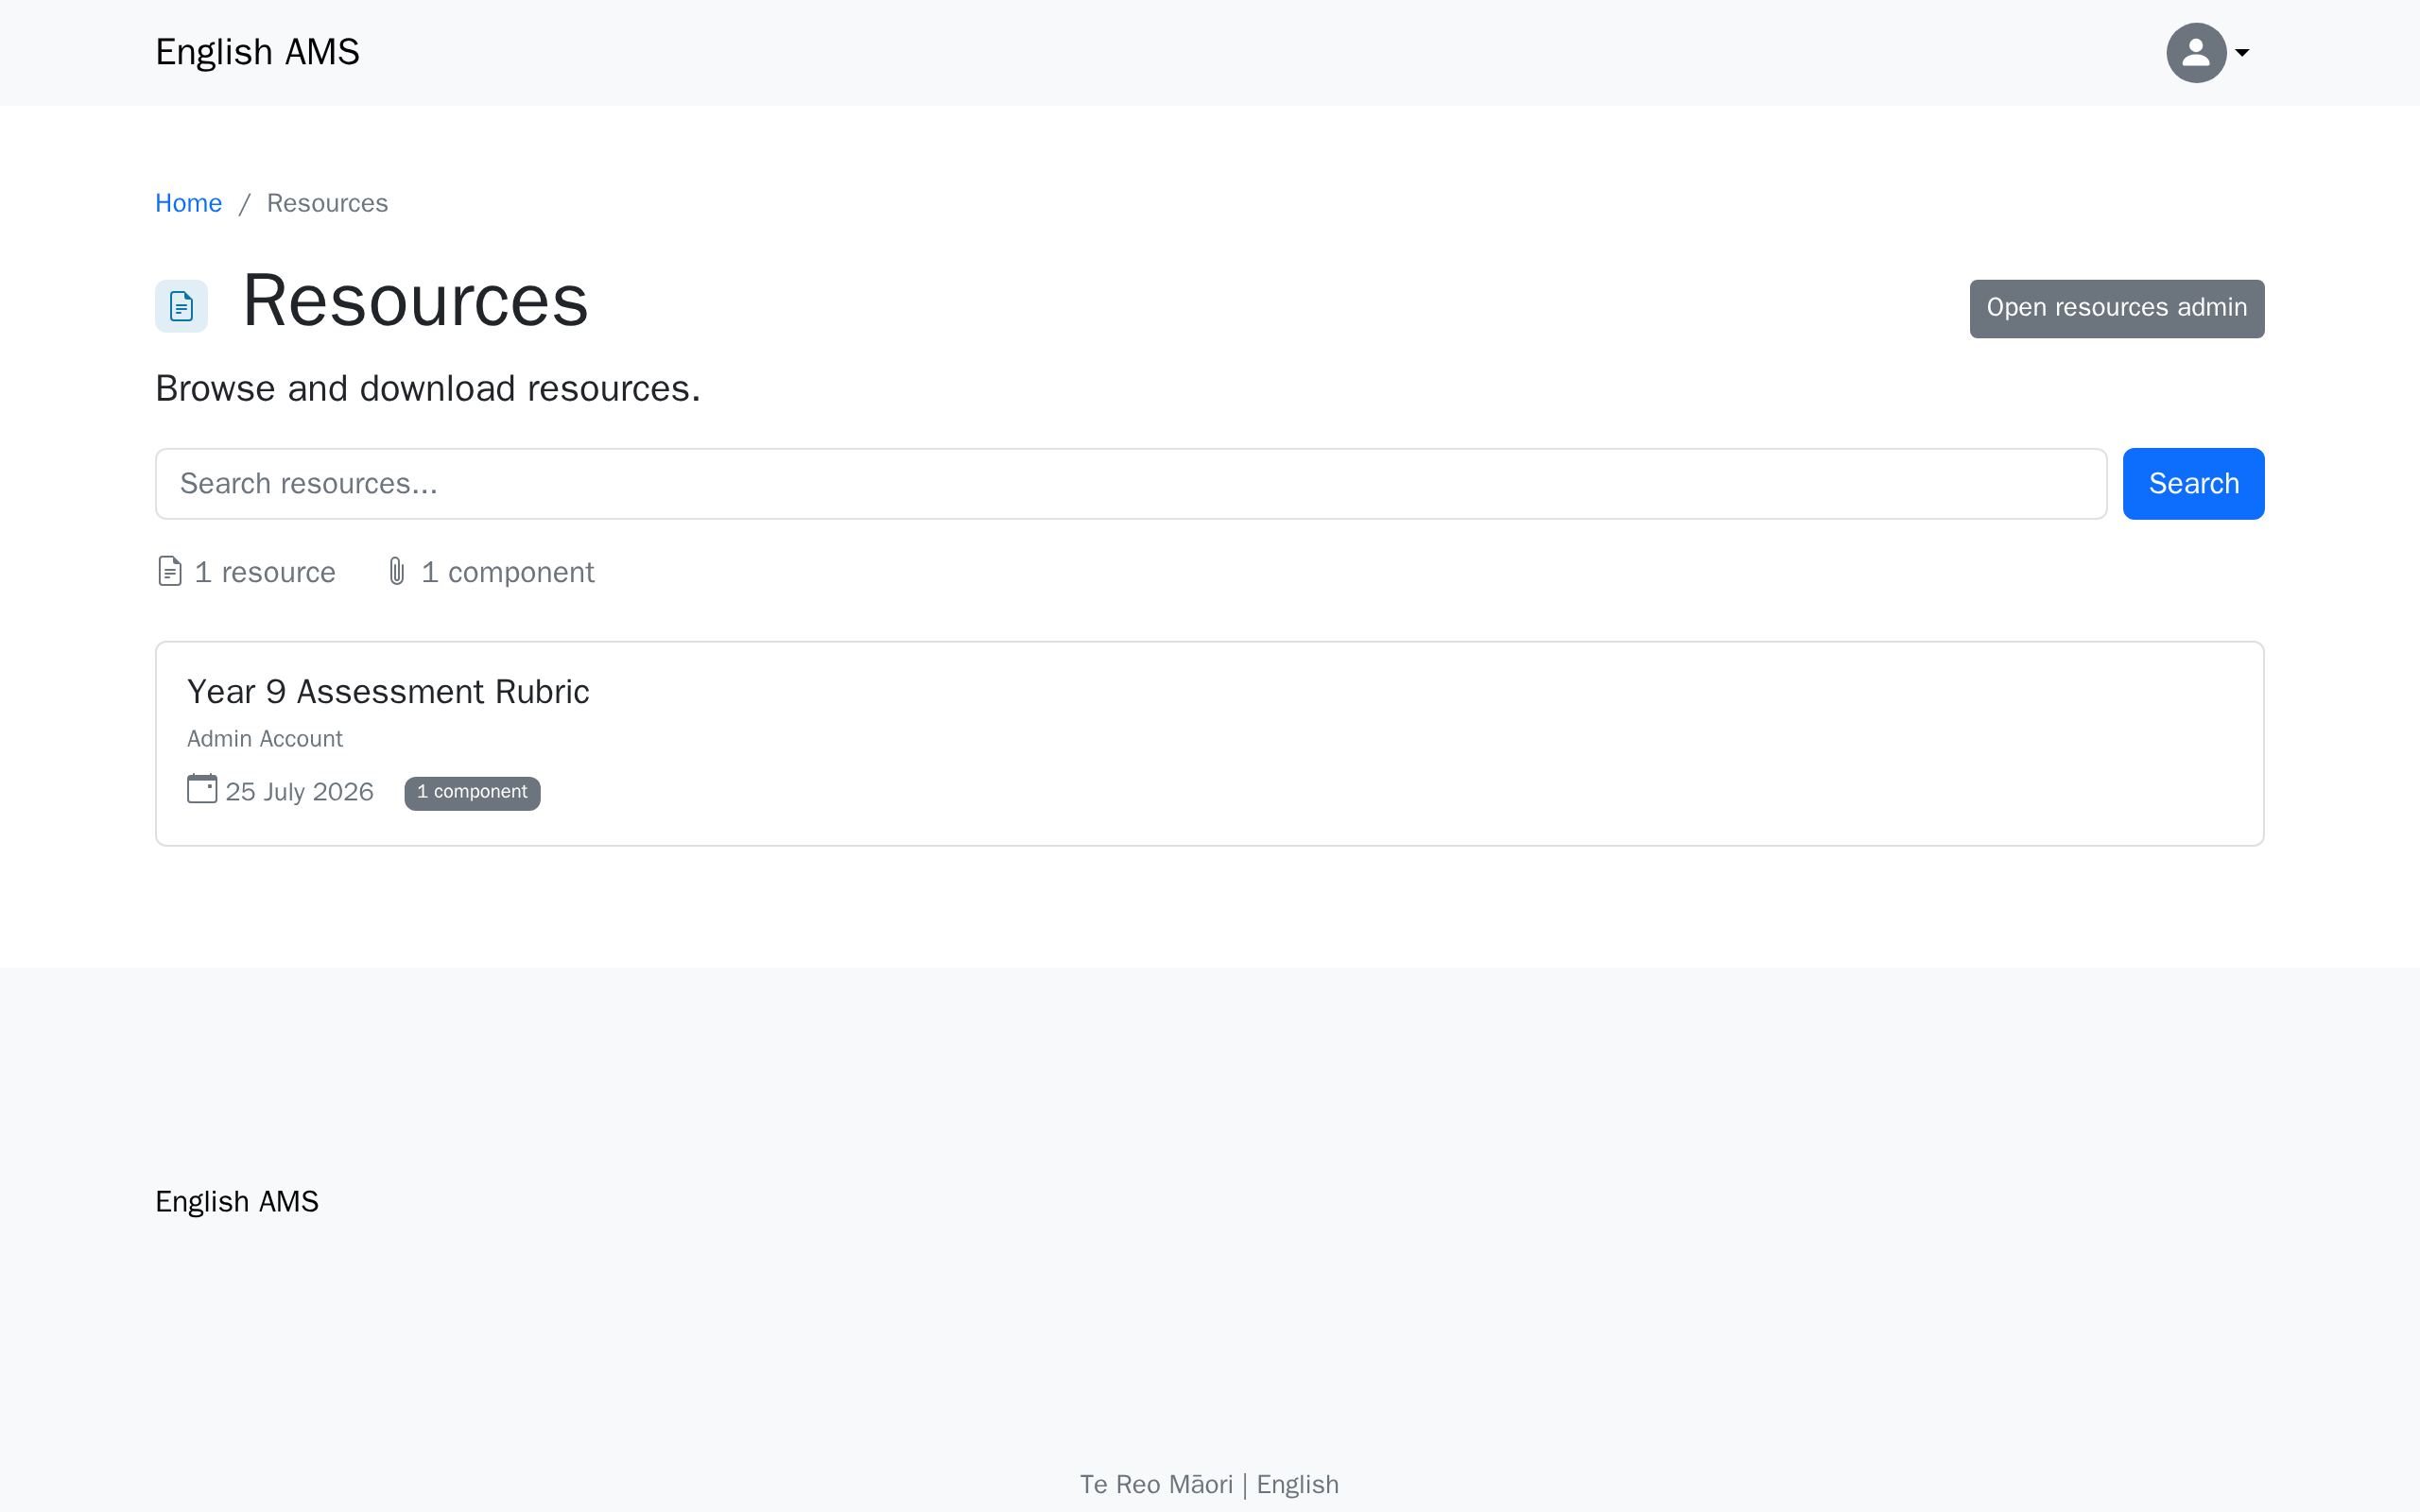
Visit your resources page to see it live.
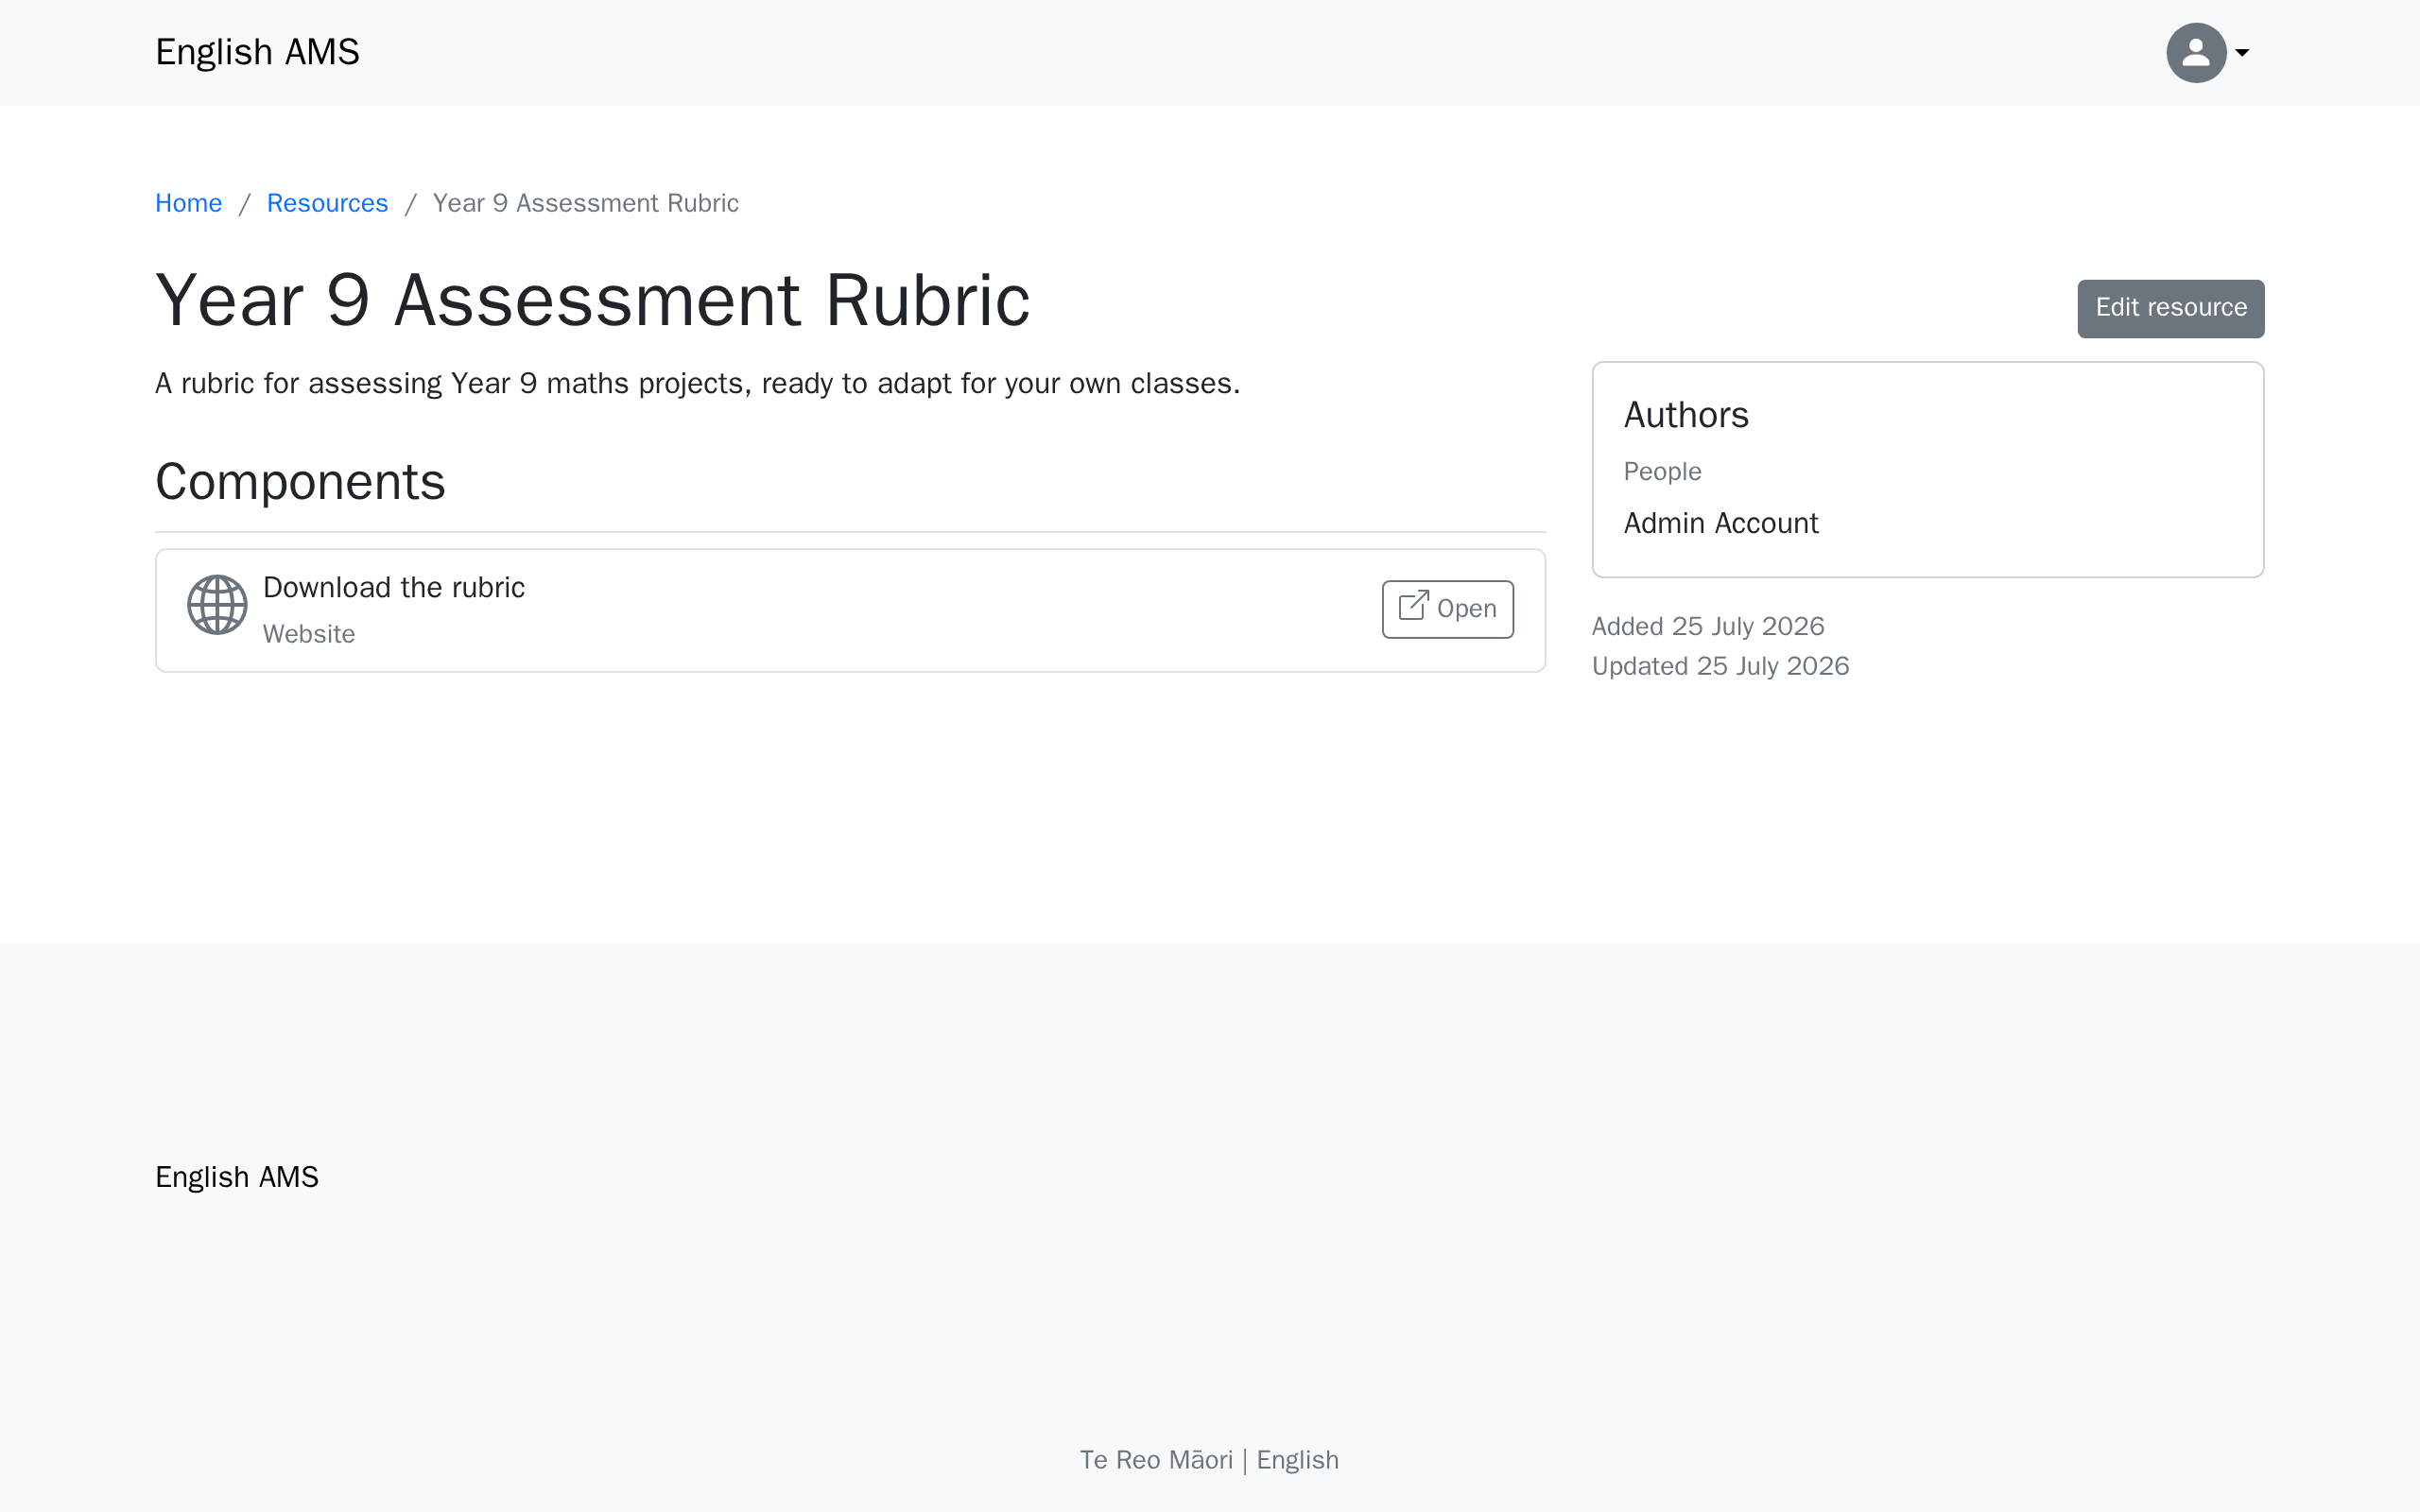
The resource's own page
Click through to the resource's name from the listing to see its full page — this is what a visitor sees after clicking through.
Who can see a resource
The Visibility field controls both whether a resource is listed at all, and whether its components can actually be opened or downloaded:
| Visibility | Who can see it listed | Who can open its components |
|---|---|---|
| Public | Everyone | Everyone |
| Account required to access | Everyone | Anyone signed in |
| Membership required to access | Everyone | Members only |
| Members only | Members only | Members only |
Most associations only need Public and Members only — the two middle options exist for the less common case of wanting a resource visible to everyone, but its actual content restricted.
Categories and tags
If you have more than a handful of resources, tagging them helps members filter and find what they need. Set this up from Resources, in the Django admin: create one or more Resource categories (e.g. "Year Level"), then add Resource tags within each (e.g. "Year 9") — see the resources admin guide for the full walkthrough. Tags are entirely optional and don't change anything about how a resource is added — skip this if you only have a few resources to start with.
One category, Language, is created automatically so you can mark which language(s) a resource is available in. Rename or add to its tags freely, but keep the category itself — deleting it means it gets skipped, not recreated, on the next deploy.
Each category also has a gradient start colour, an optional gradient end colour, and a style (solid, outline, or soft) — set these and every tag in that category is coloured automatically along the gradient (by the tags' display order), without picking a colour for each tag individually. Leave the end colour blank for one flat automatic colour instead of a gradient. A tag with its own colour set keeps it regardless — use that for tags that need a specific colour rather than one that fades across the category.
Adding resources to your menu
Nothing links to your resources page automatically.
See Adding resources to menus — the short version is you link to /resources/ the same way you'd link to any other page, in Tutorial 4: Navigation & menus.
What's next
The next tutorial covers inviting your team — giving other volunteers admin or editor access to your site.