Tutorial 2: Make it yours — branding & theme
Who this page is for: client website admins — the volunteers who will load content and run the day-to-day site, generally with no prior web-admin experience.
What you'll have at the end
Your association's name will be set. Your logo will show in your website's navbar and footer. Your website's main colour and font will match your brand. You'll know where to go for every other colour and font option.
Before you start
You need your logo file ready.
Your website can use PNG, JPEG, GIF, WEBP, AVIF, or SVG formats — see question 7 of the decision questionnaire if you're not sure yours is ready.
It helps to also have your brand's main colour as a hex code, such as #7B1FA2, though your provider can match a colour "by eye" from your logo if you don't have one.
You should already be signed in to the CMS — see Tutorial 1: Orientation if you're not.
Steps
-
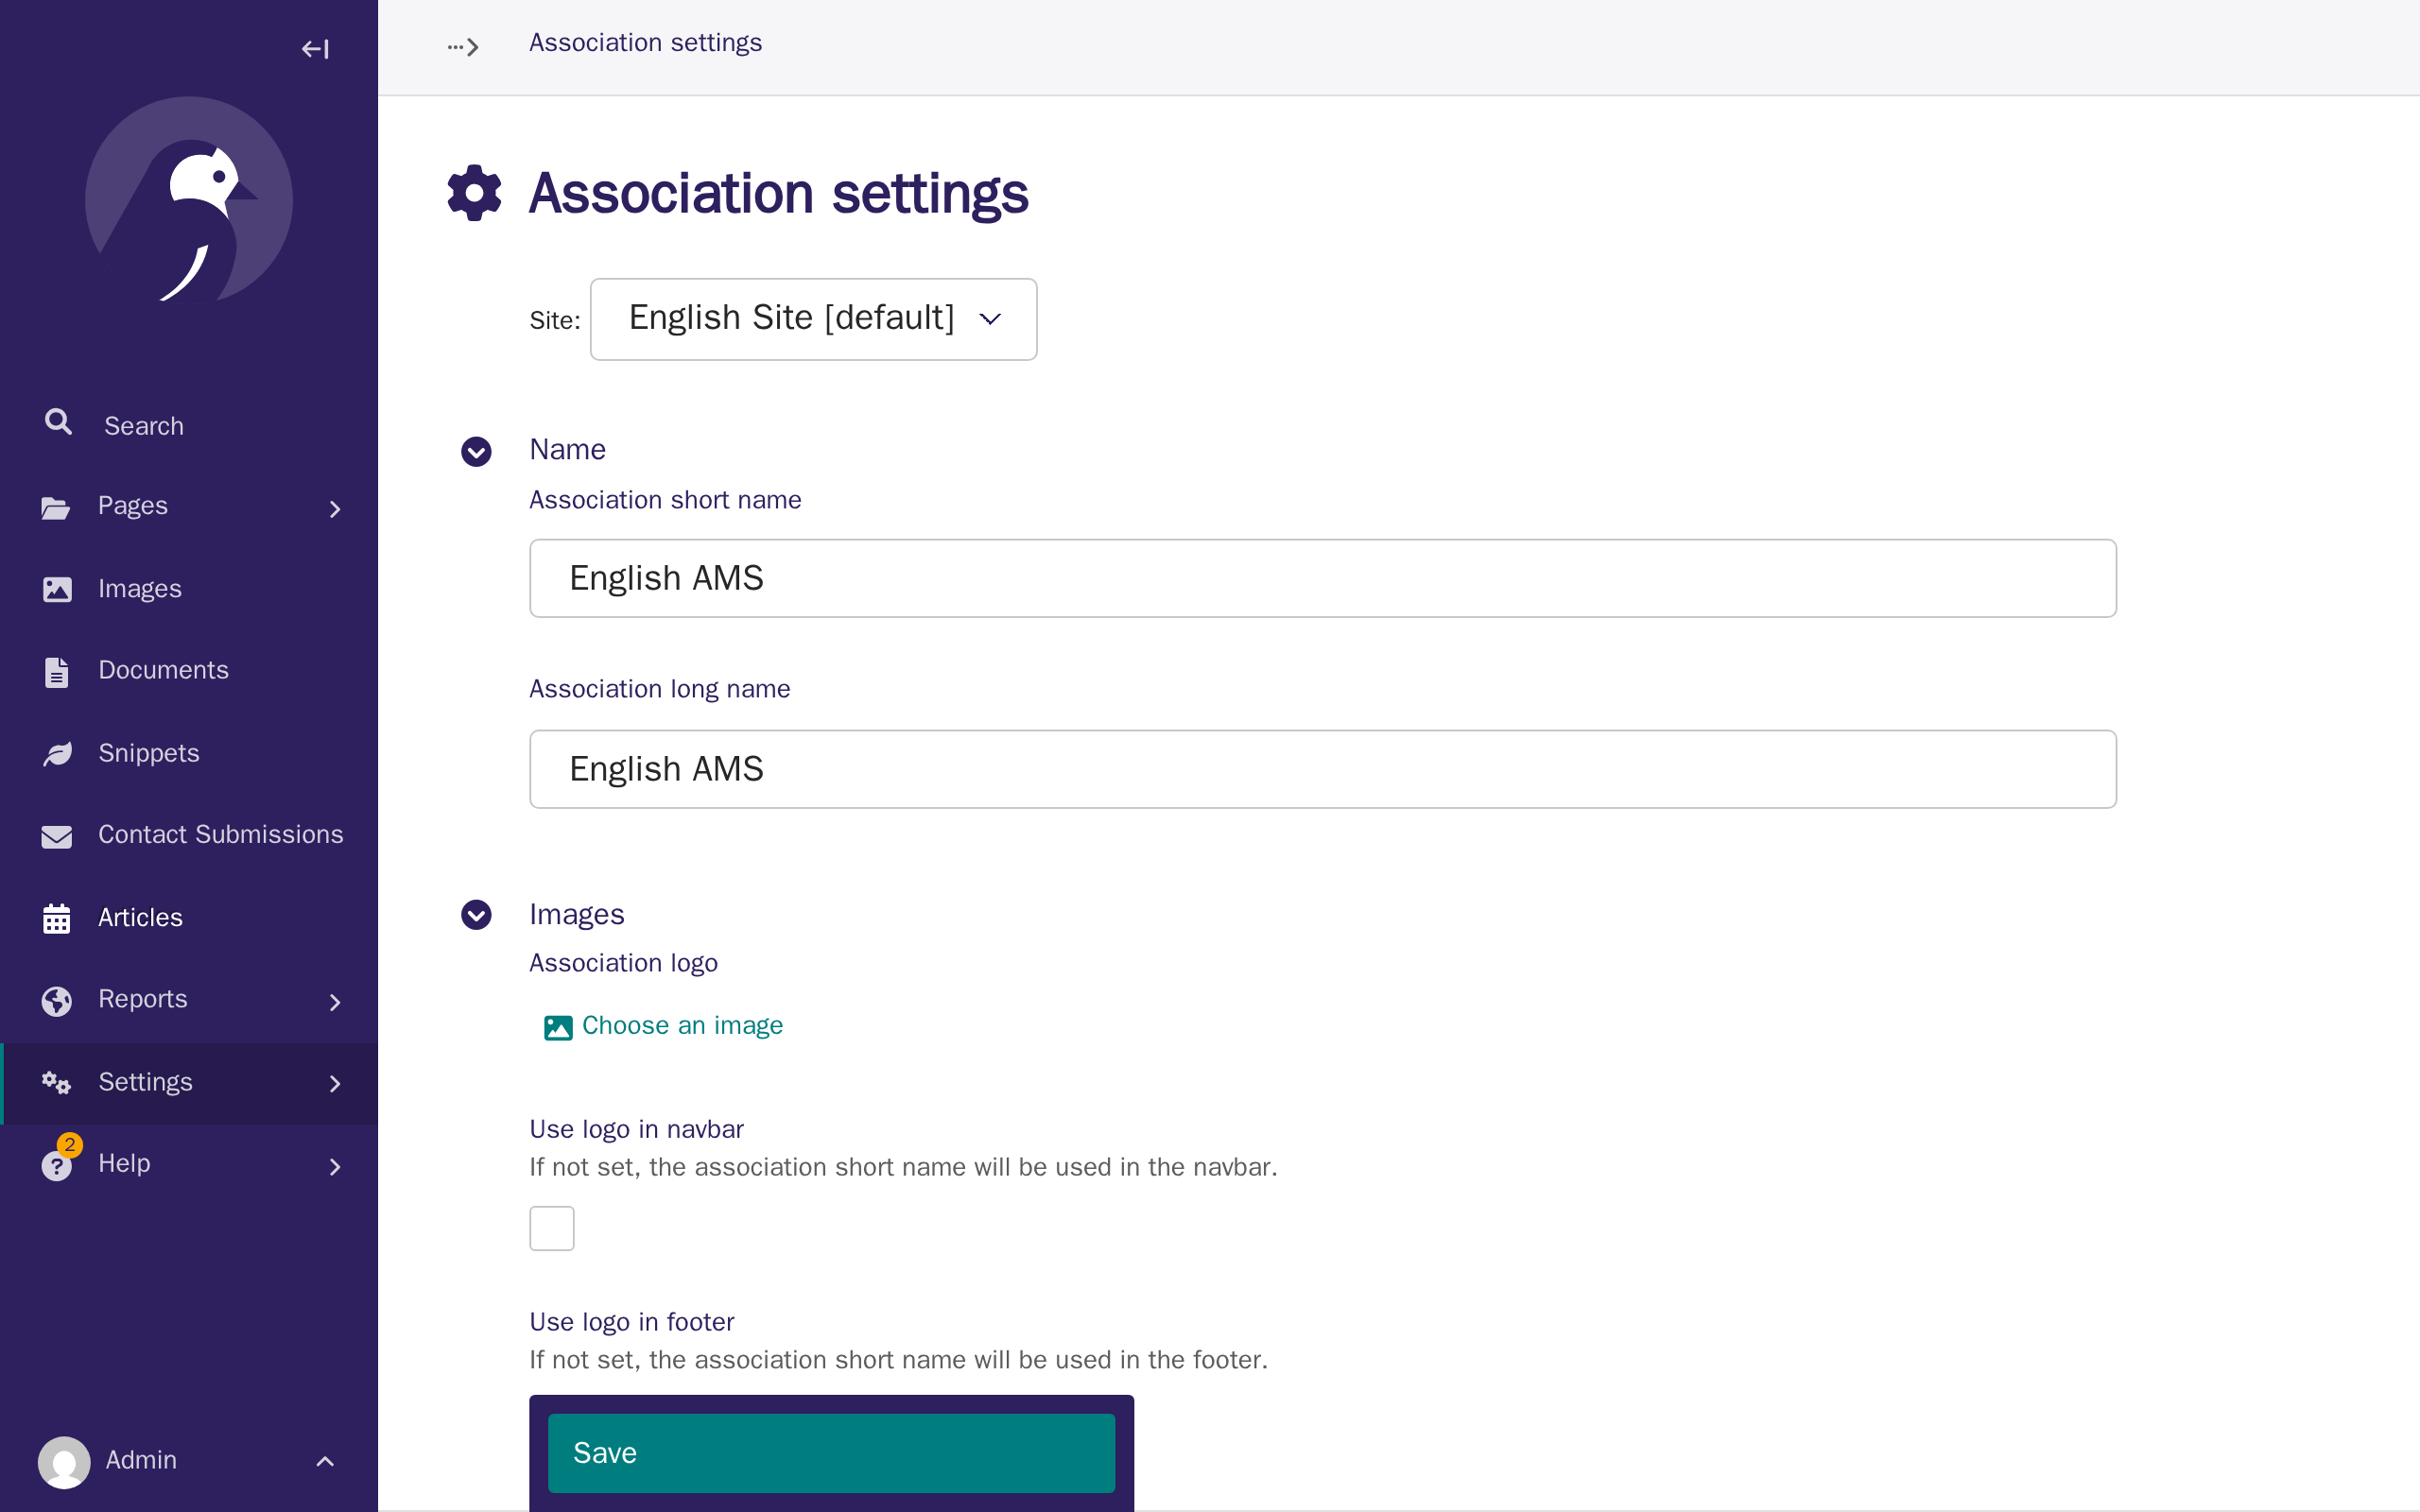
In the CMS, open Settings in the left sidebar, then click Association settings.
-
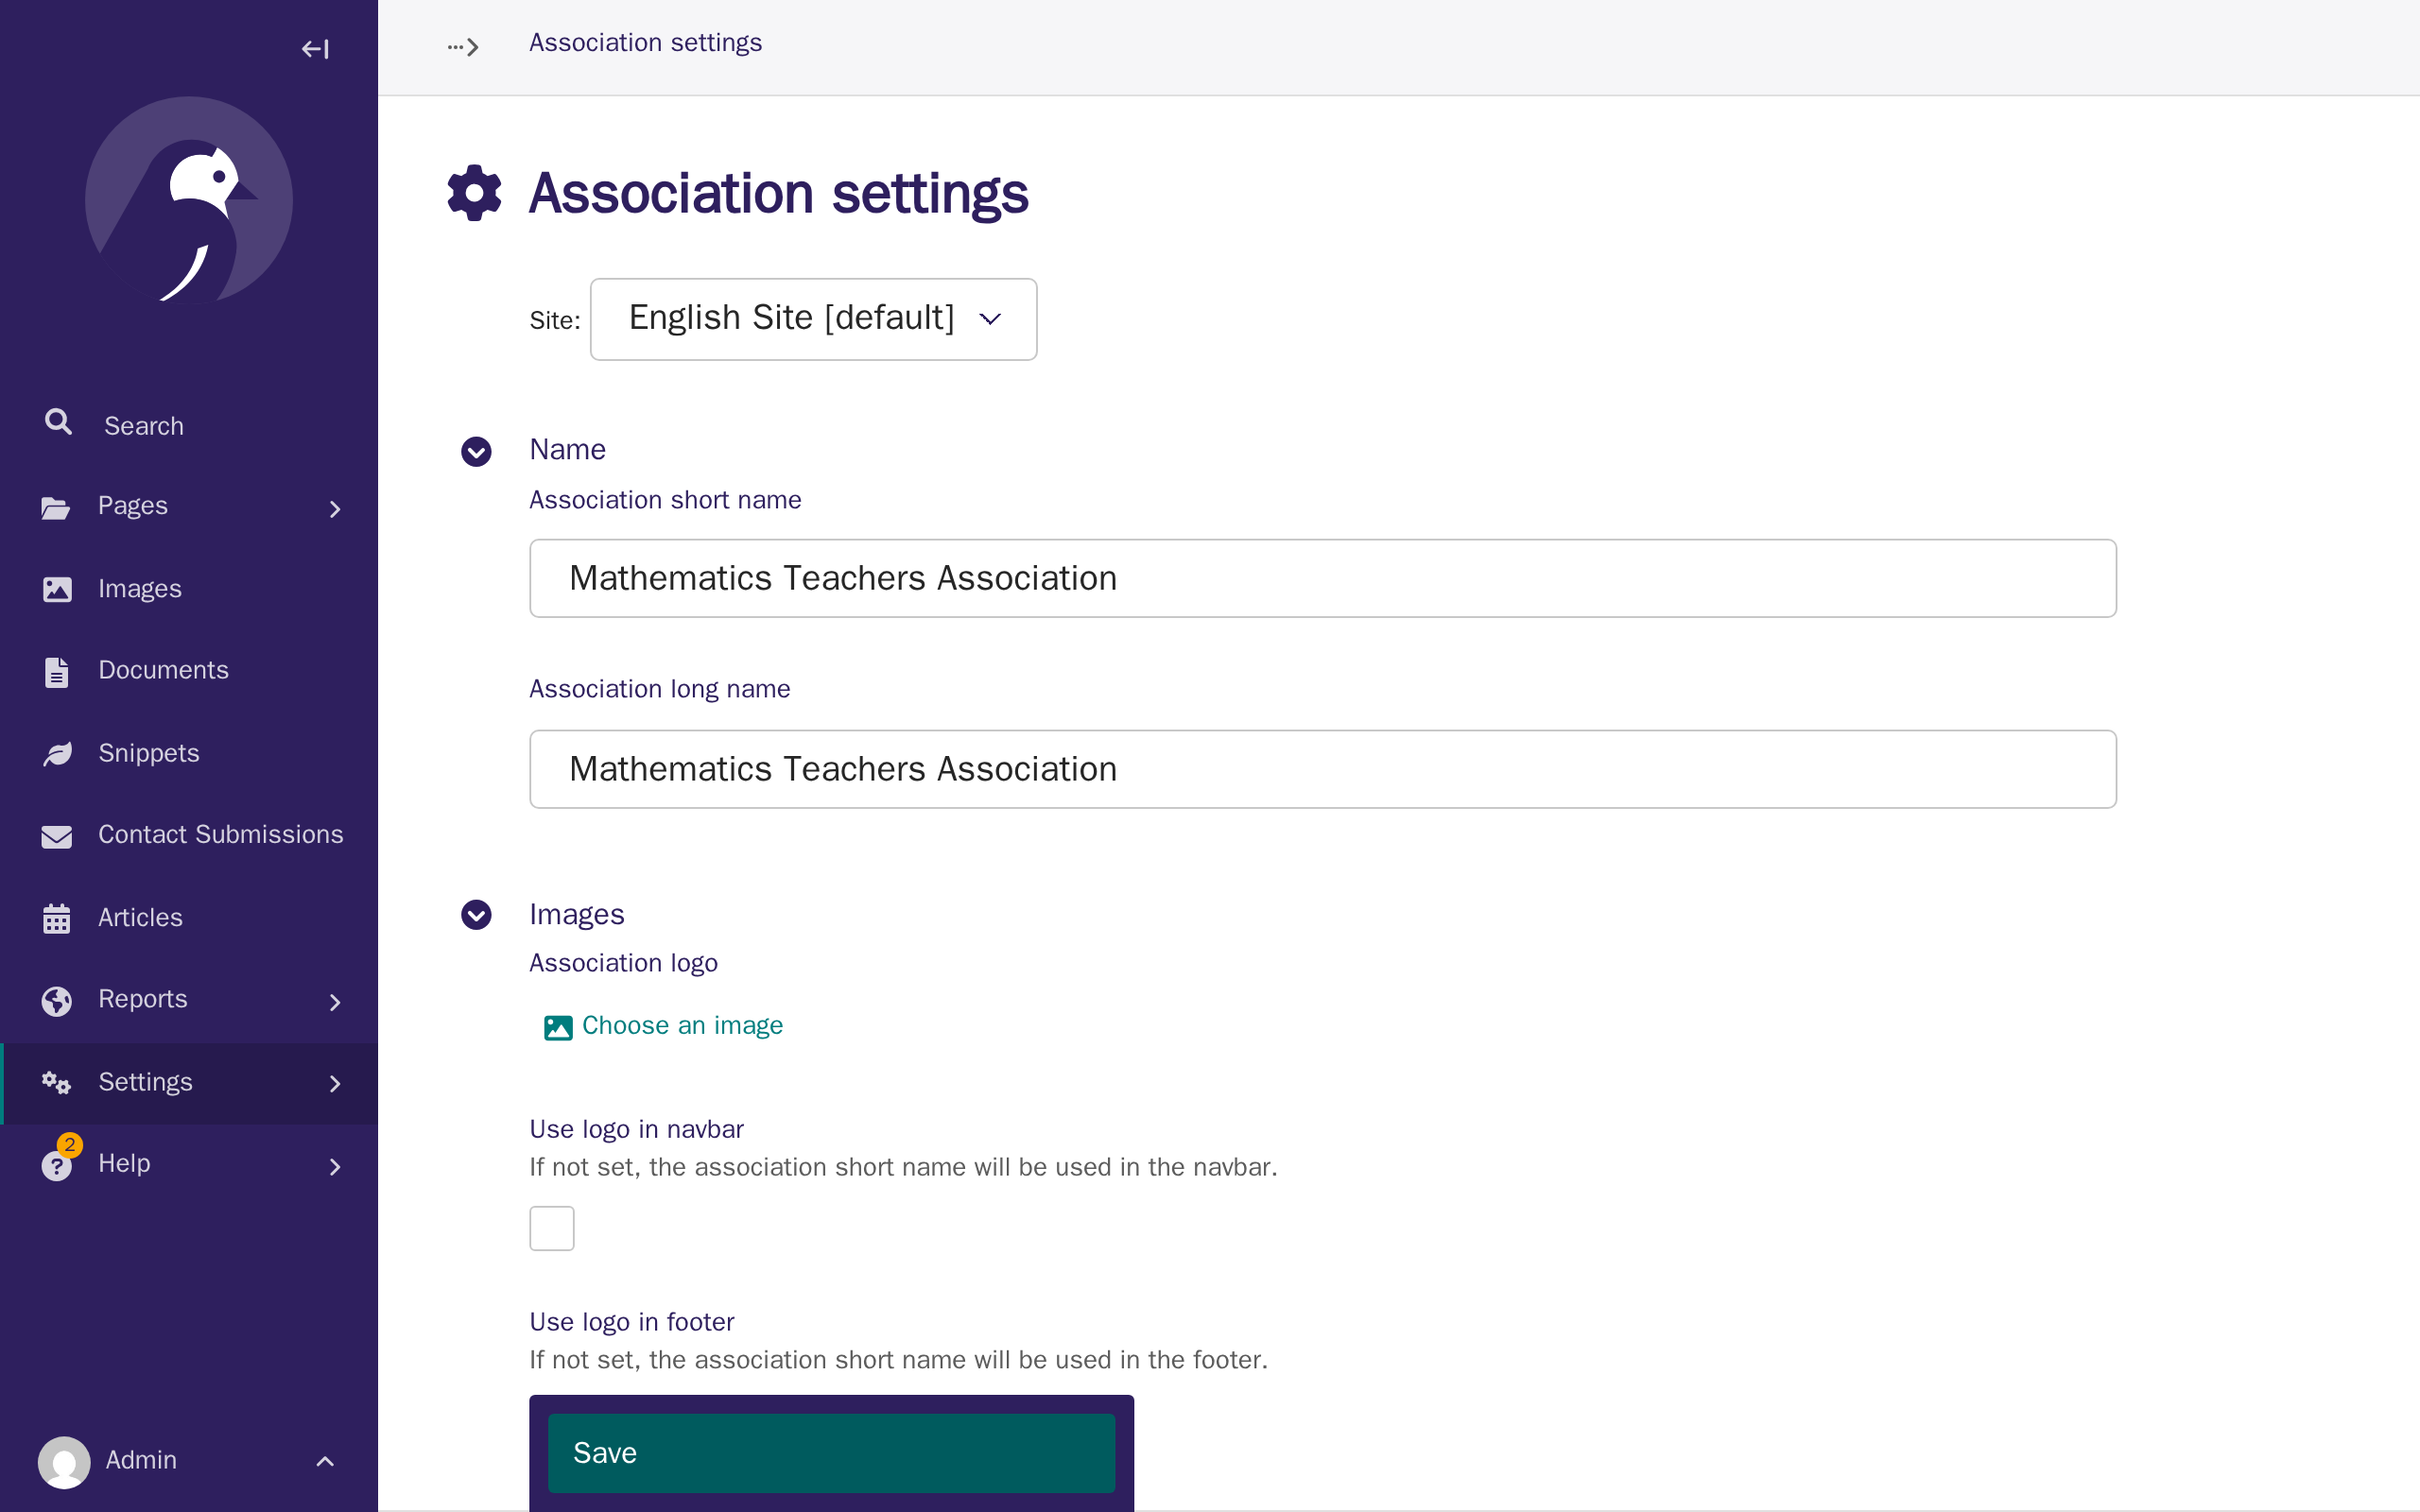
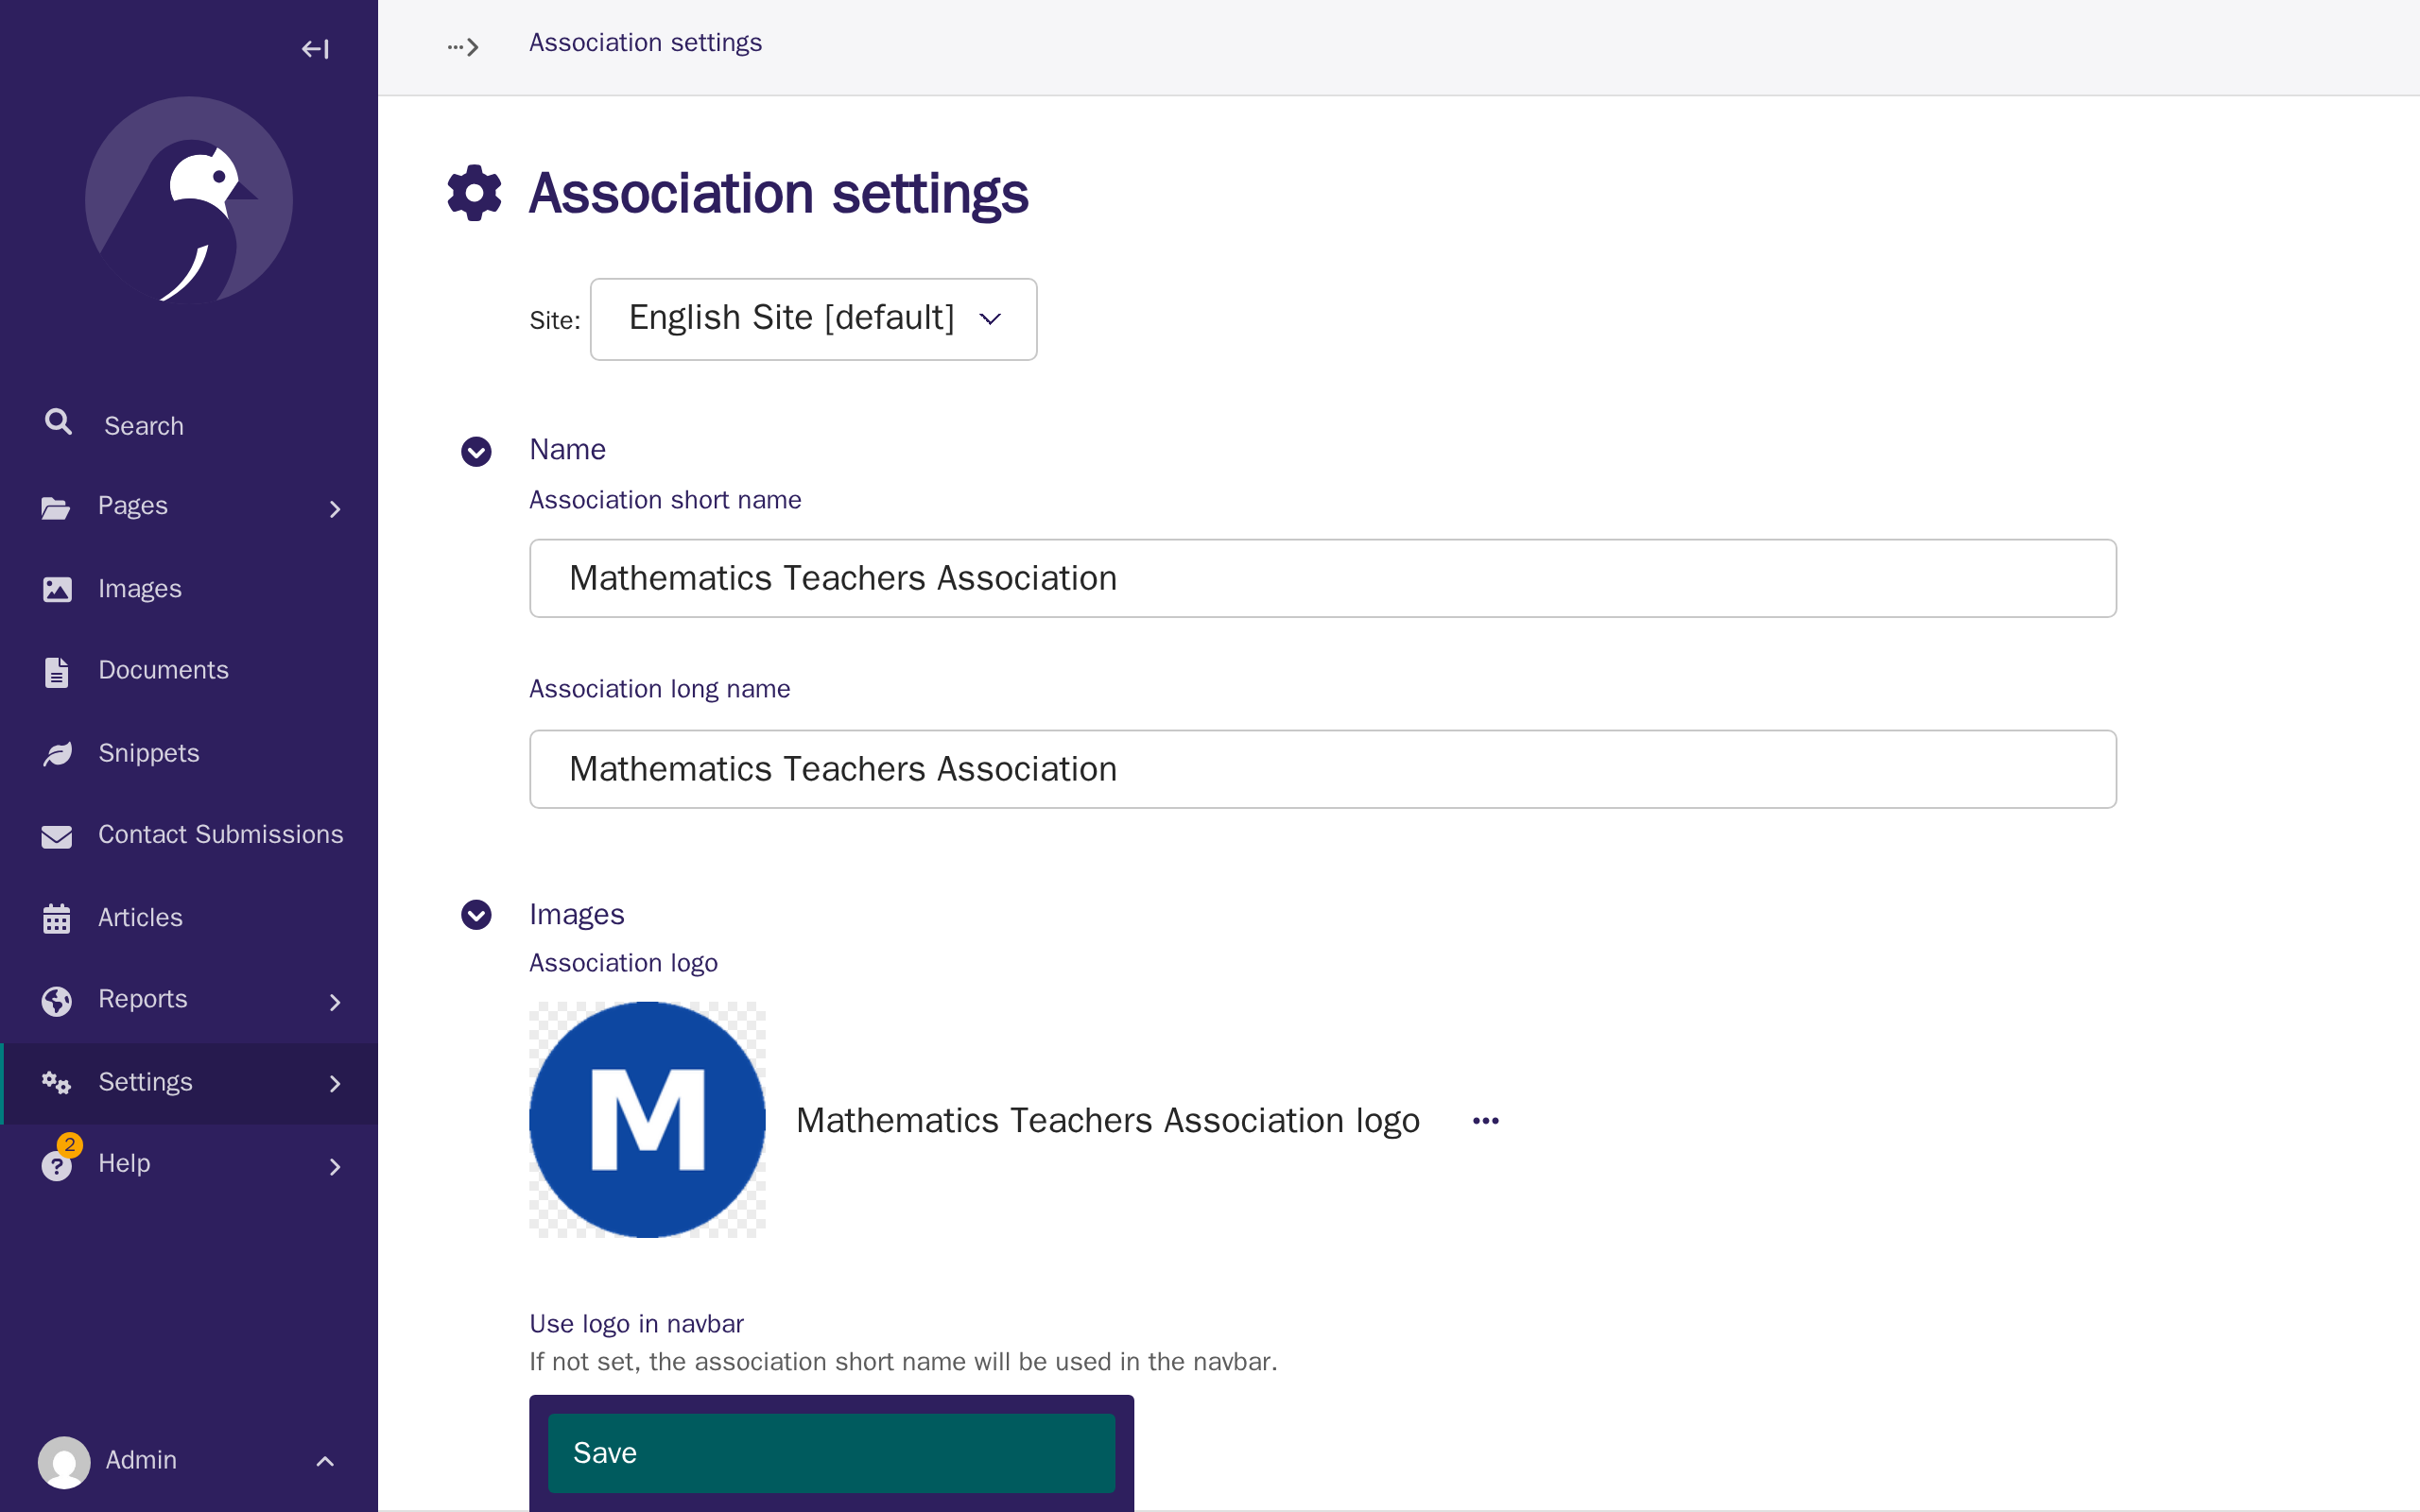
In the Name section, enter your association's short name and long name, then click Save. The short name appears in places like the navbar and footer; the long name is for more formal contexts, such as legal or official documents.
-
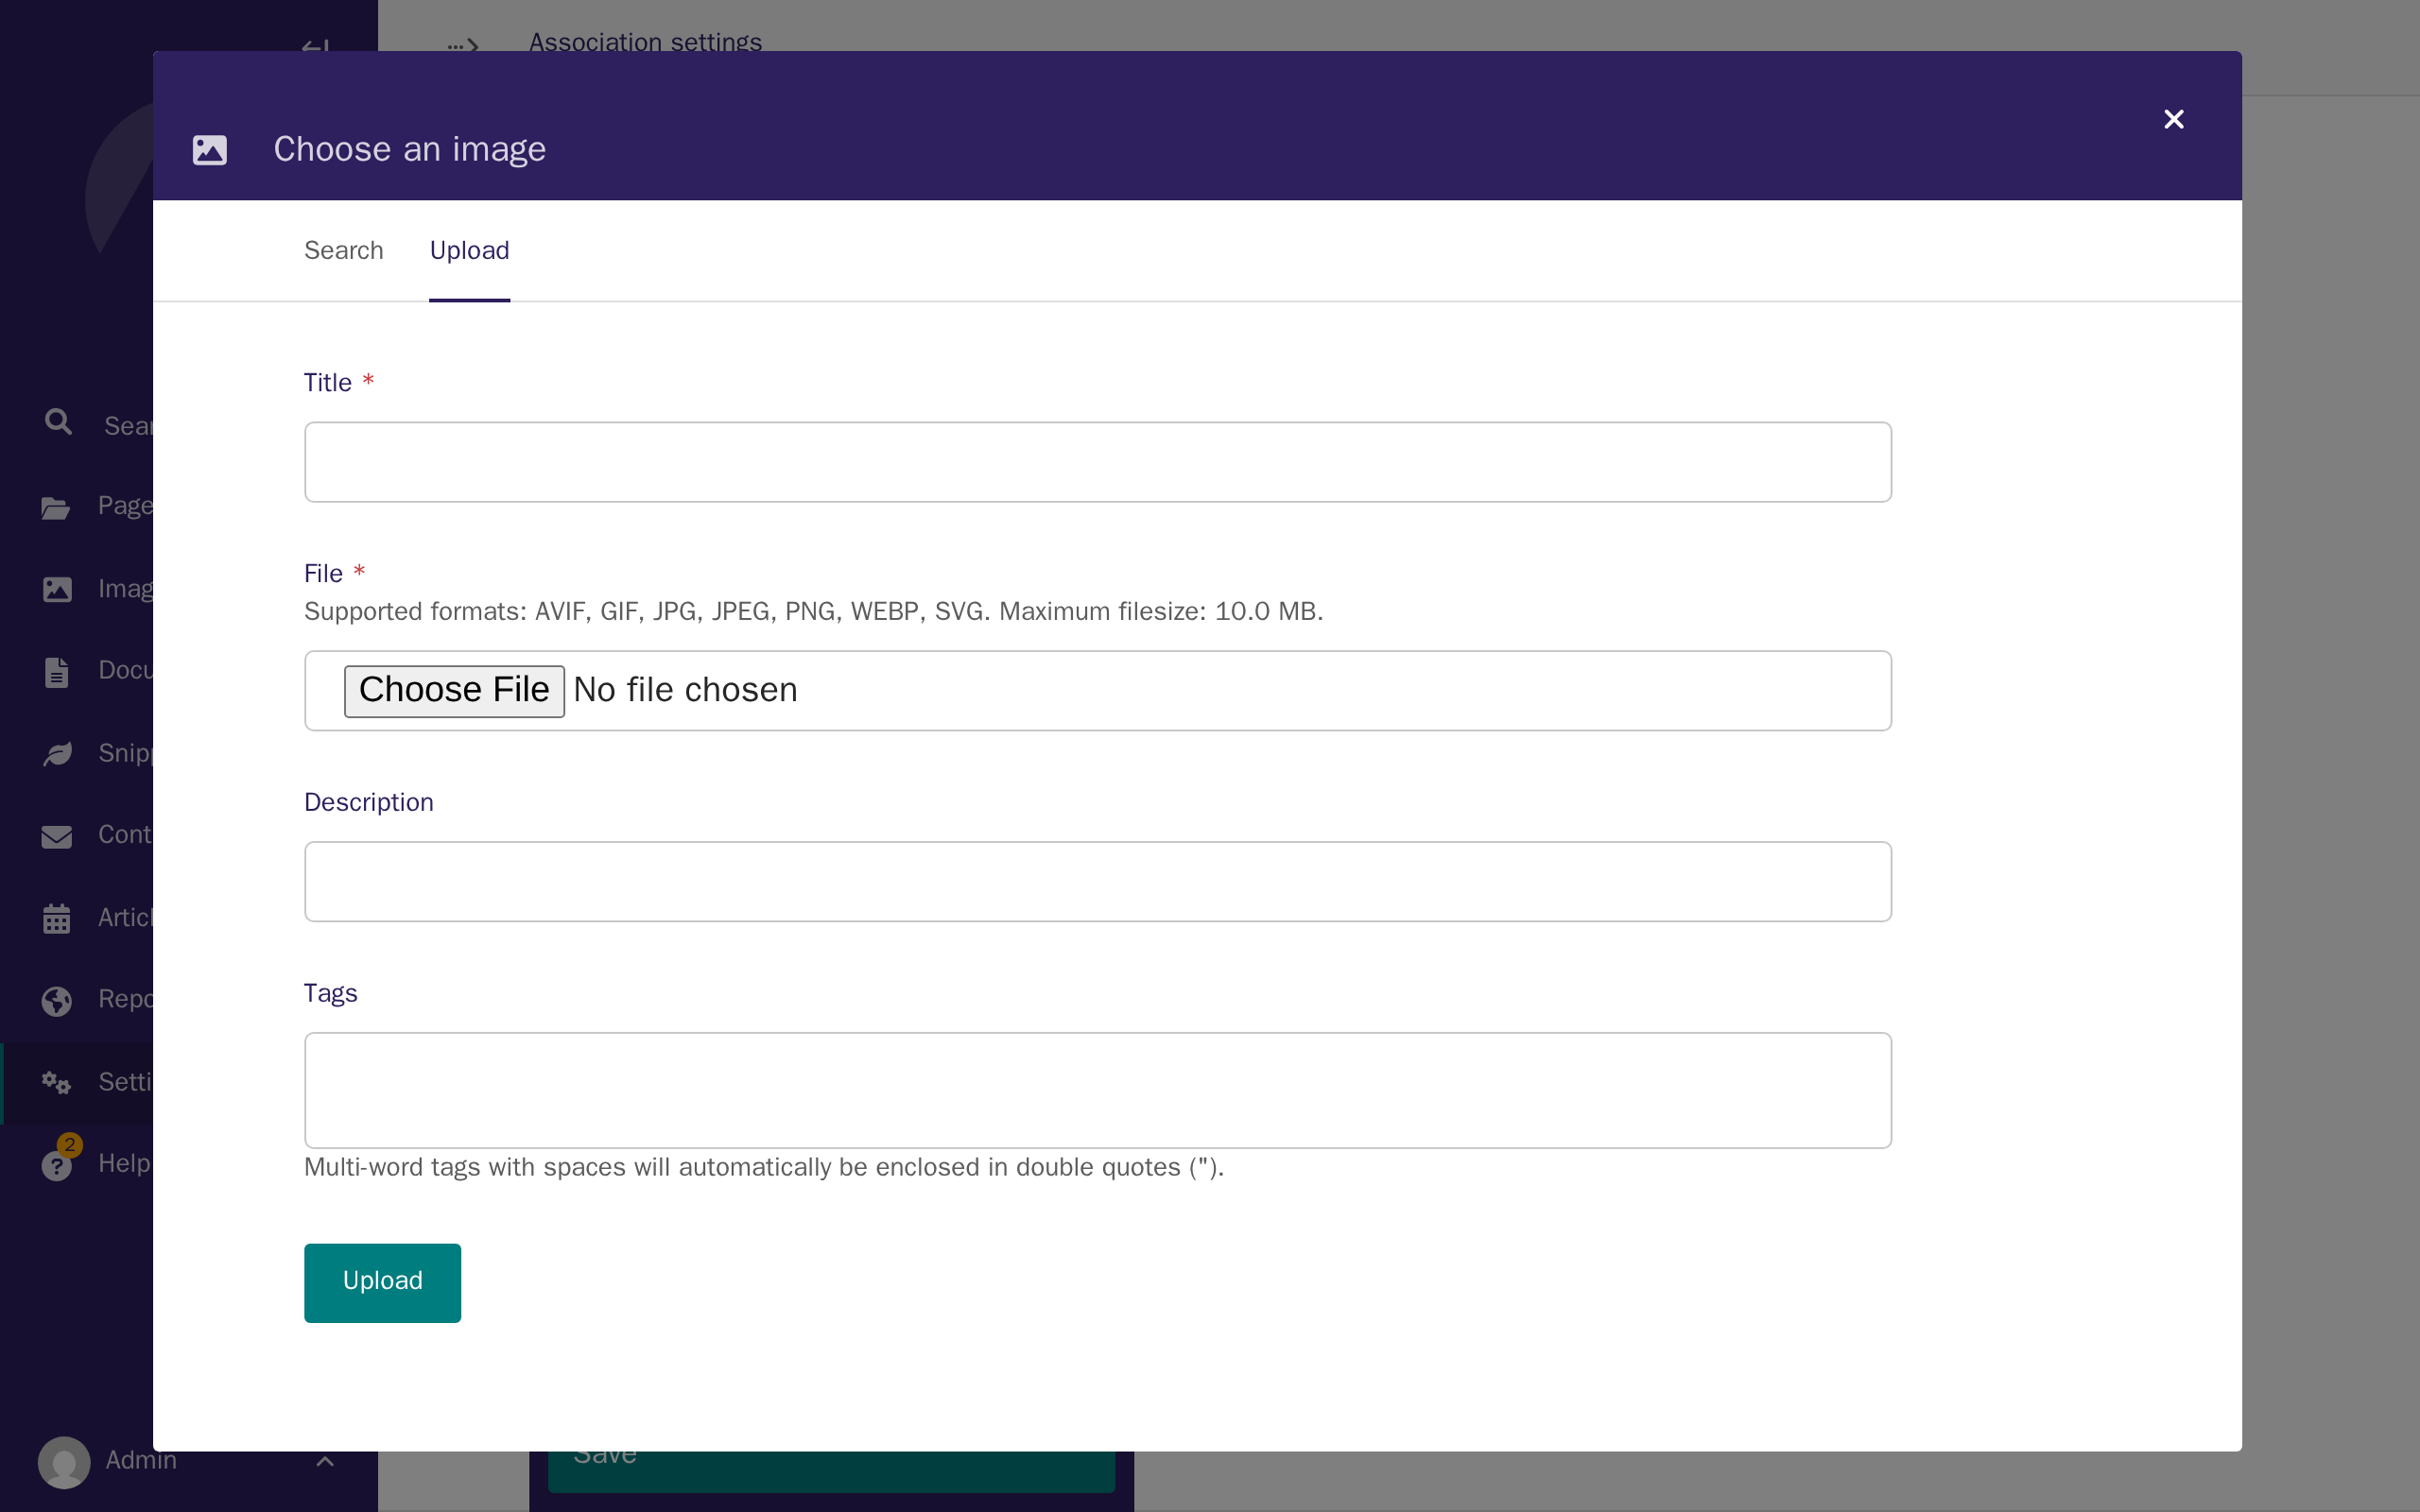
In the Images section, click Choose an image next to Association logo, then click the Upload tab.
-
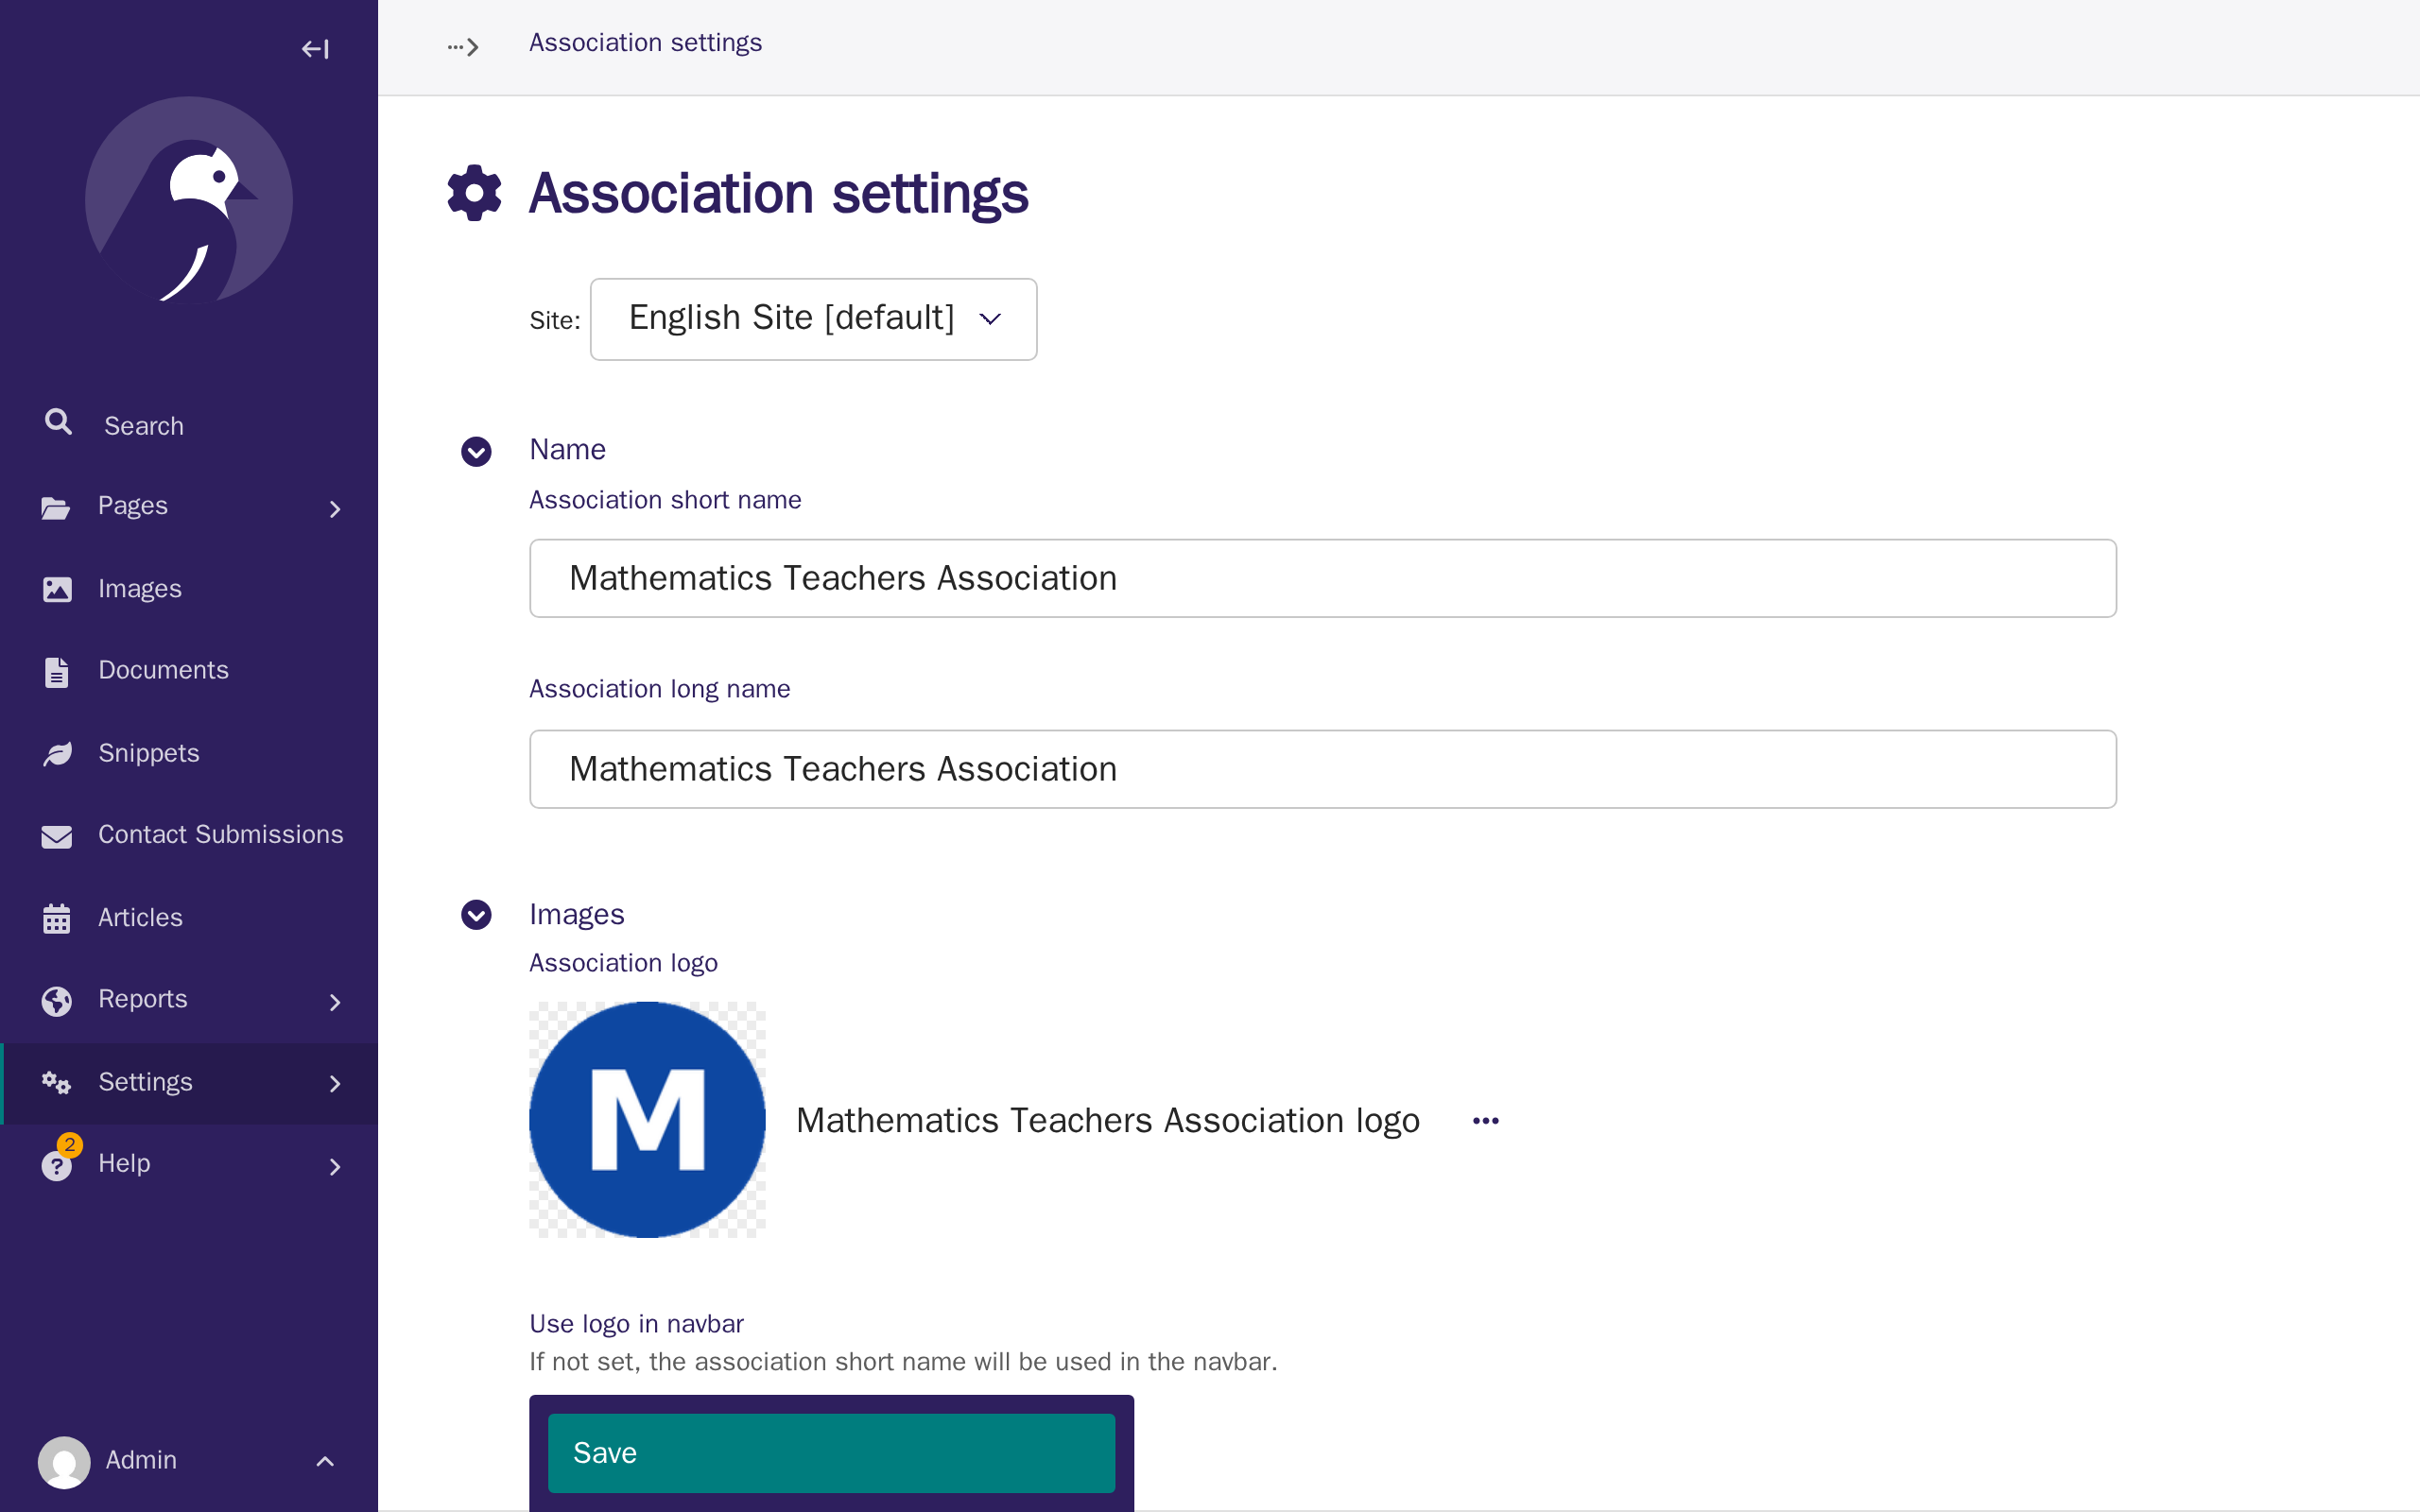
Add a title for your logo, choose your logo file, then click Upload. Your logo now appears in the Association logo field.
-
Turn on Use logo in navbar and Use logo in footer, then click Save.
-
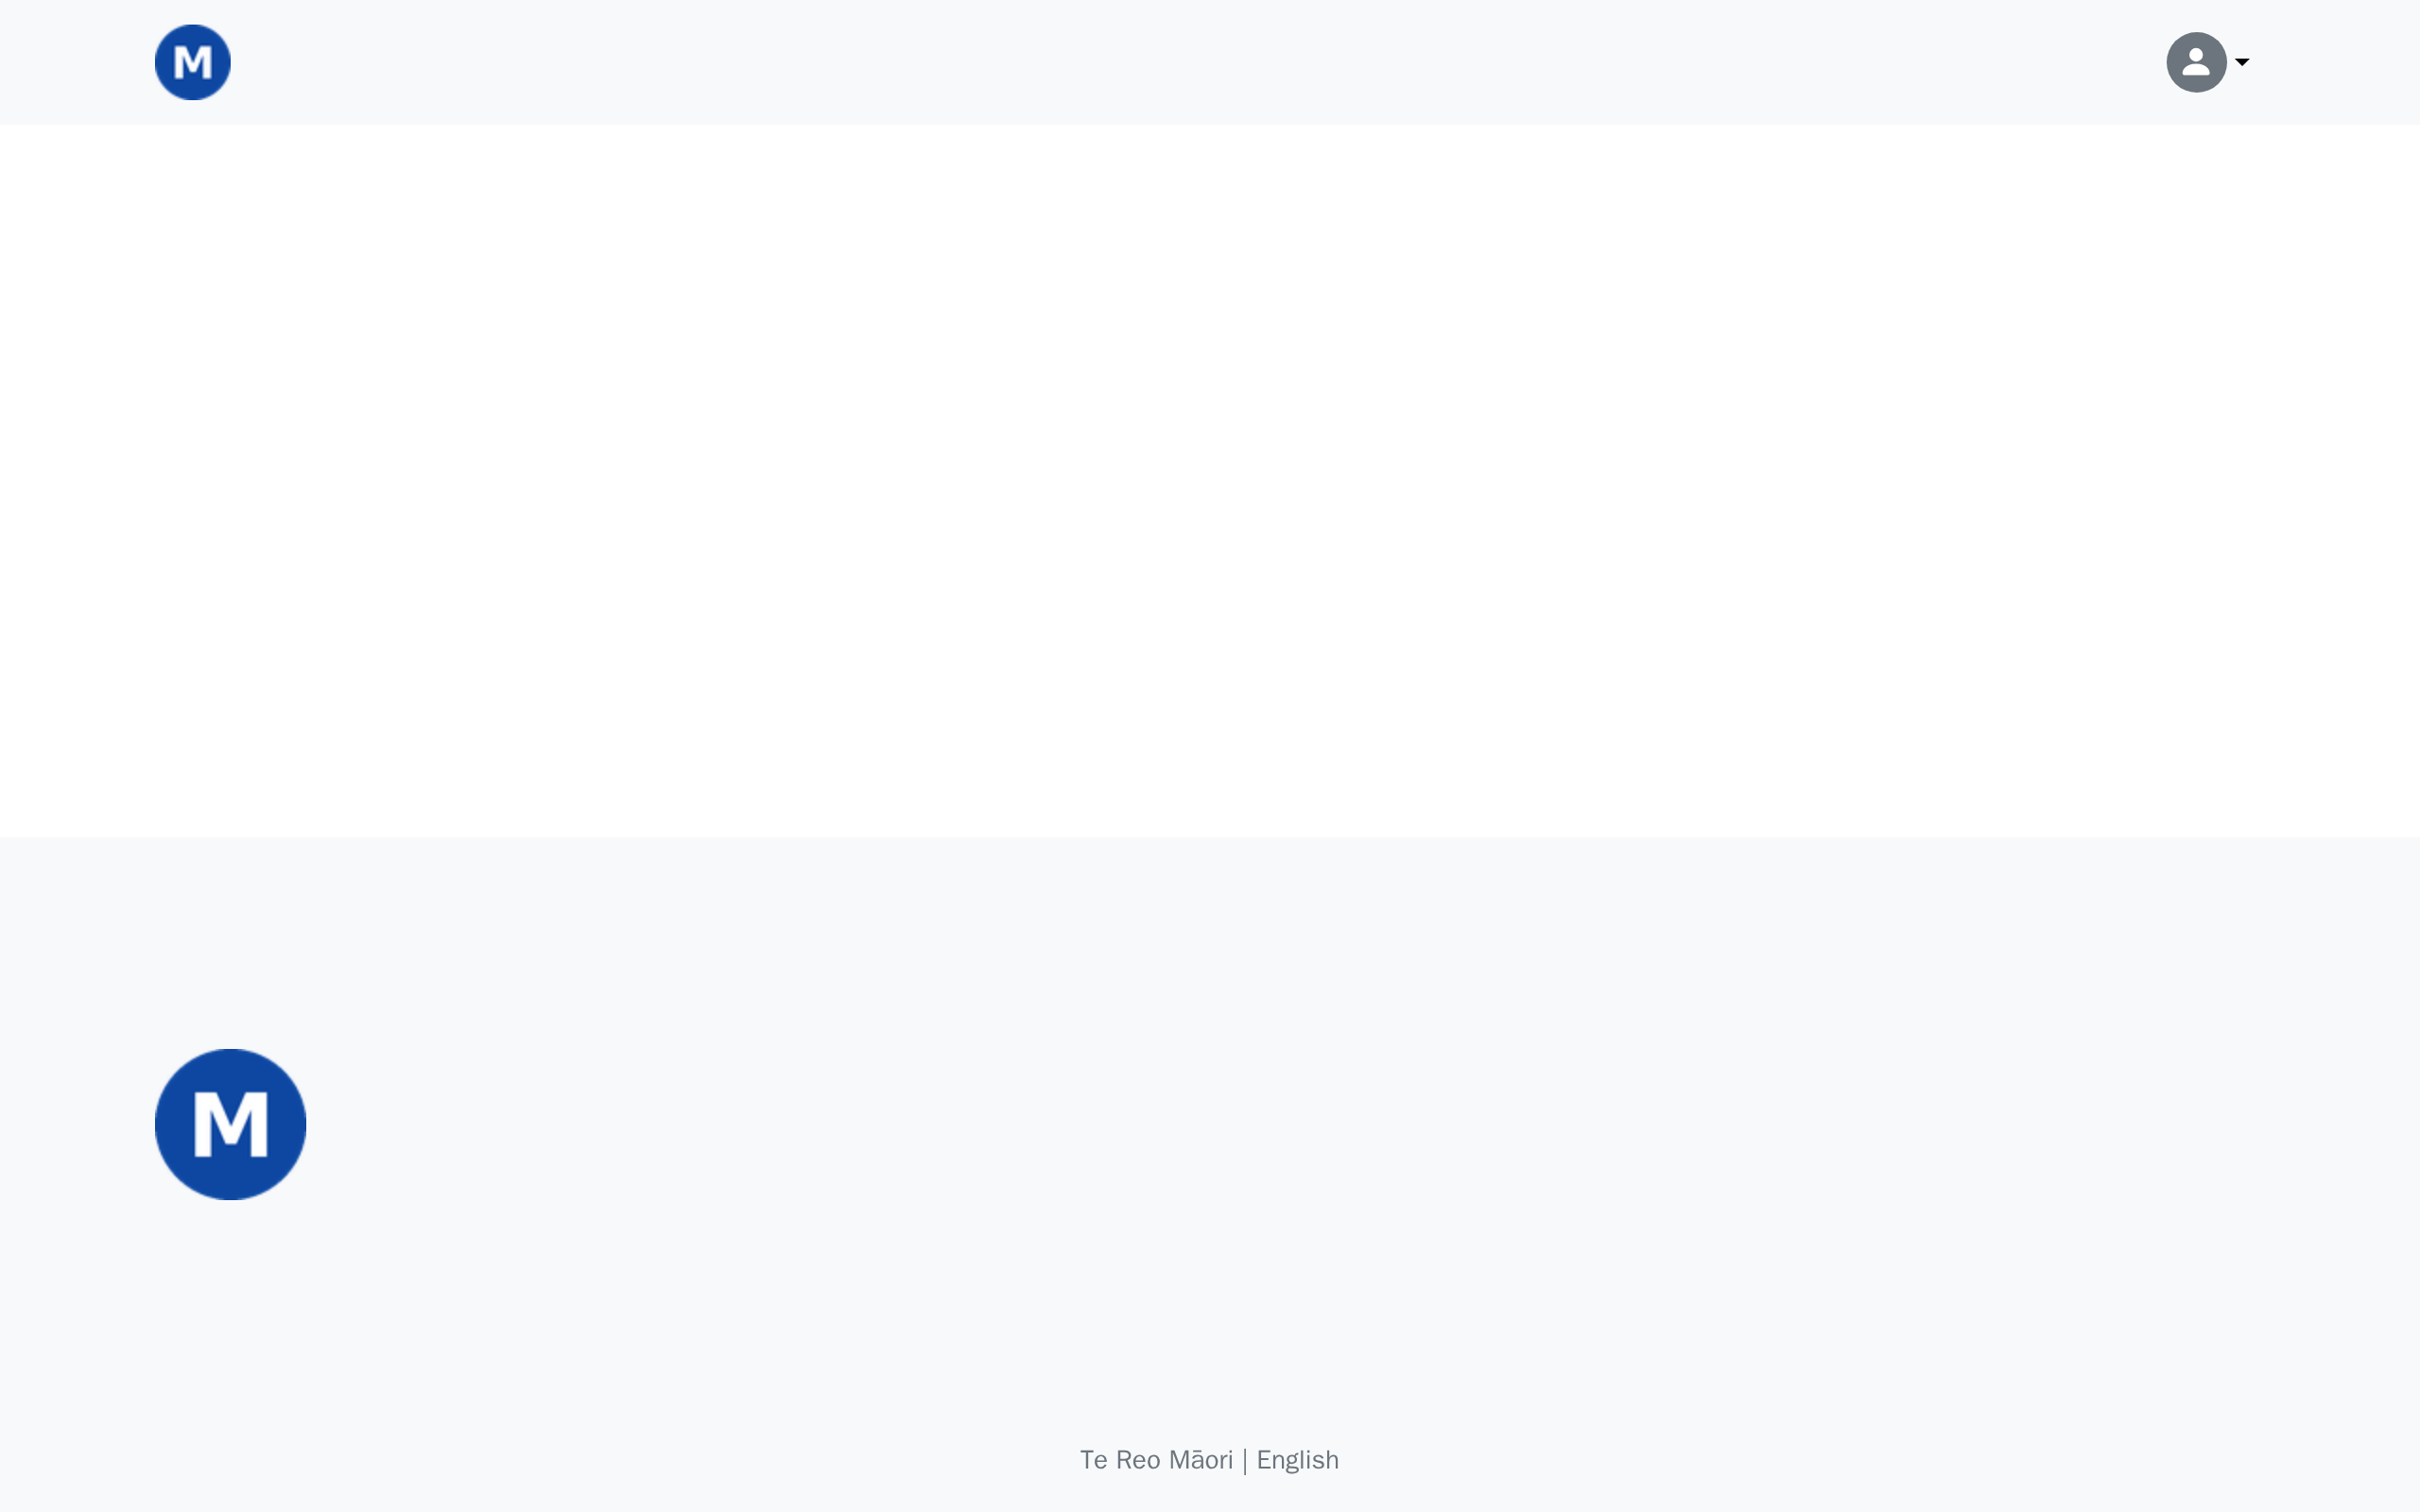
Open your website's home page in a new tab to see your logo live.
-
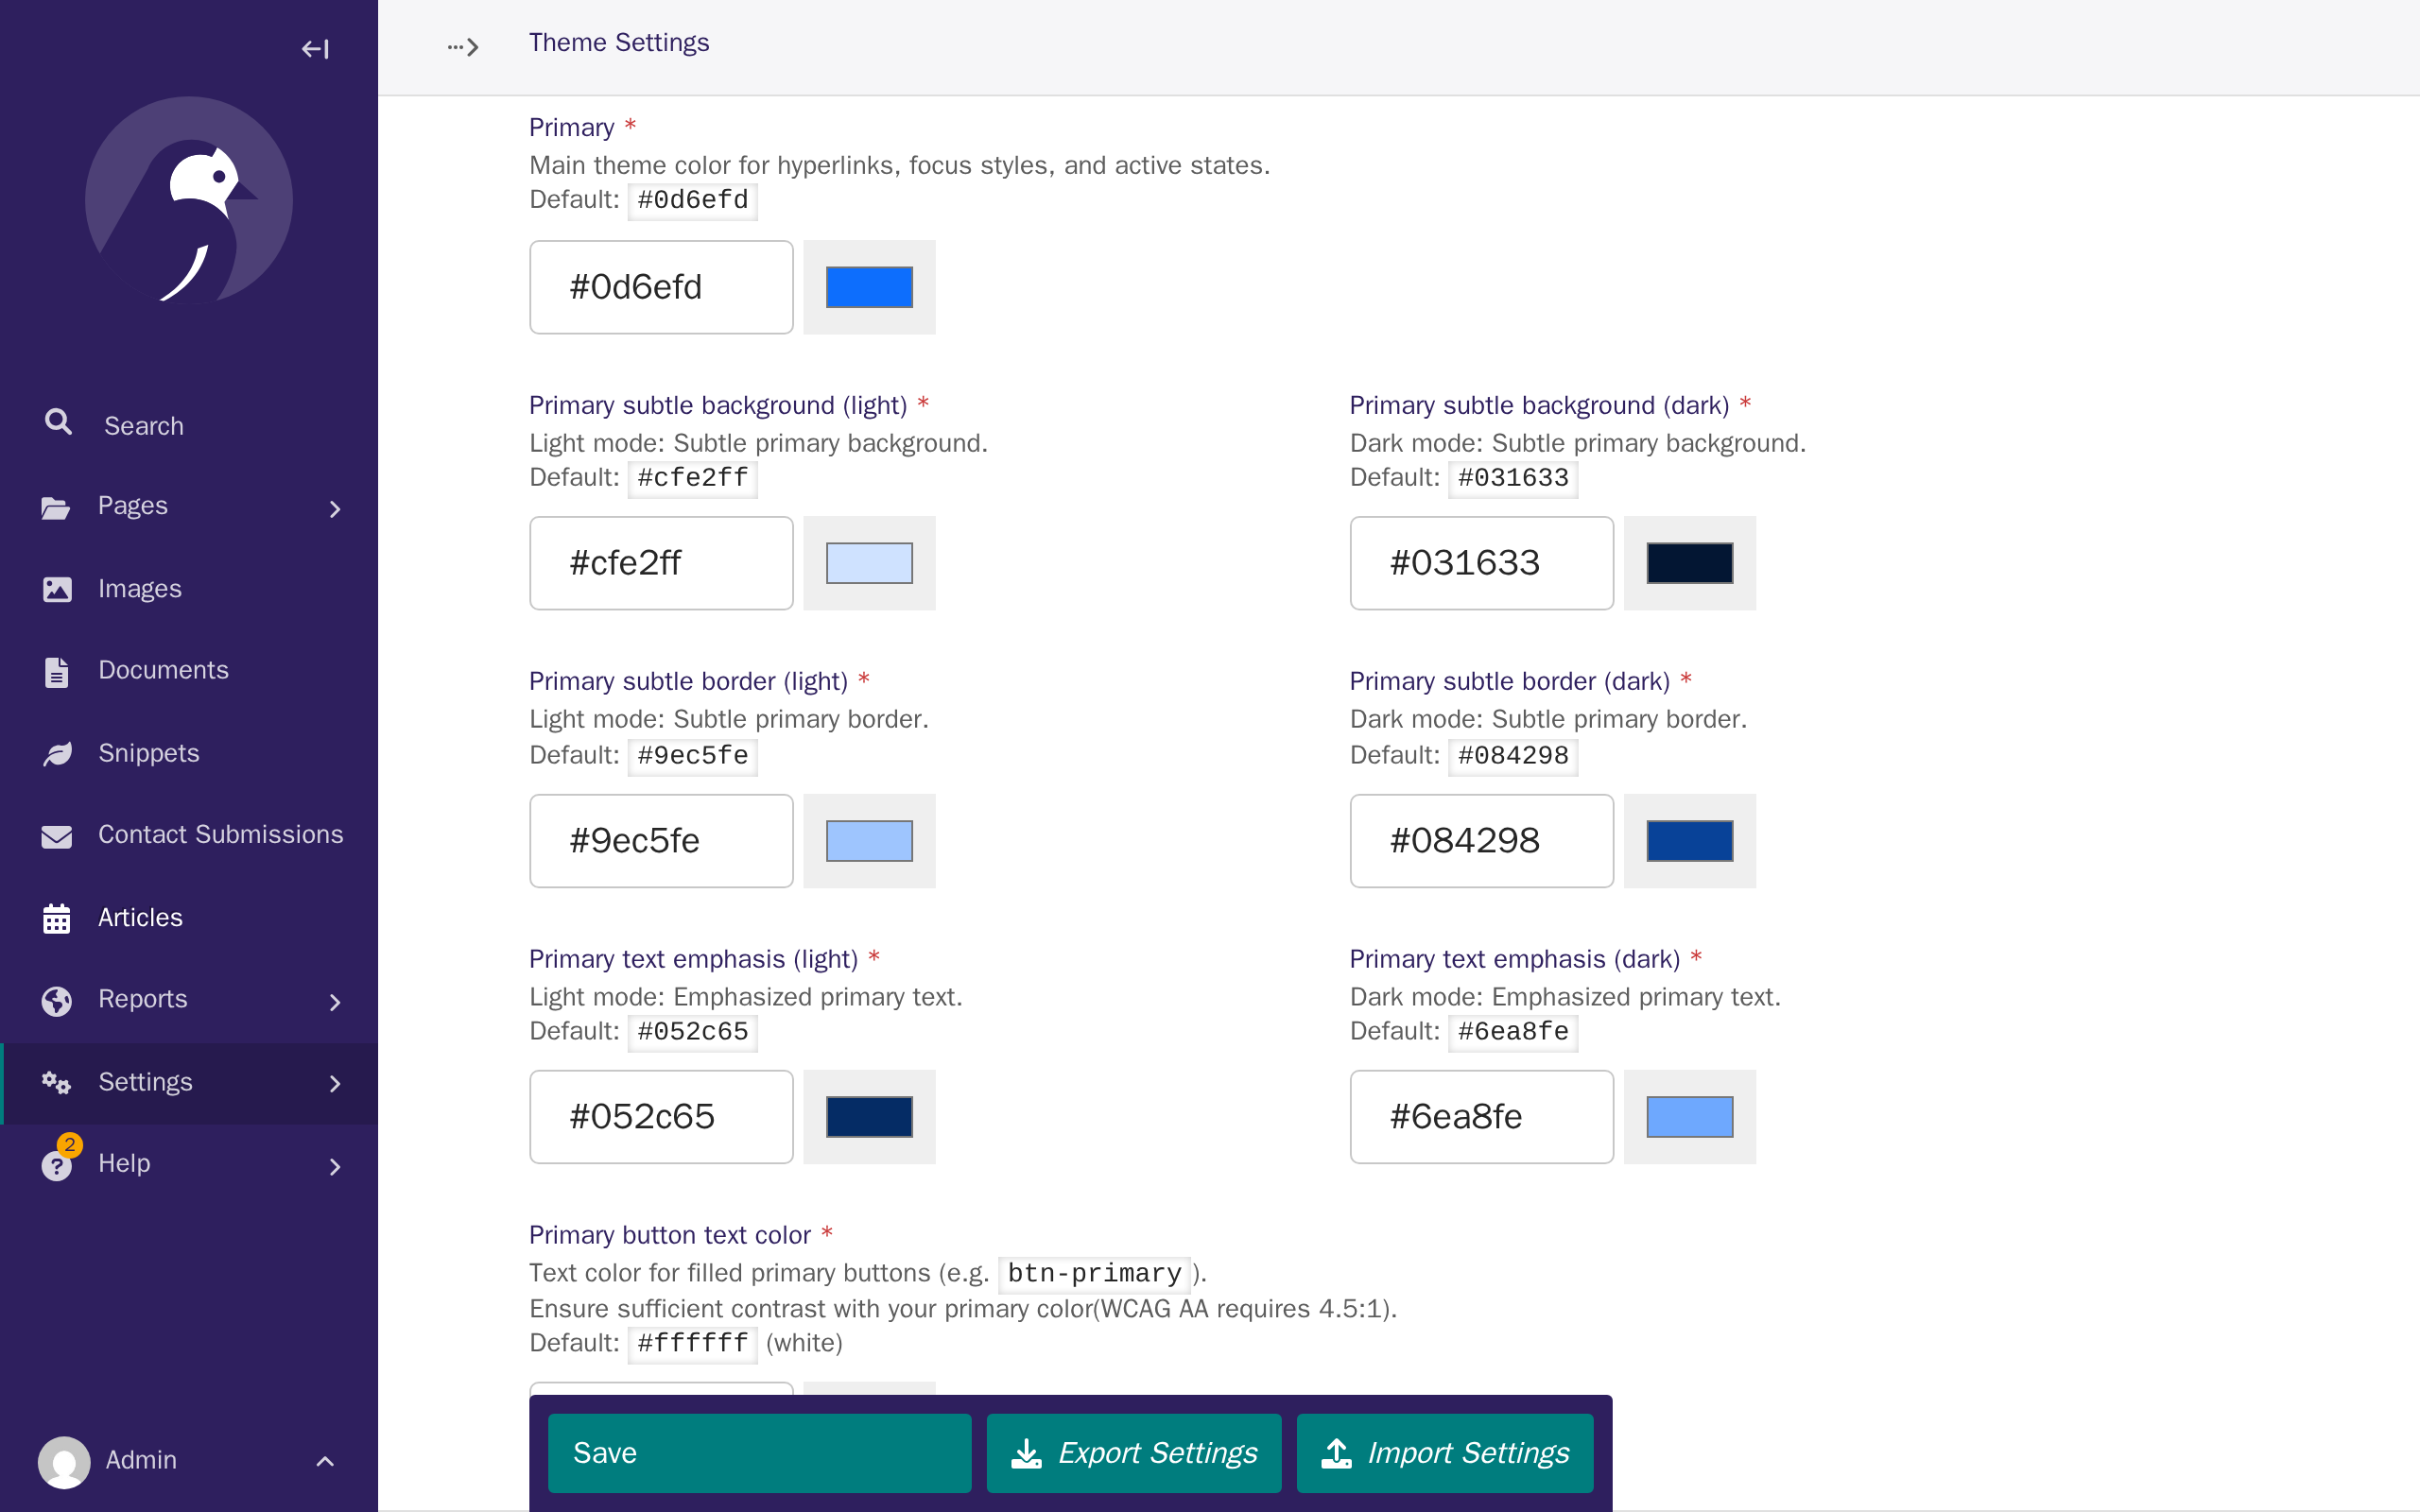
Back in the CMS, open Settings again, click Theme Settings, and scroll down to the Primary section. This is your website's main colour, used for links, buttons, and highlights across every page.
-
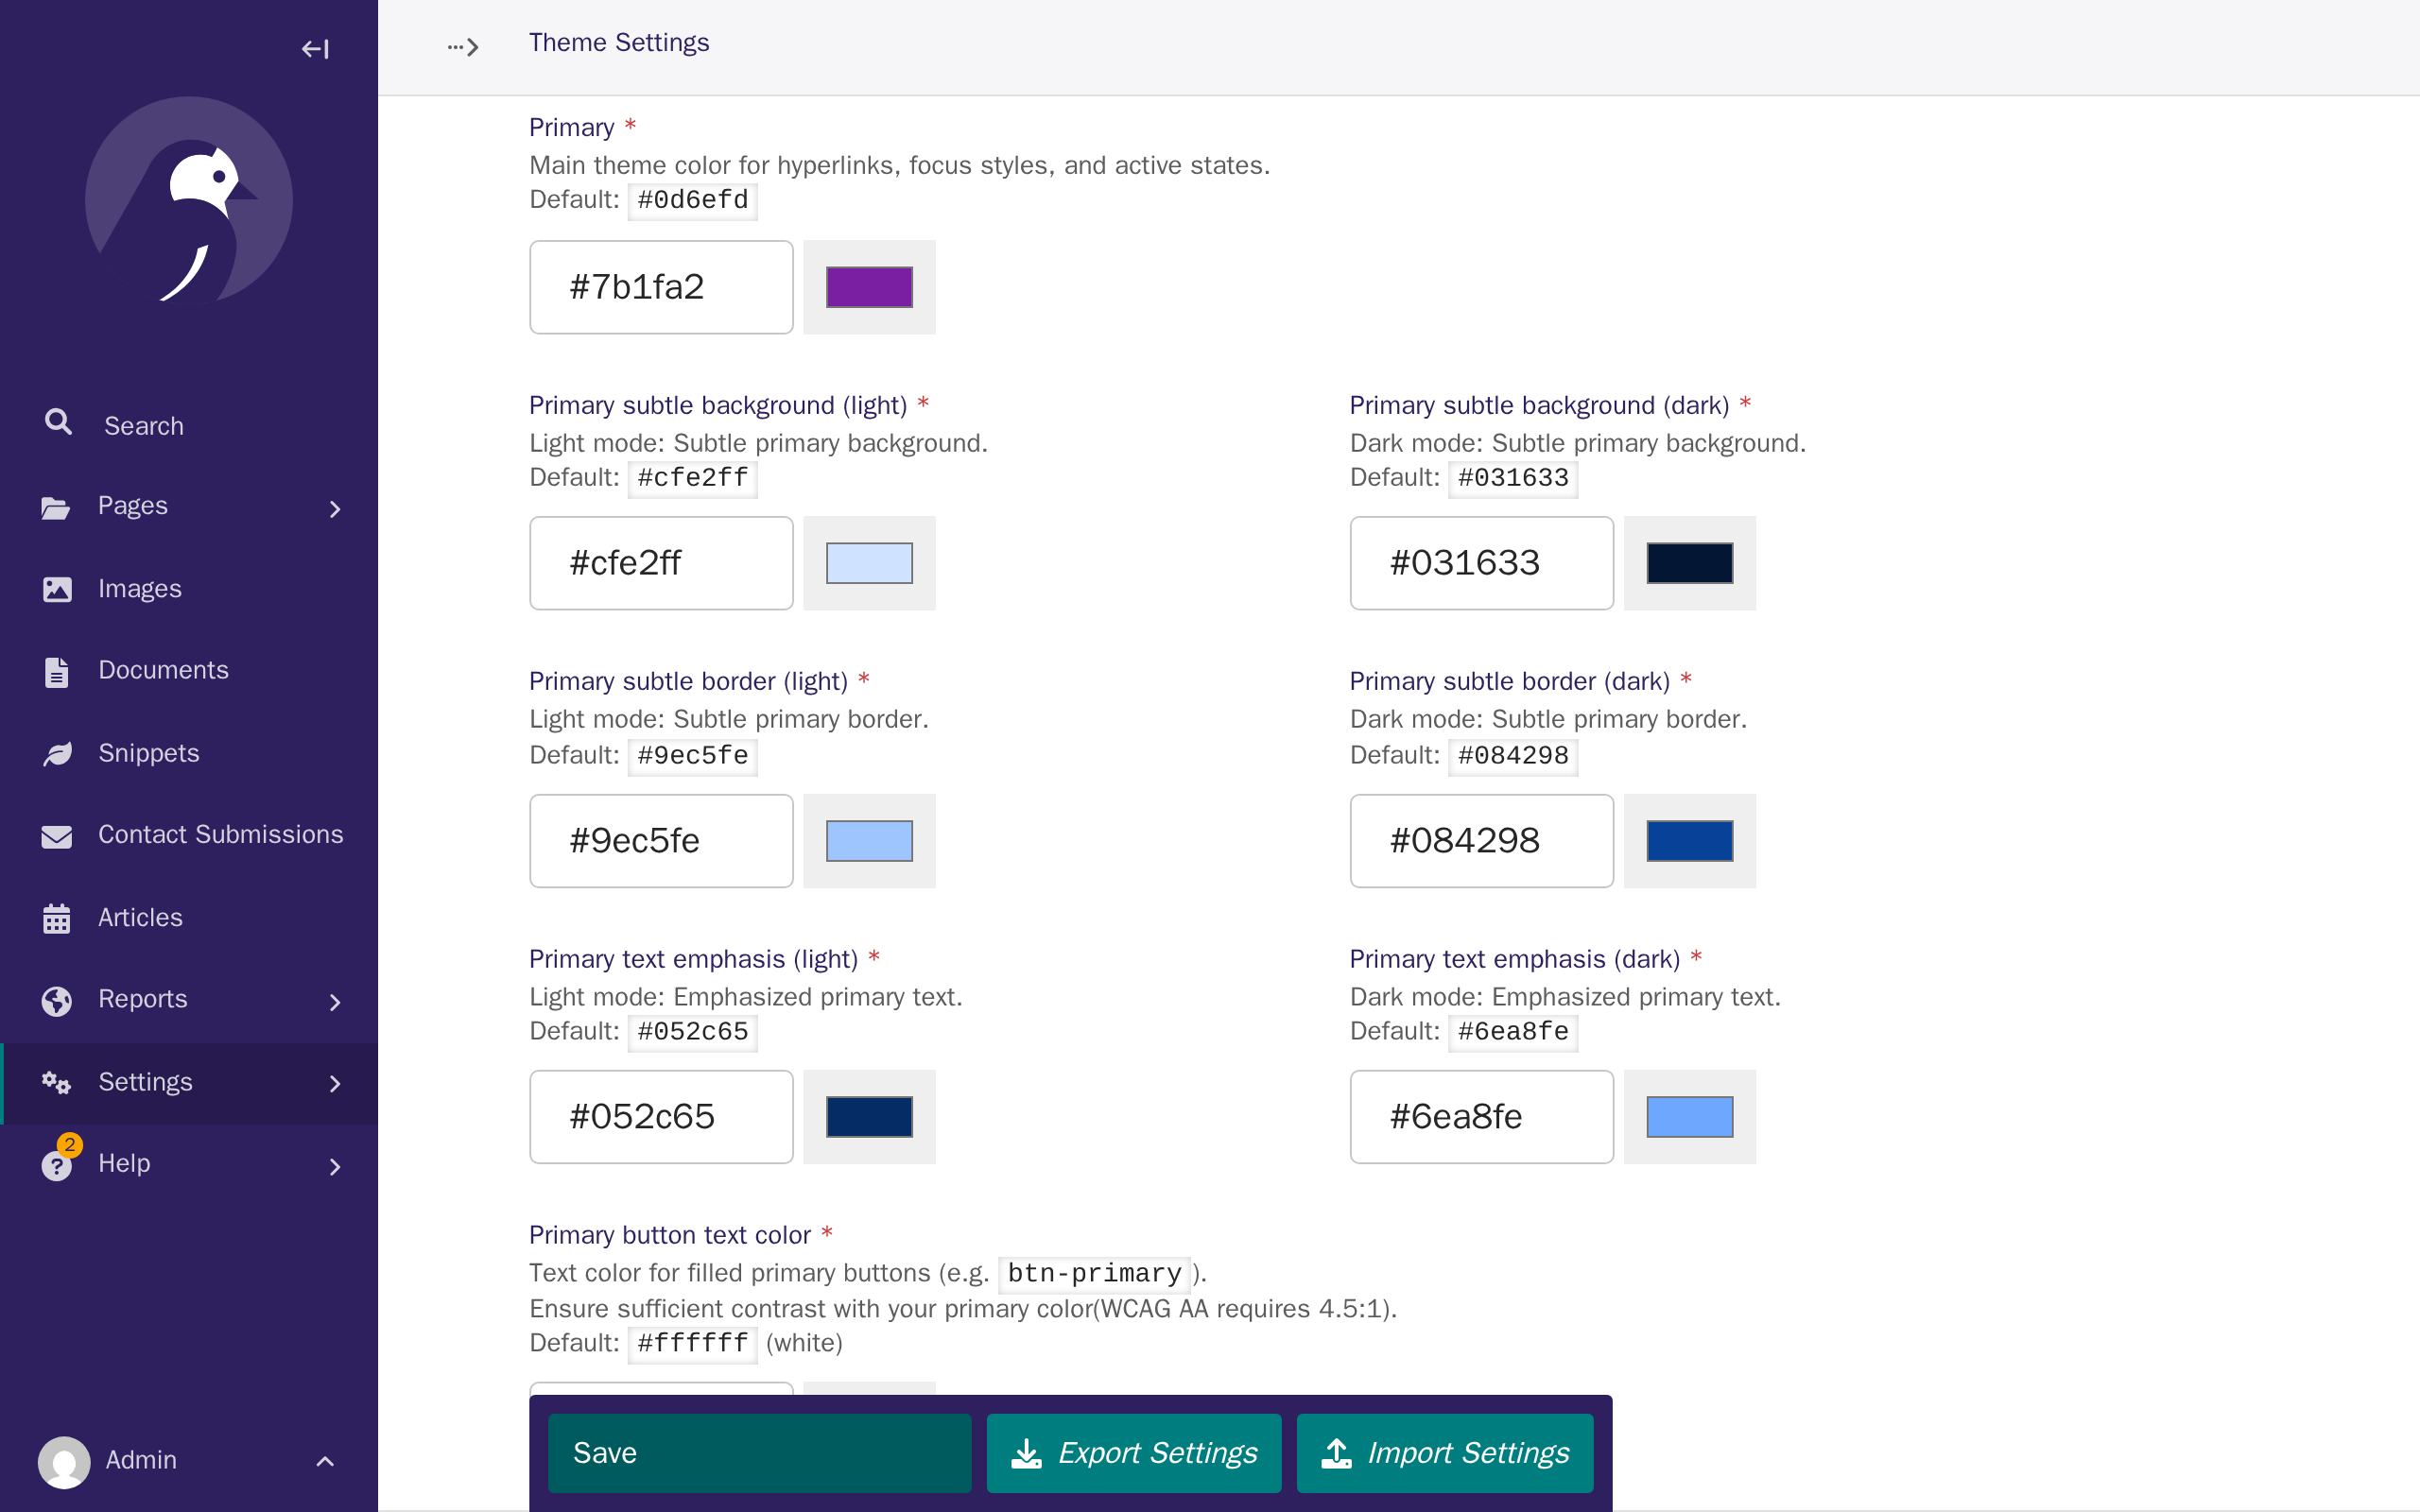
Replace the Primary value with your brand colour's hex code, then click Save.
-
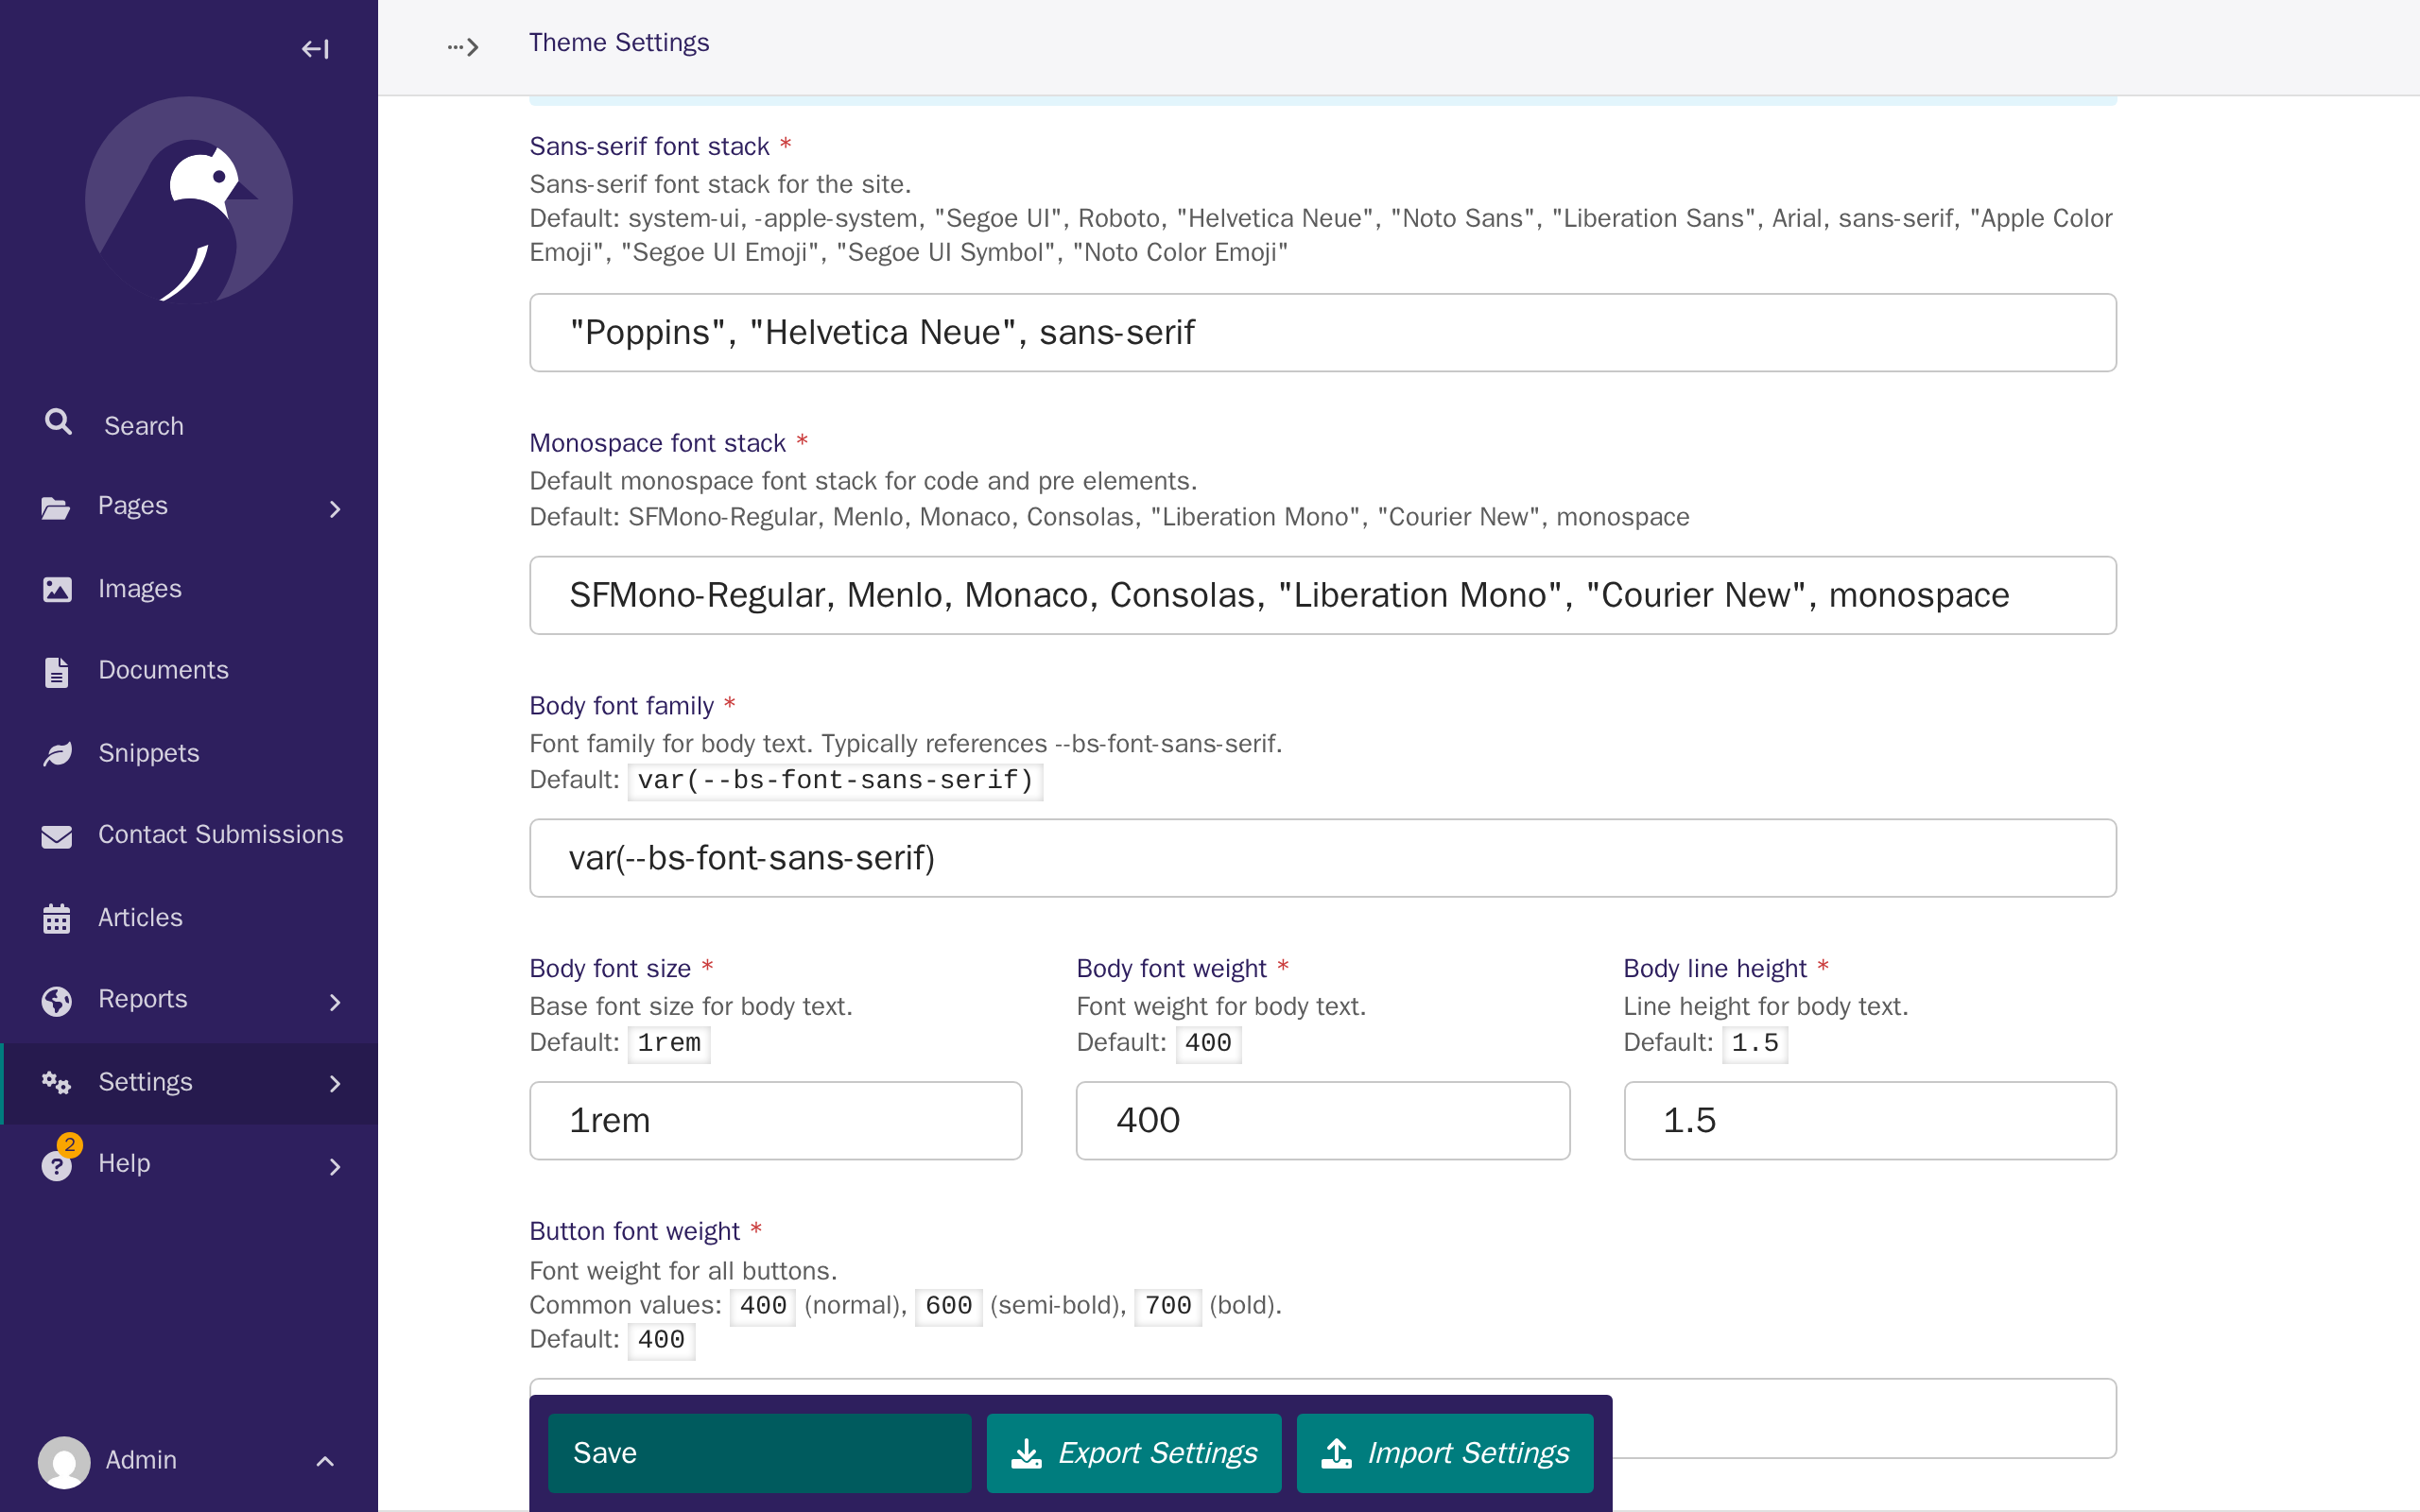
Further down the same page, find Fonts. Replace Sans-serif font stack with your font's name, then click Save.
Every other colour and font
Every other field on this page — navbar and footer colours, body text, buttons, and the rest of the font settings — works exactly the same way as the two you just changed: enter a value, then click Save. The theme customisation reference covers every field, along with accessibility guidance for choosing colours with enough contrast.
What's next
Now that your site carries your branding, the next tutorial covers your first pages — creating your home page and the core pages every site needs.