Tutorial 9: Events
Who this page is for: client website admins — the volunteers who will load content and run the day-to-day site, generally with no prior web-admin experience.
What you'll have at the end
You'll have added a location, created an event with a session, published it, and seen it live on your public site.
Before you start
Whether your site has events at all is a decision from onboarding — see question 5 of the decision questionnaire.
Turning it on (AMS_EVENTS_ENABLED) needs an environment change and a restart, so if you don't see Events in the Django admin yet, your provider hasn't switched it on — see the events admin guide.
Events are managed in the Django admin, not the CMS — see Tutorial 1: Orientation if you're not sure how to get there.
Steps
-
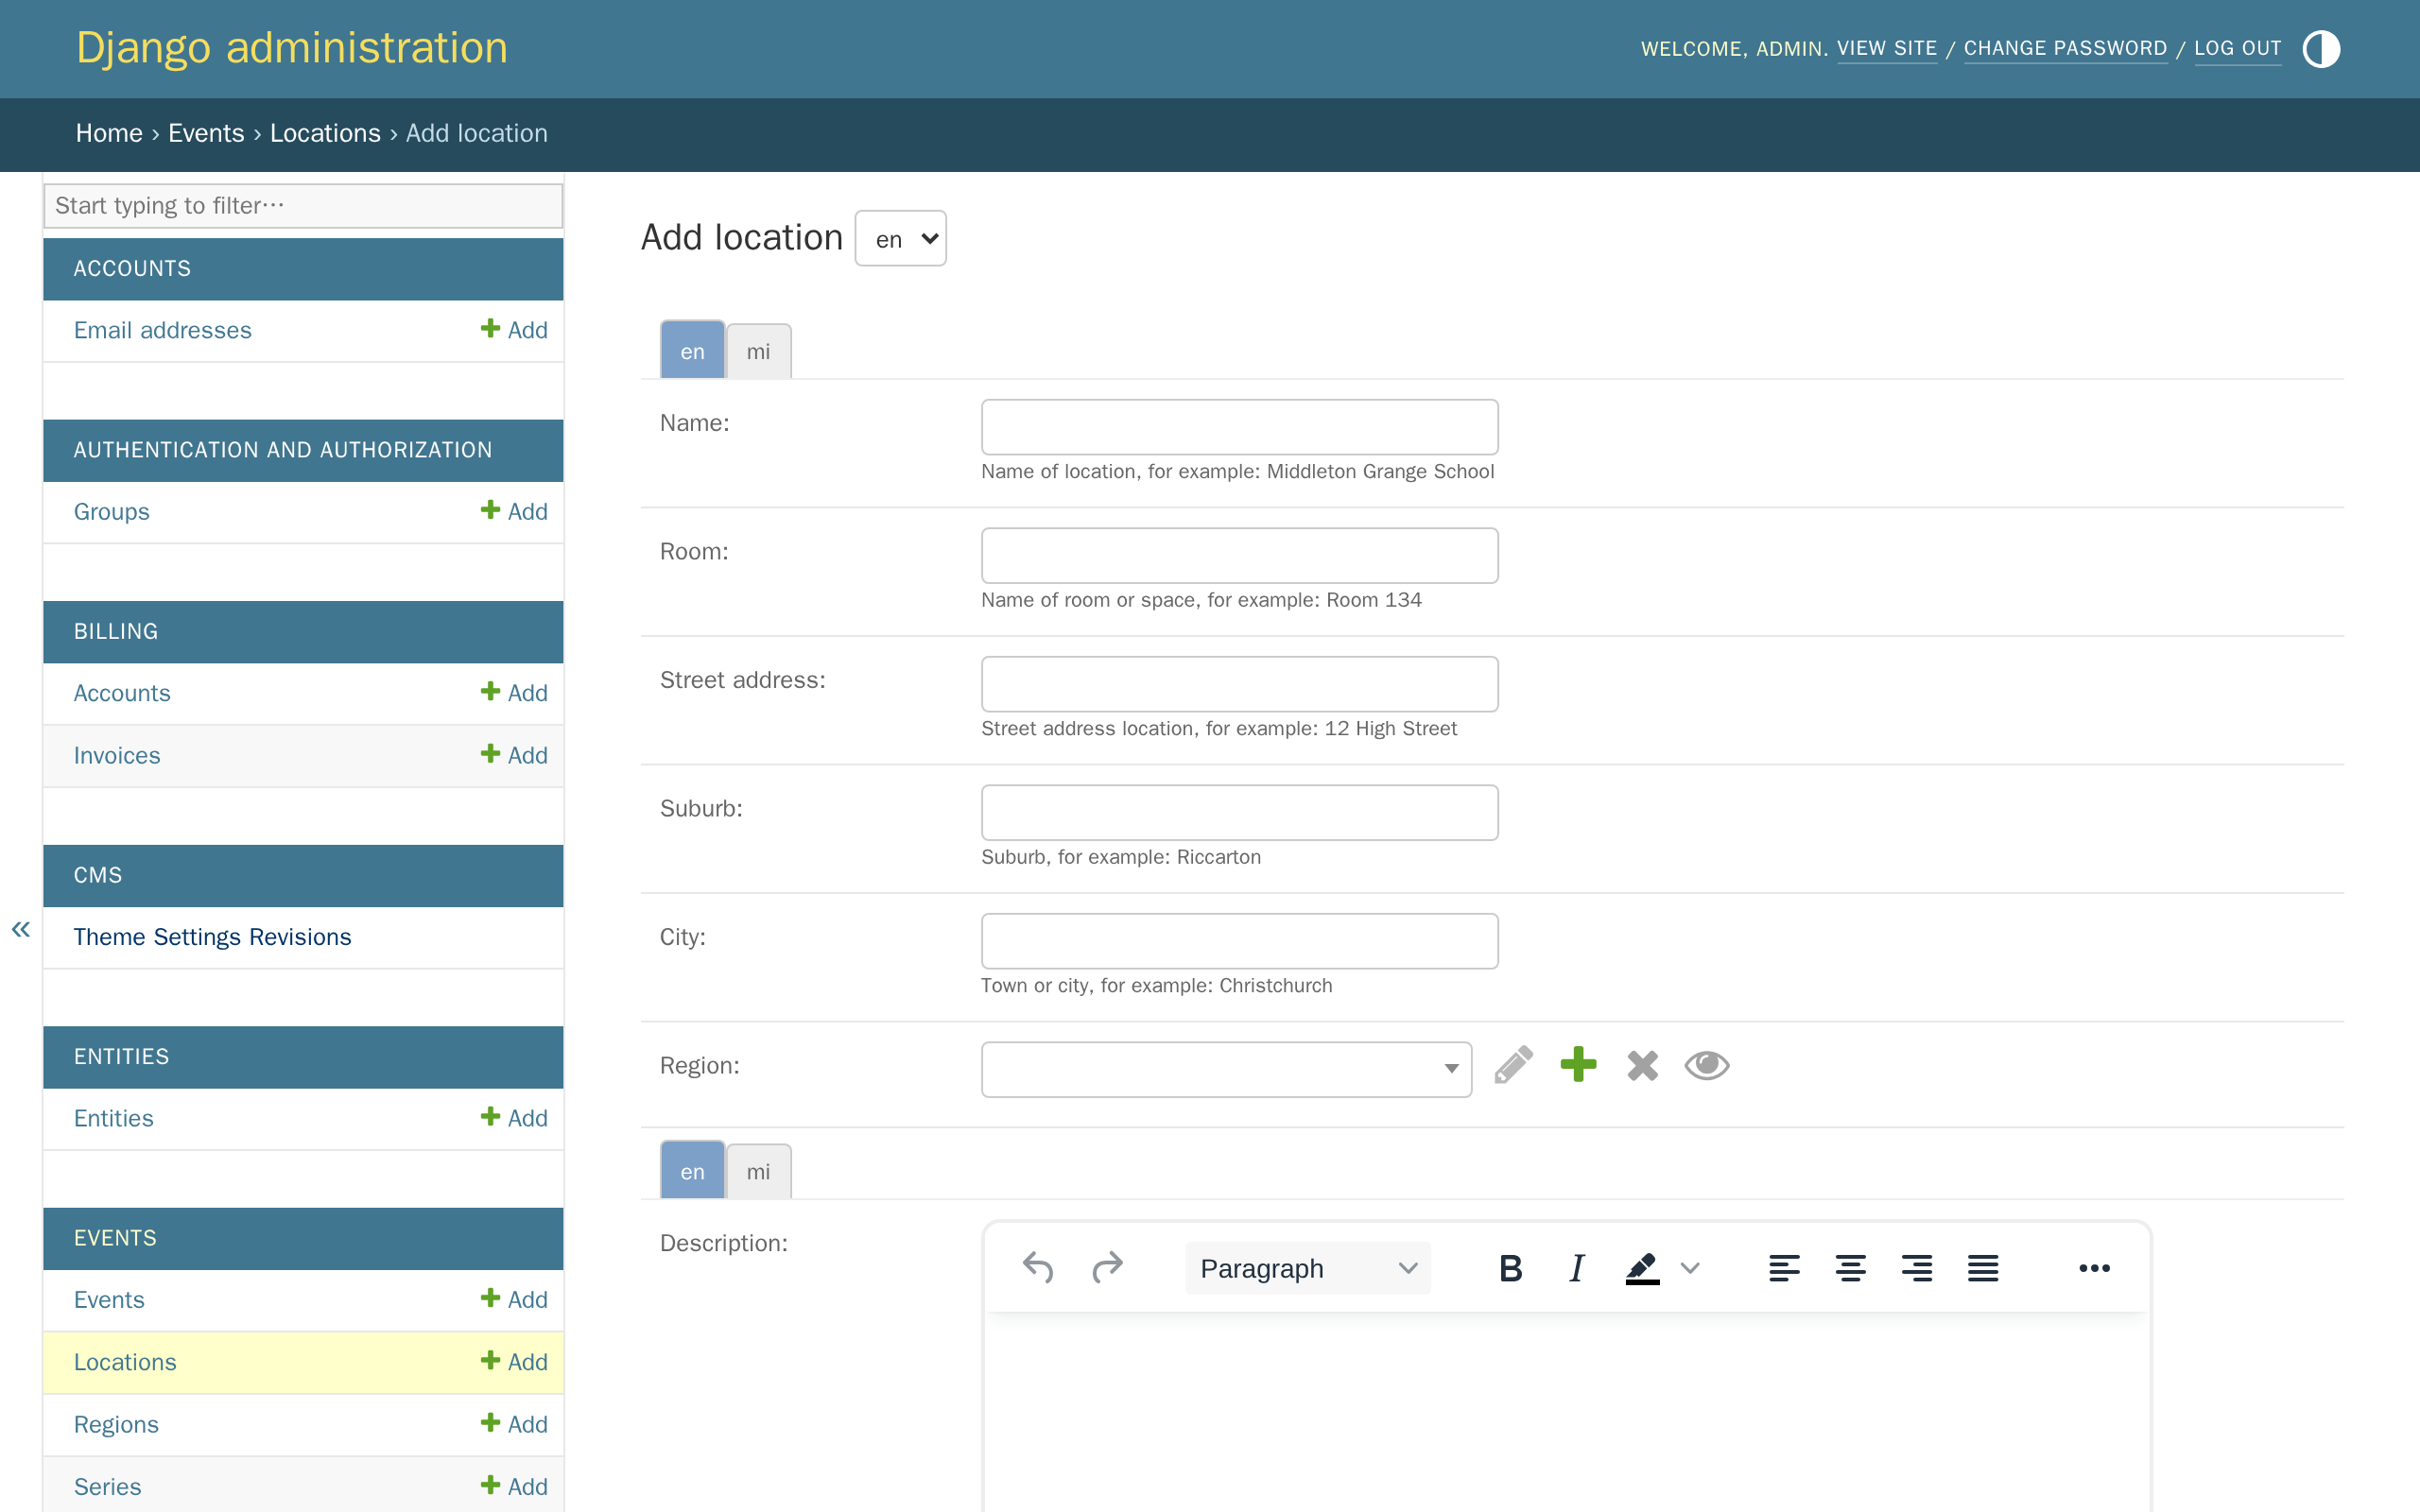
In the Django admin, click Events, then click Add next to Locations.
-
Fill in a Name and City, then click Save. Everything else on this form is optional.
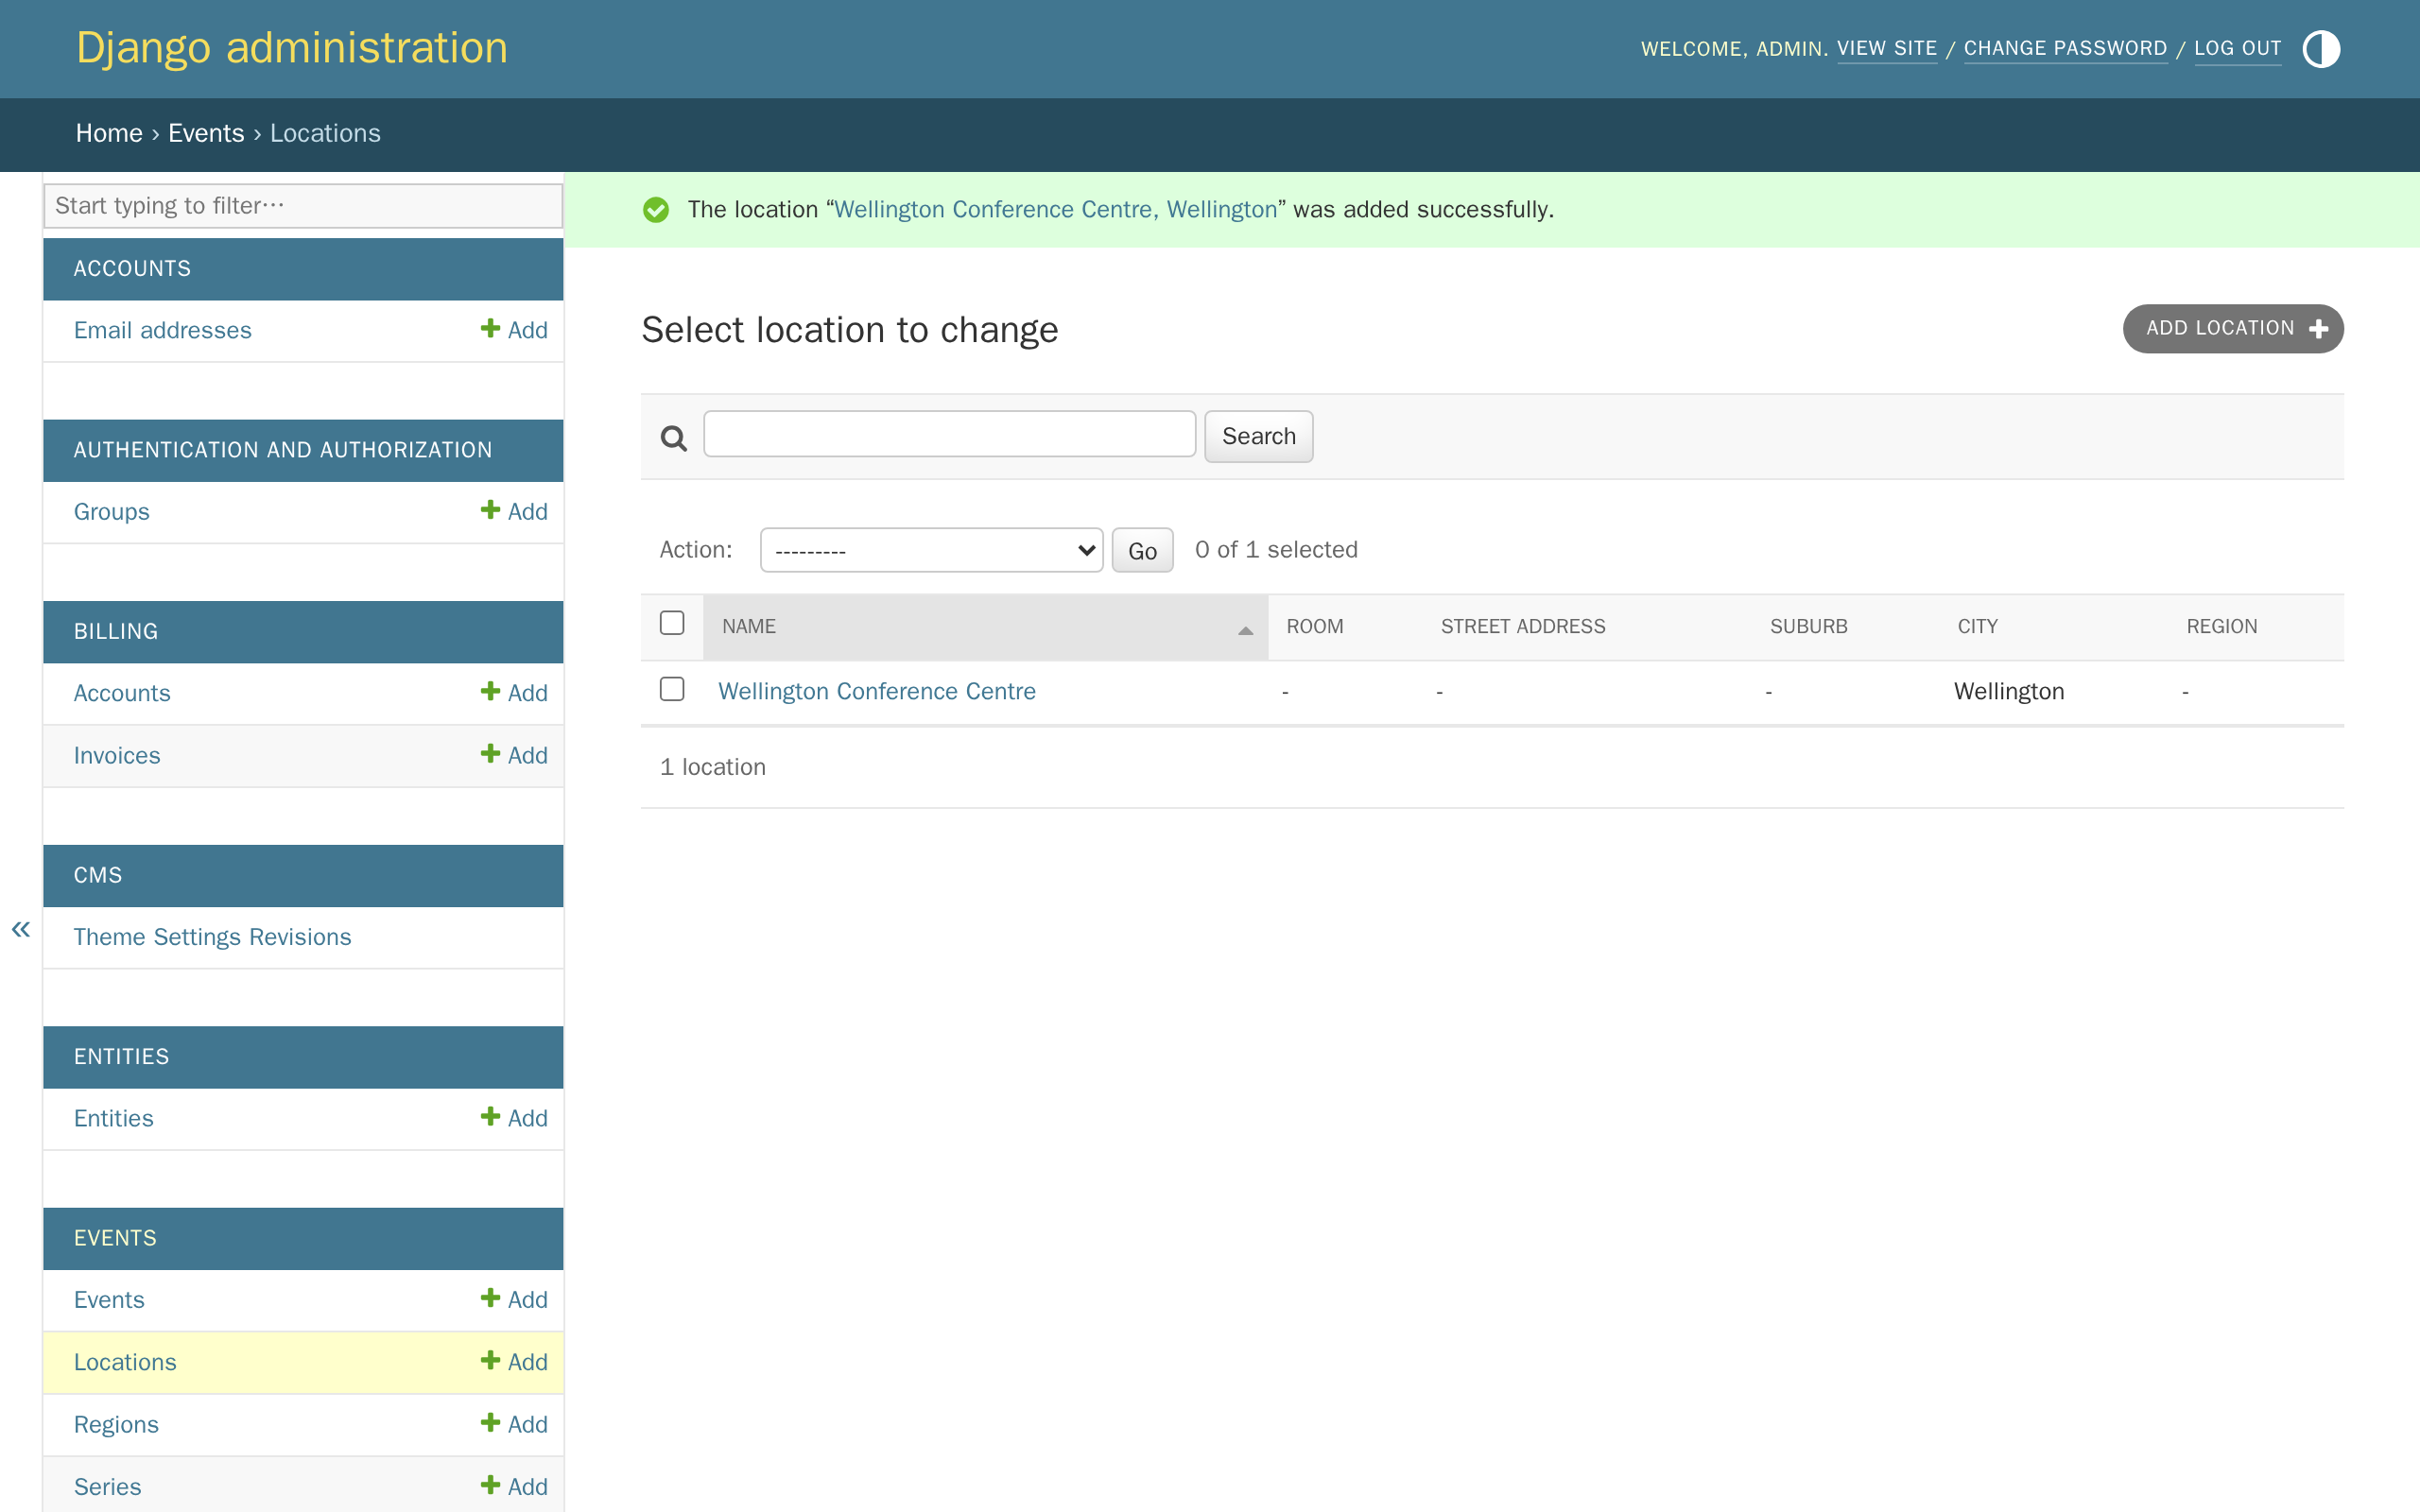
A Region groups several locations together — useful if your association runs events in more than one part of the country. Add one later from Regions, in the same Events section, if you need it.
-
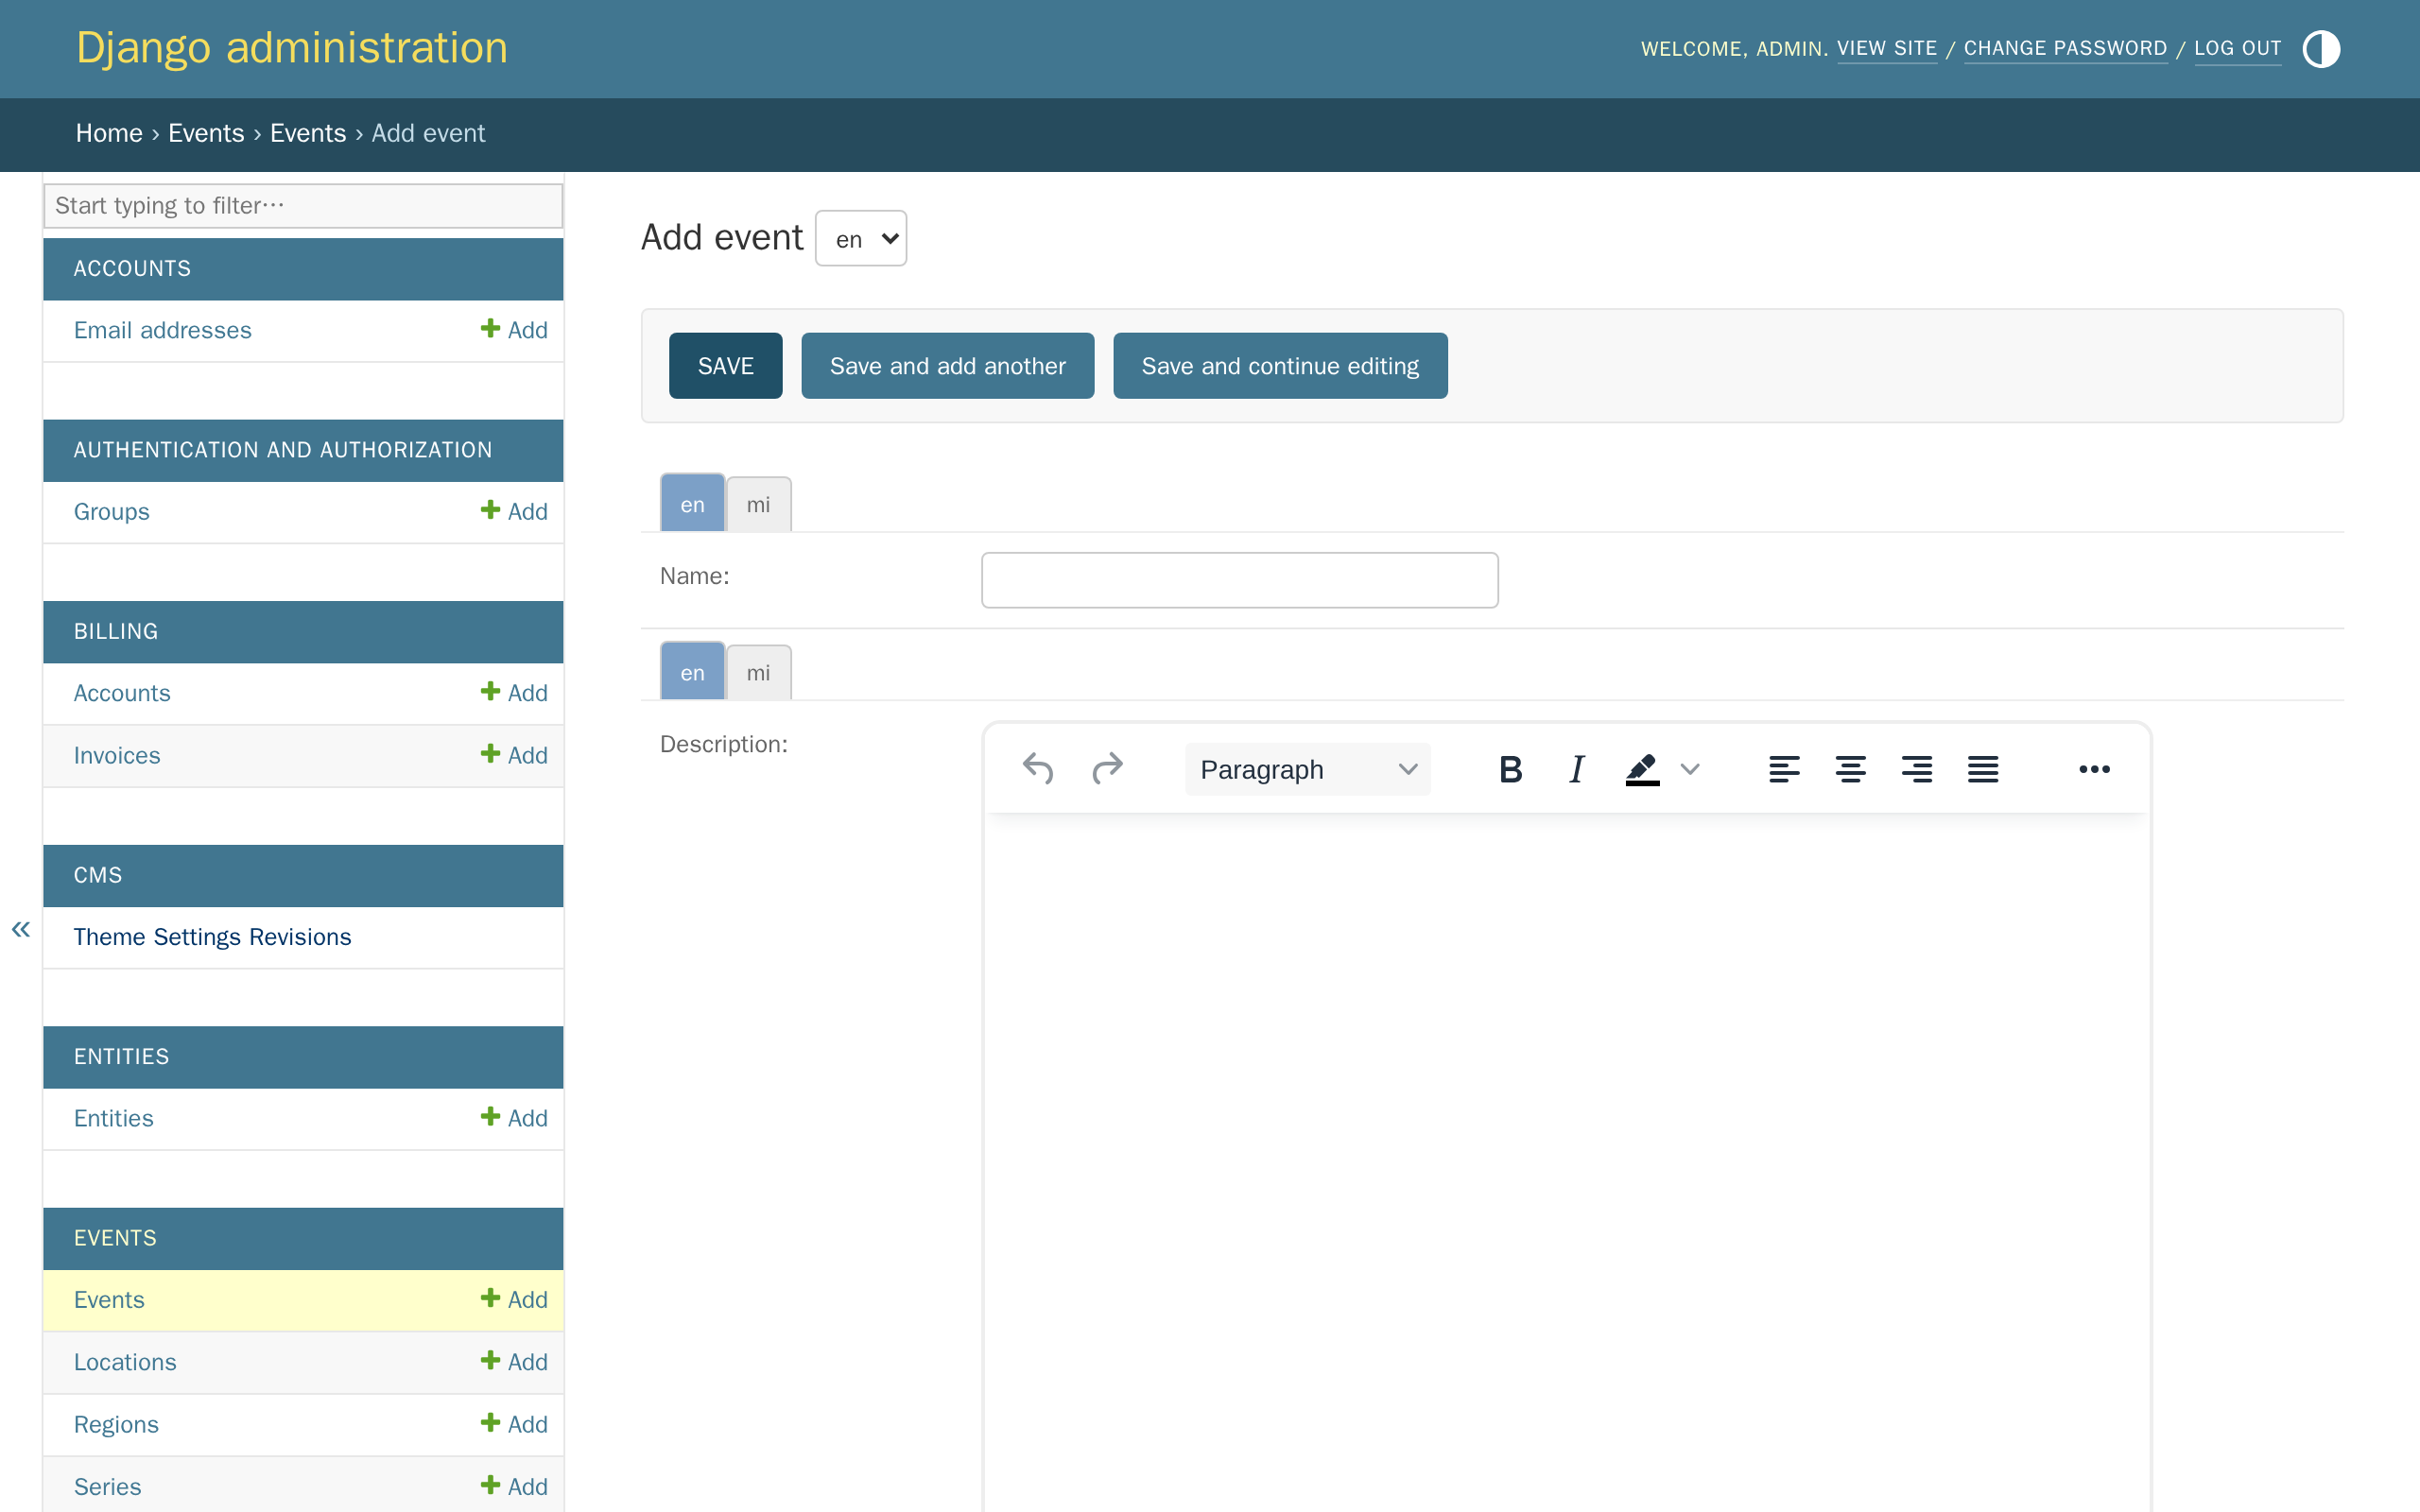
Click Events, then click Add next to Events.
-
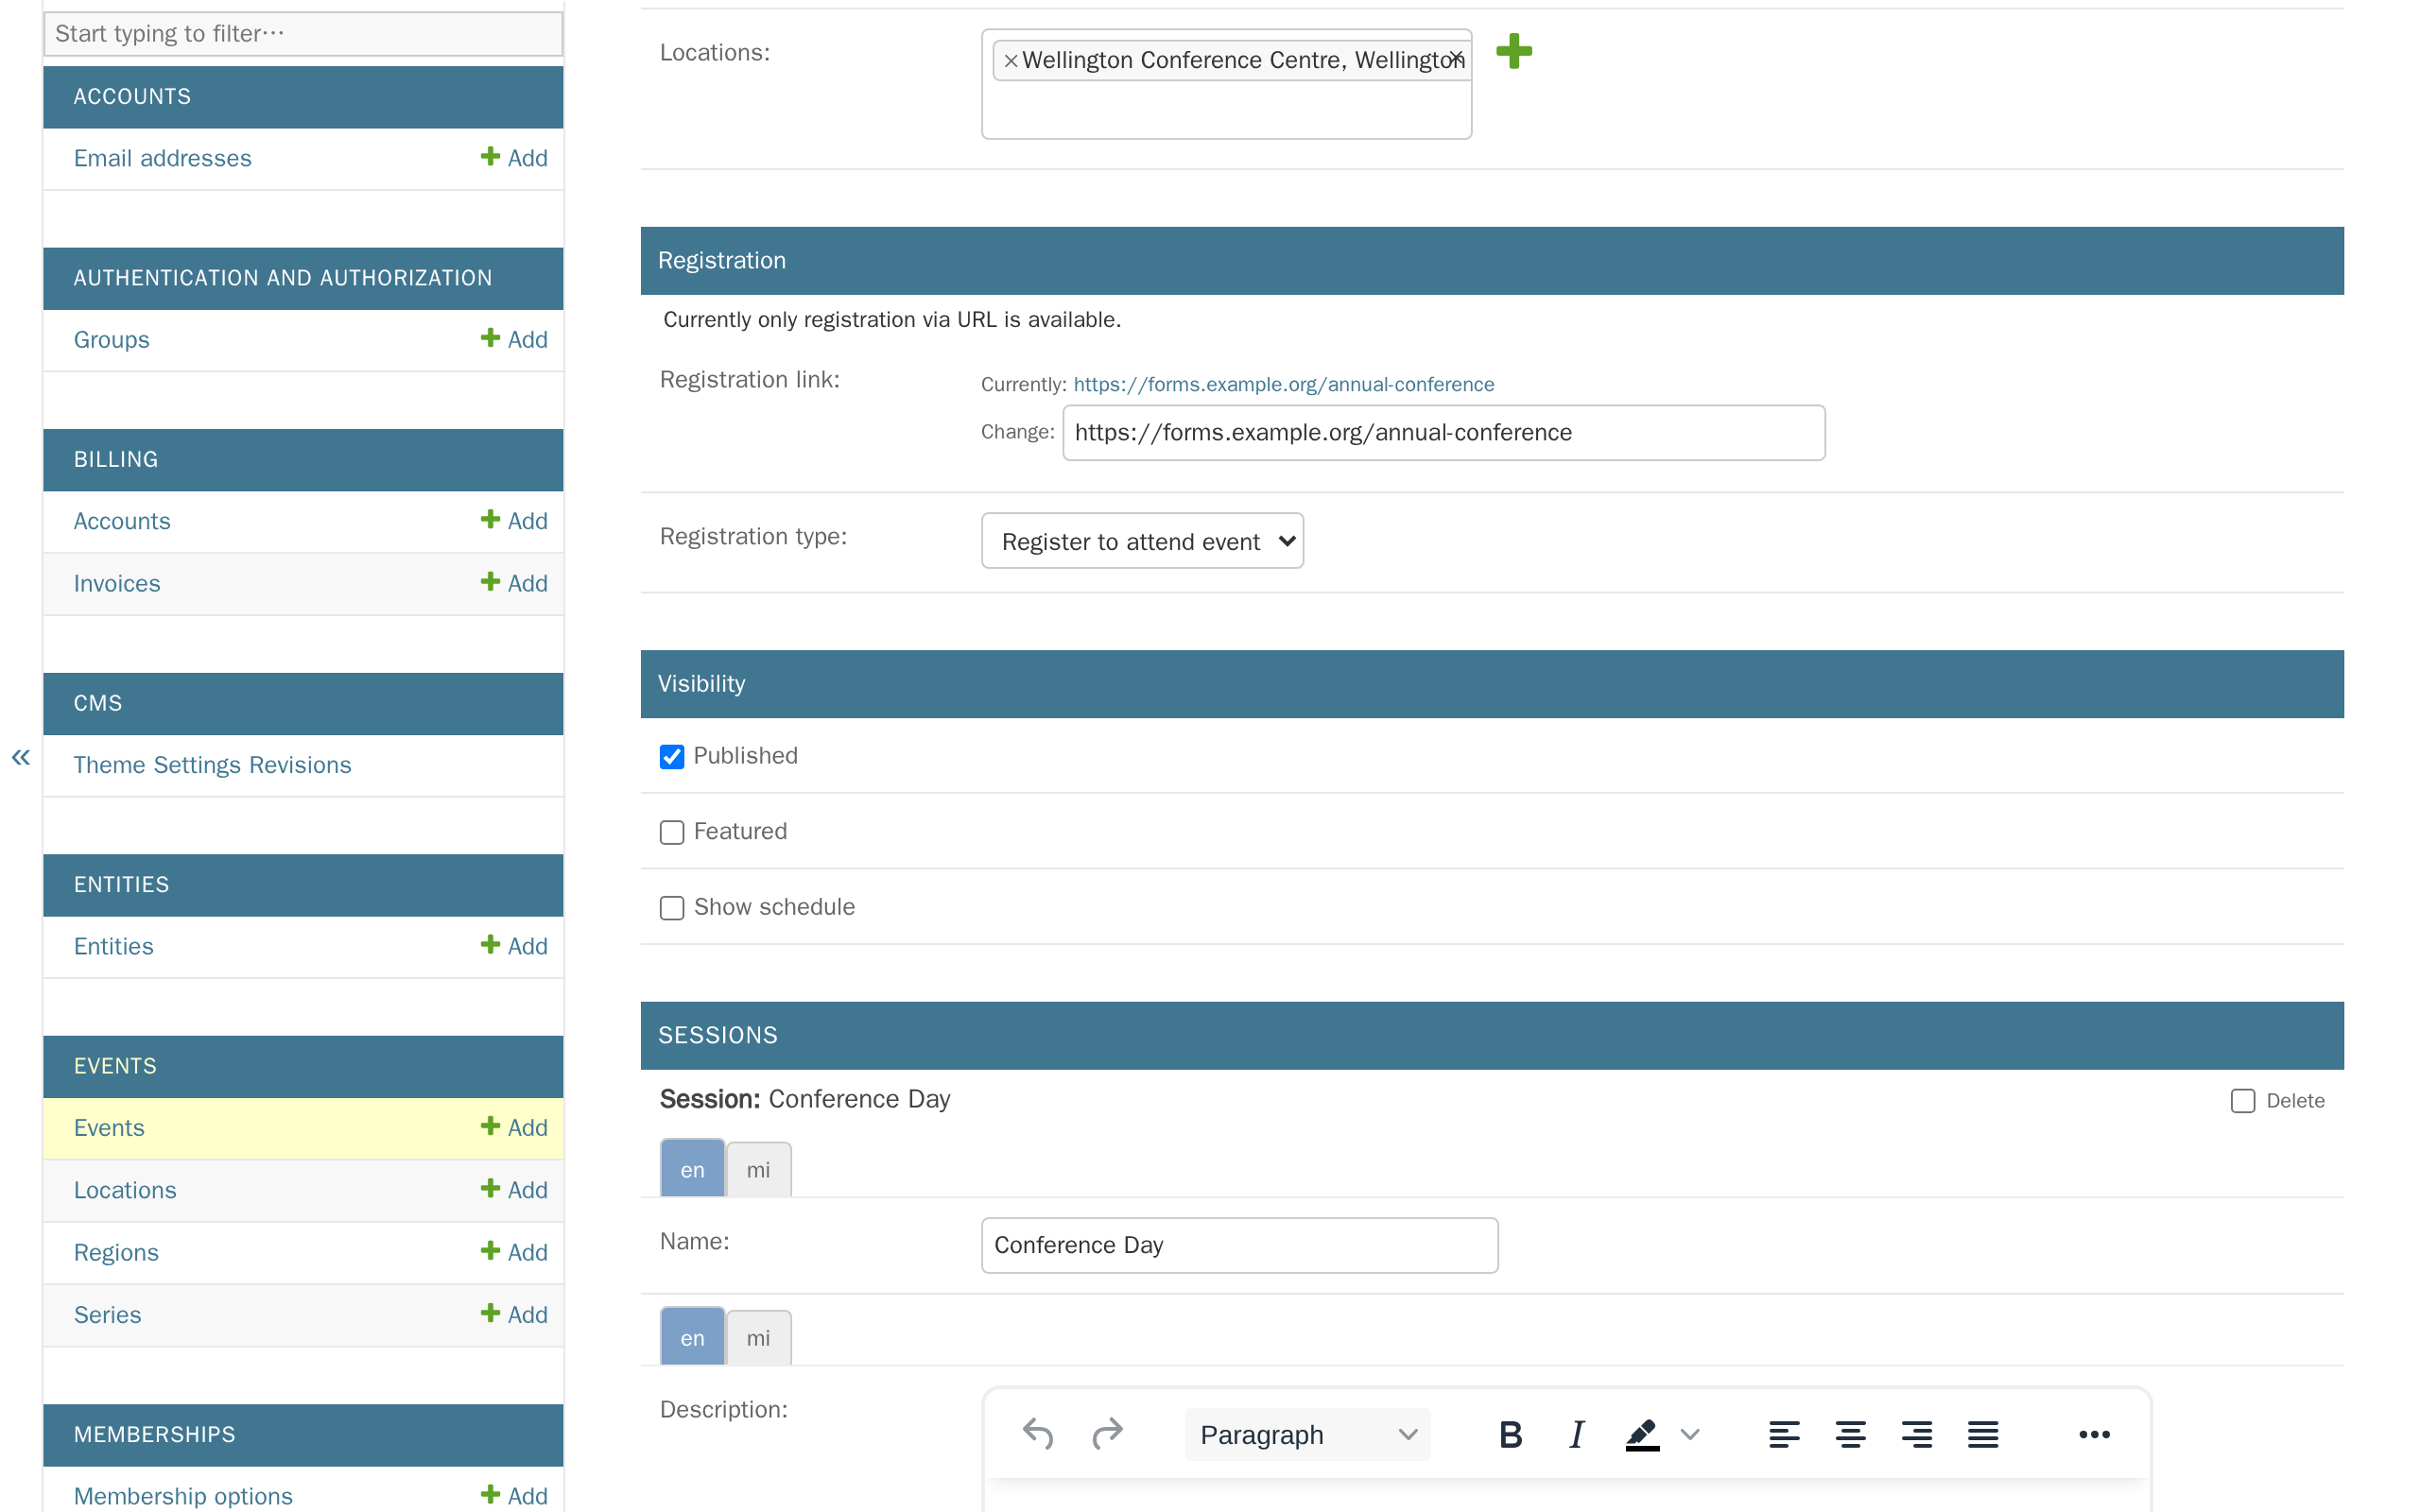
Fill in the fields below, add at least one session, then click Save.
Field What it does Name The event's title. Description Shown on the event's own page. Locations Where the event is held — pick the location you just added. Leave blank, and check Accessible online instead, for an online-only event. Price The cost to attend. A cost of 0 makes this a free event. Registration link Where a visitor goes to register — your registration form, ticketing page, or similar. Required unless Registration type is set to This event is invite only. Registration type What the button on the event's page says and does: Register to attend event, Apply to attend event, Visit event website, or This event is invite only (no button, no link needed). Featured Adds a Featured badge wherever this event is listed. Show schedule Adds a session-by-session running order to the event's page — worth turning on once an event has more than one session. Sessions At least one is required. Each has its own name, start time, and end time, and optionally its own location — add more than one for a multi-day event, or a conference with parallel sessions. 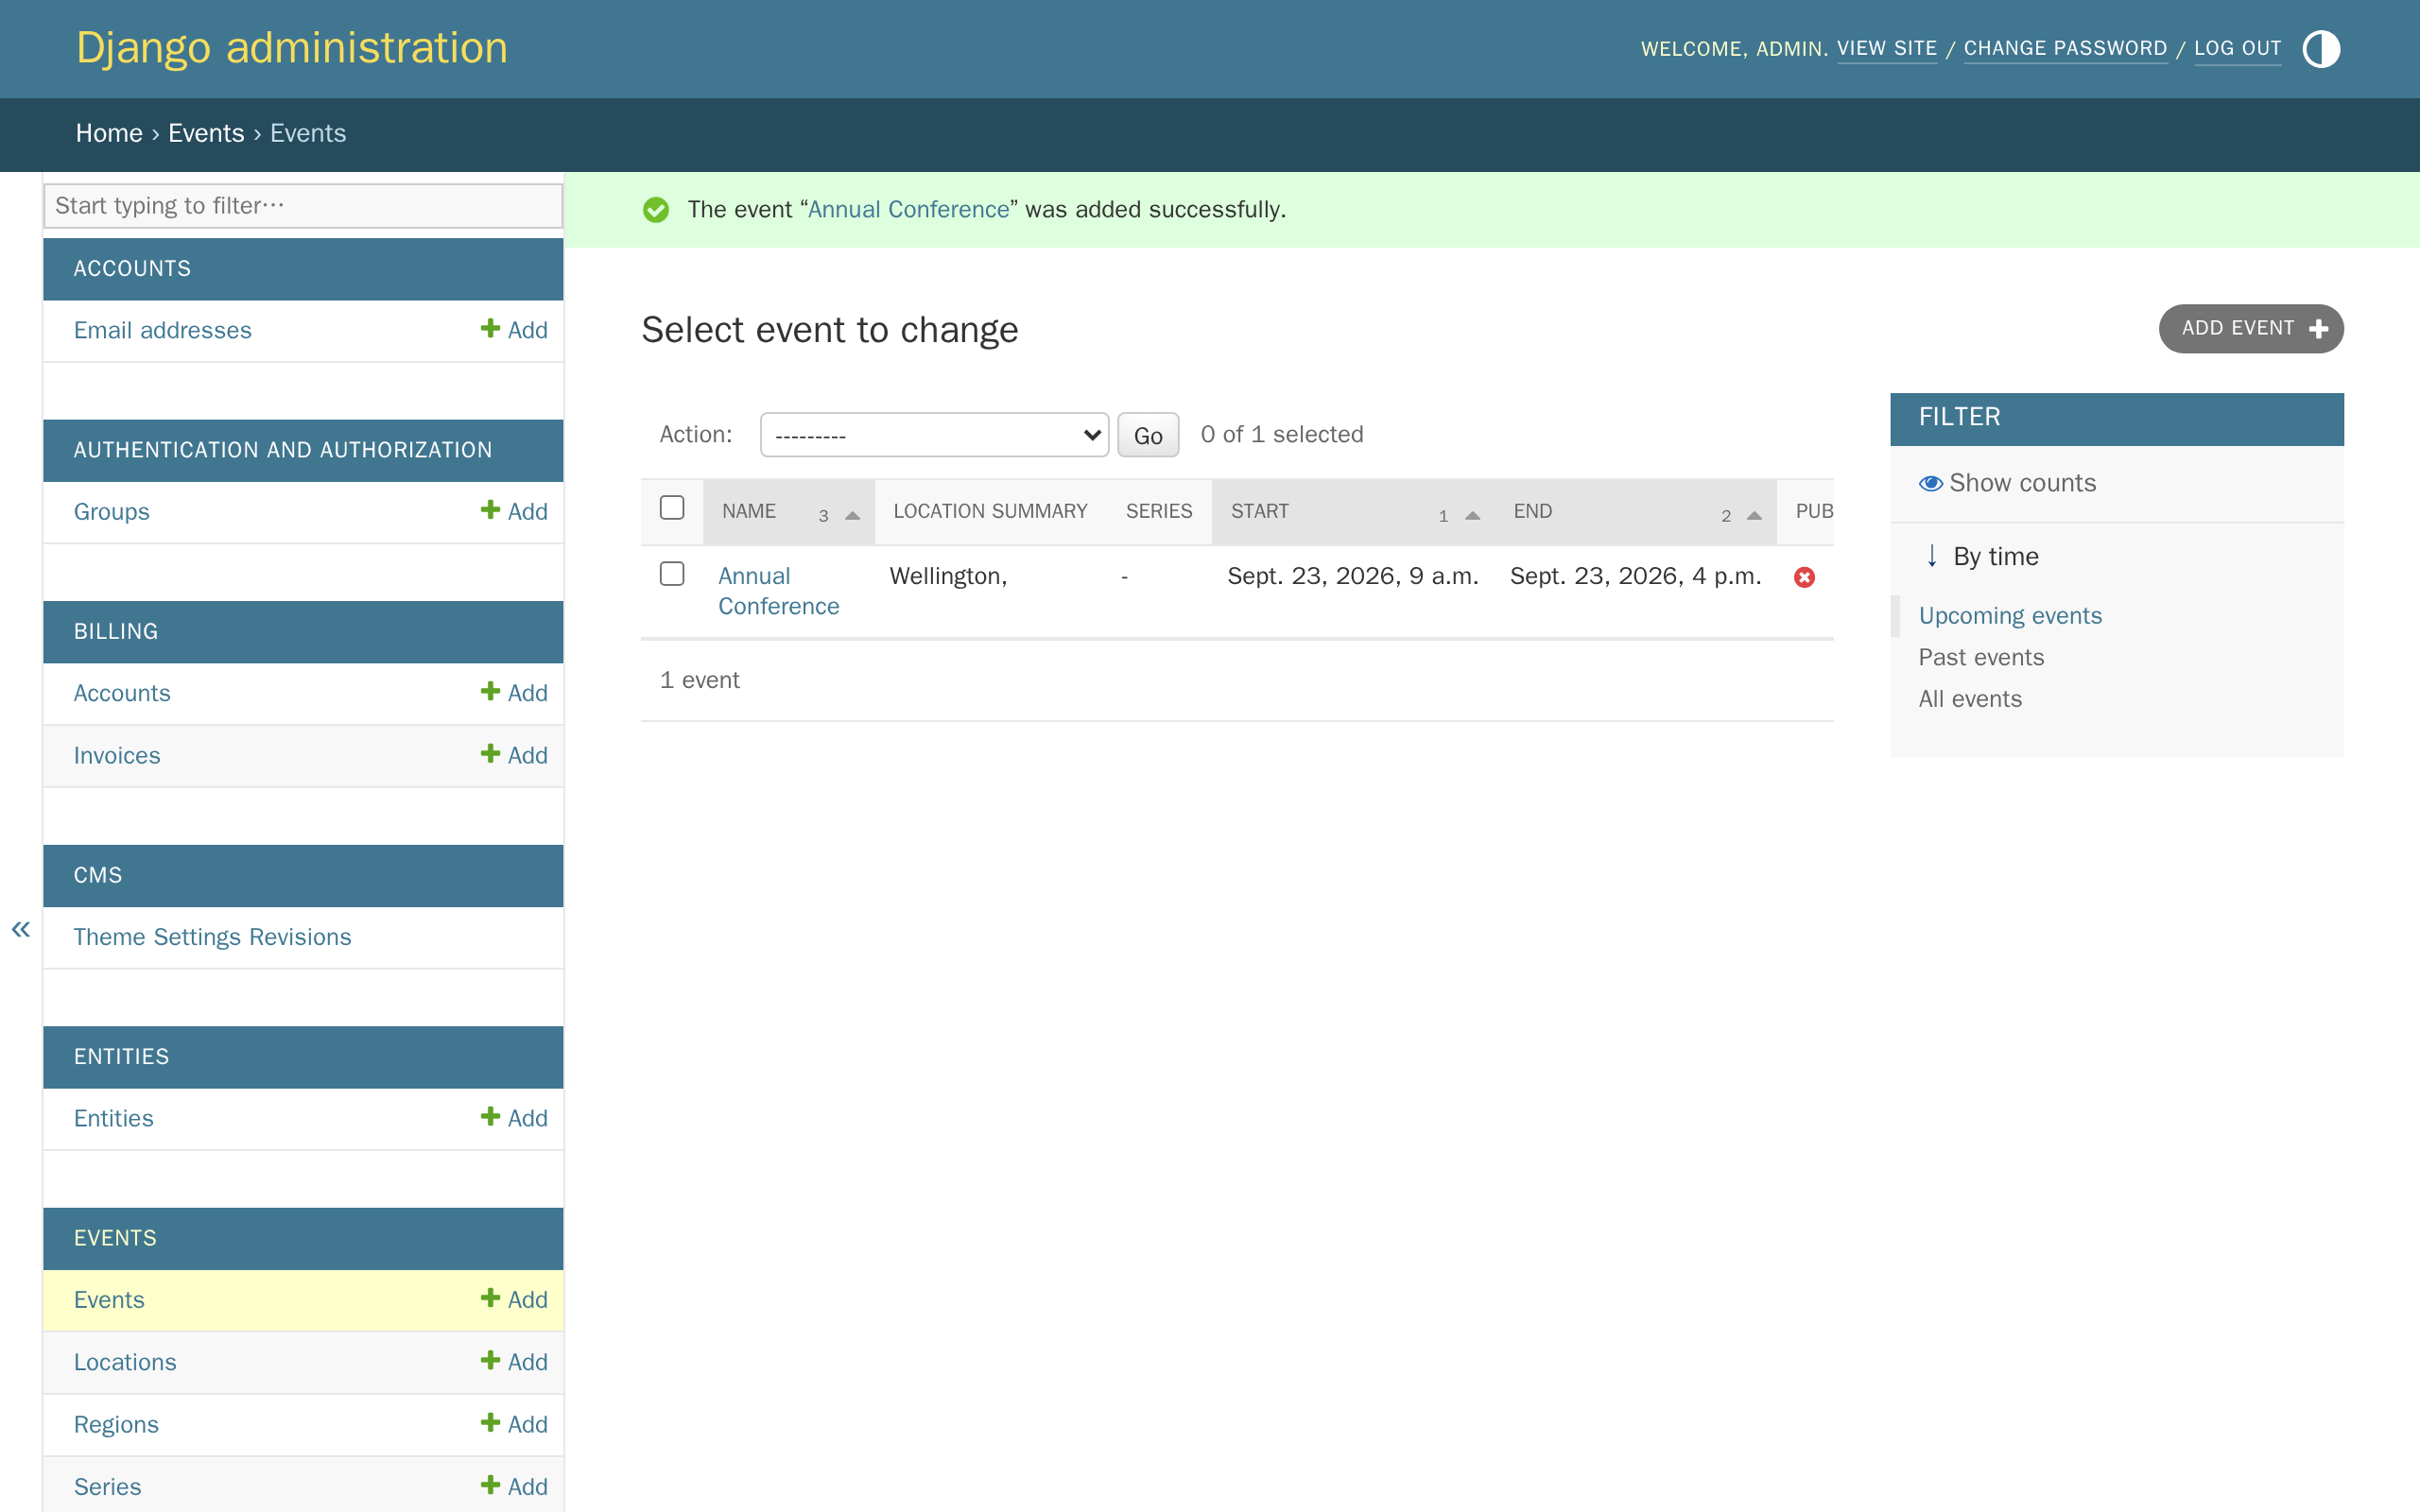
-
The event is hidden from the public until you mark it as published — the same way a CMS page stays a draft until you publish it. Open the event, check Published, then click Save.
-
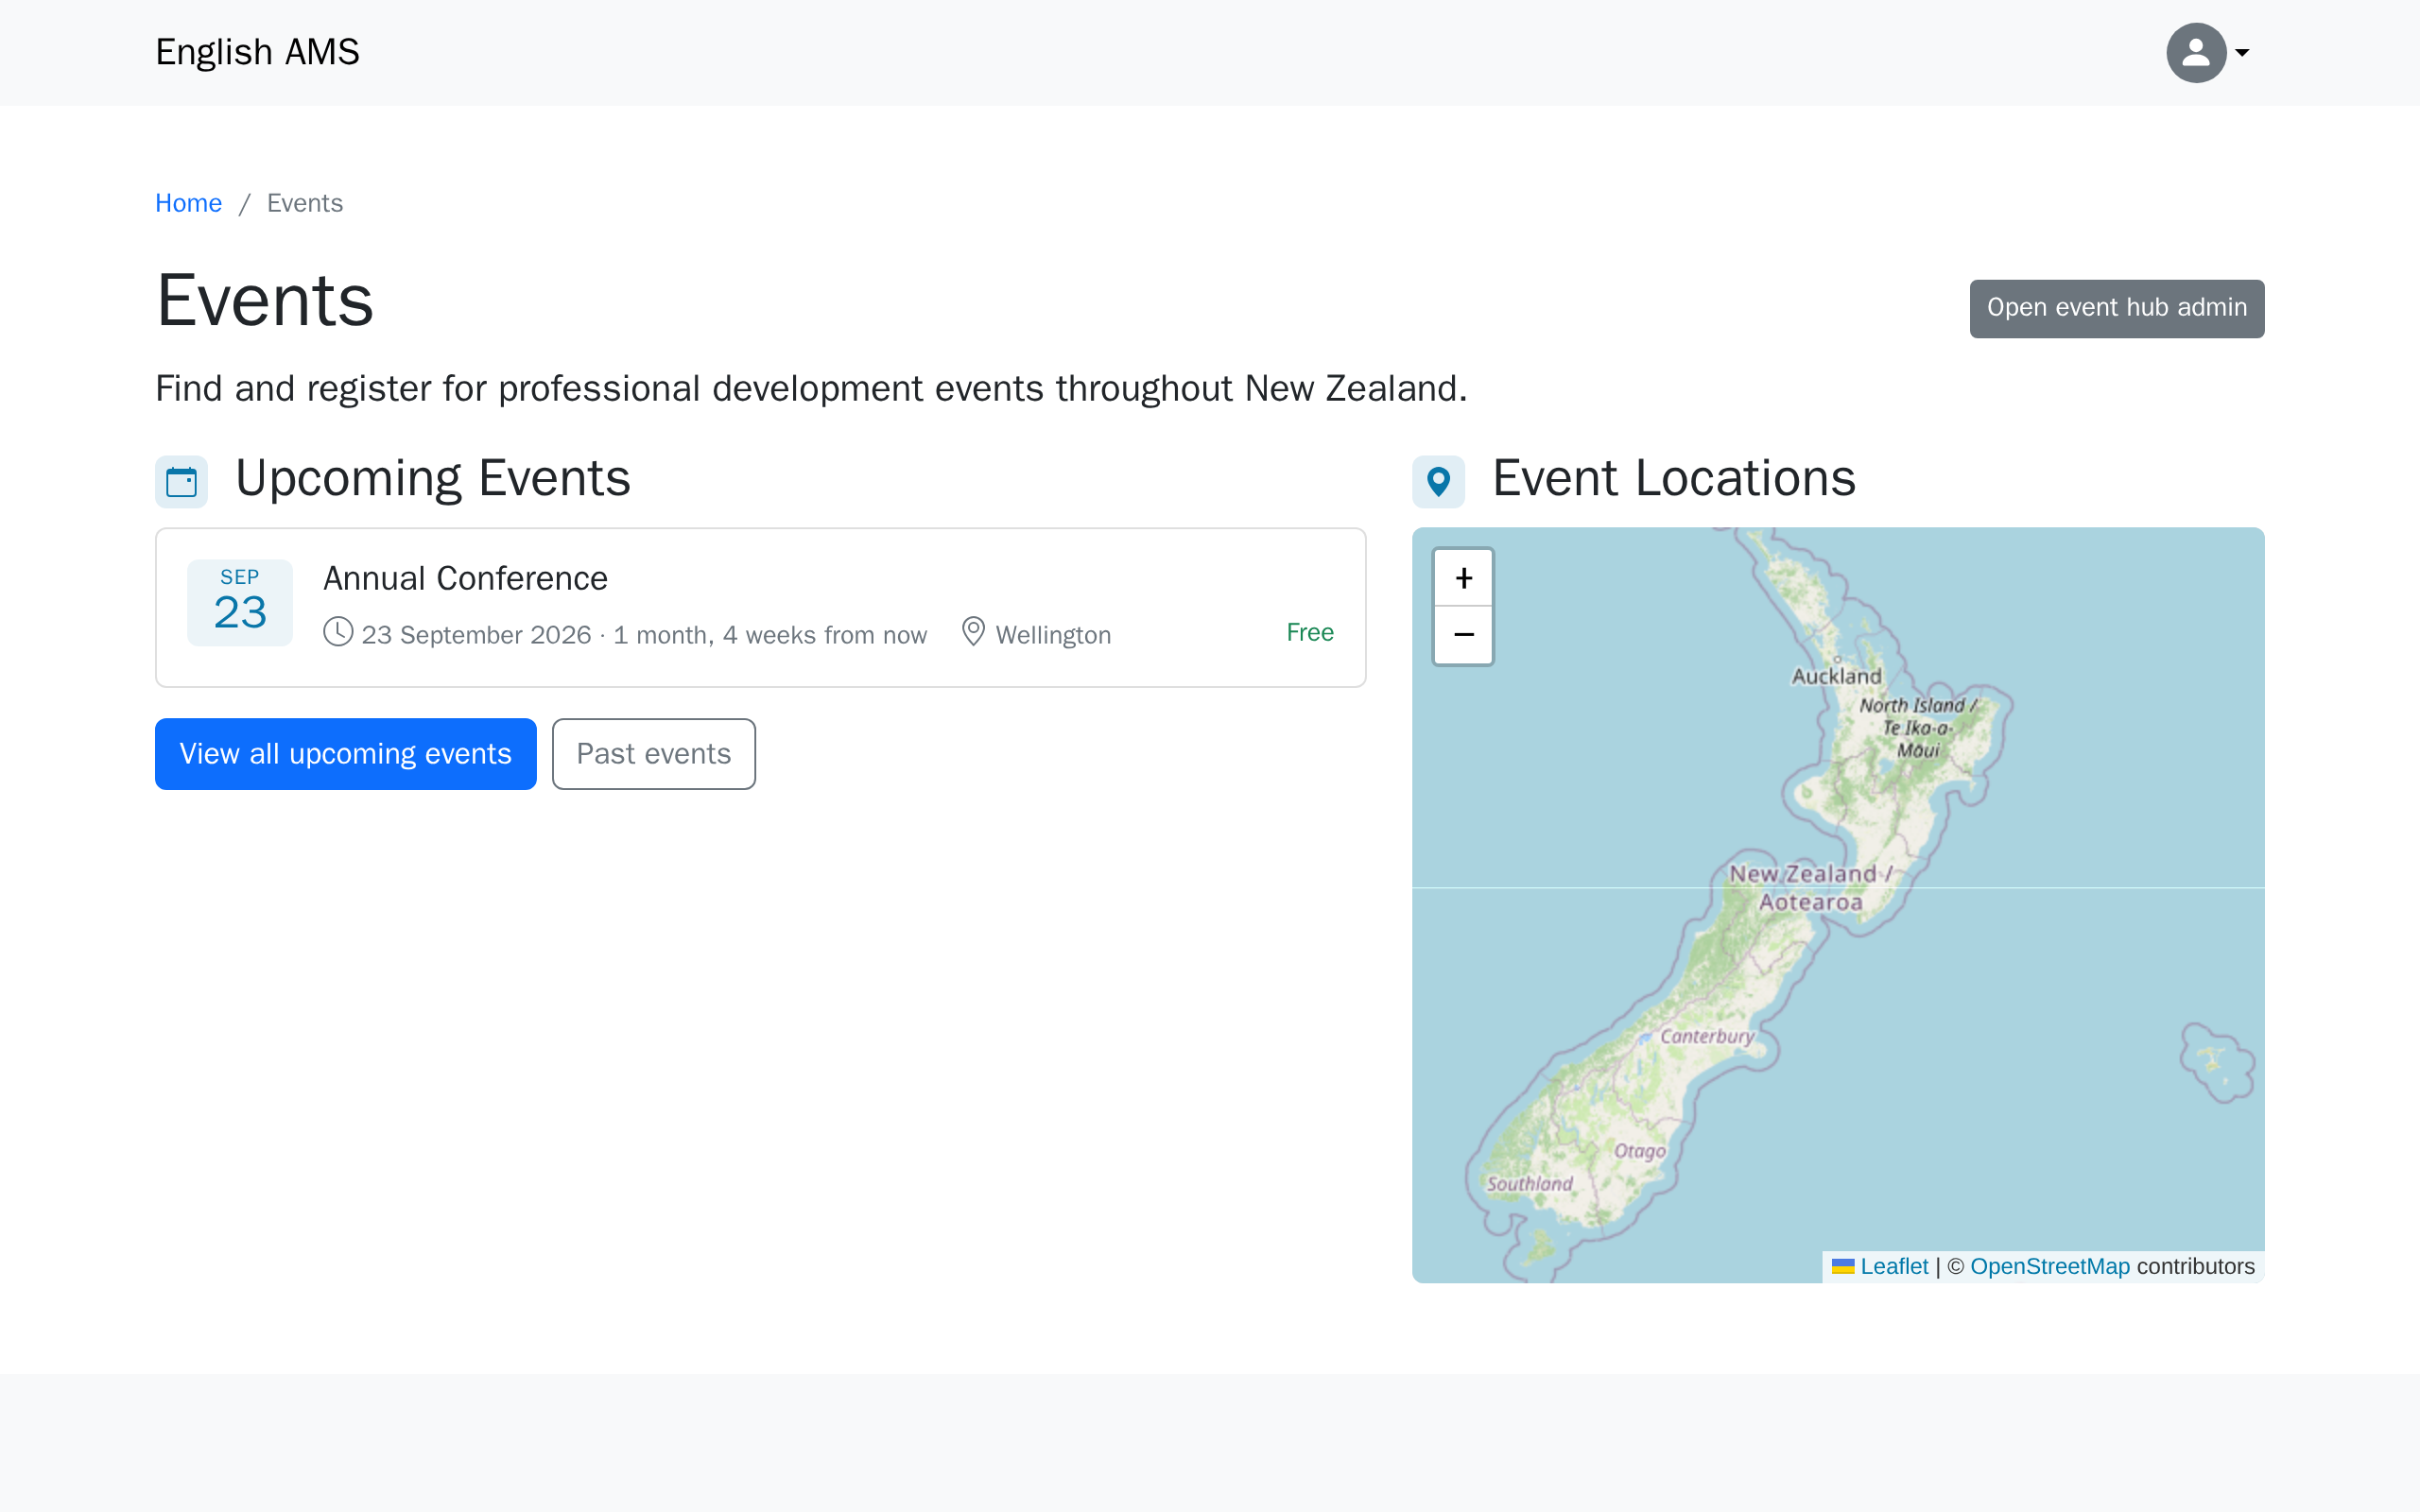
Visit your events page to see it live.
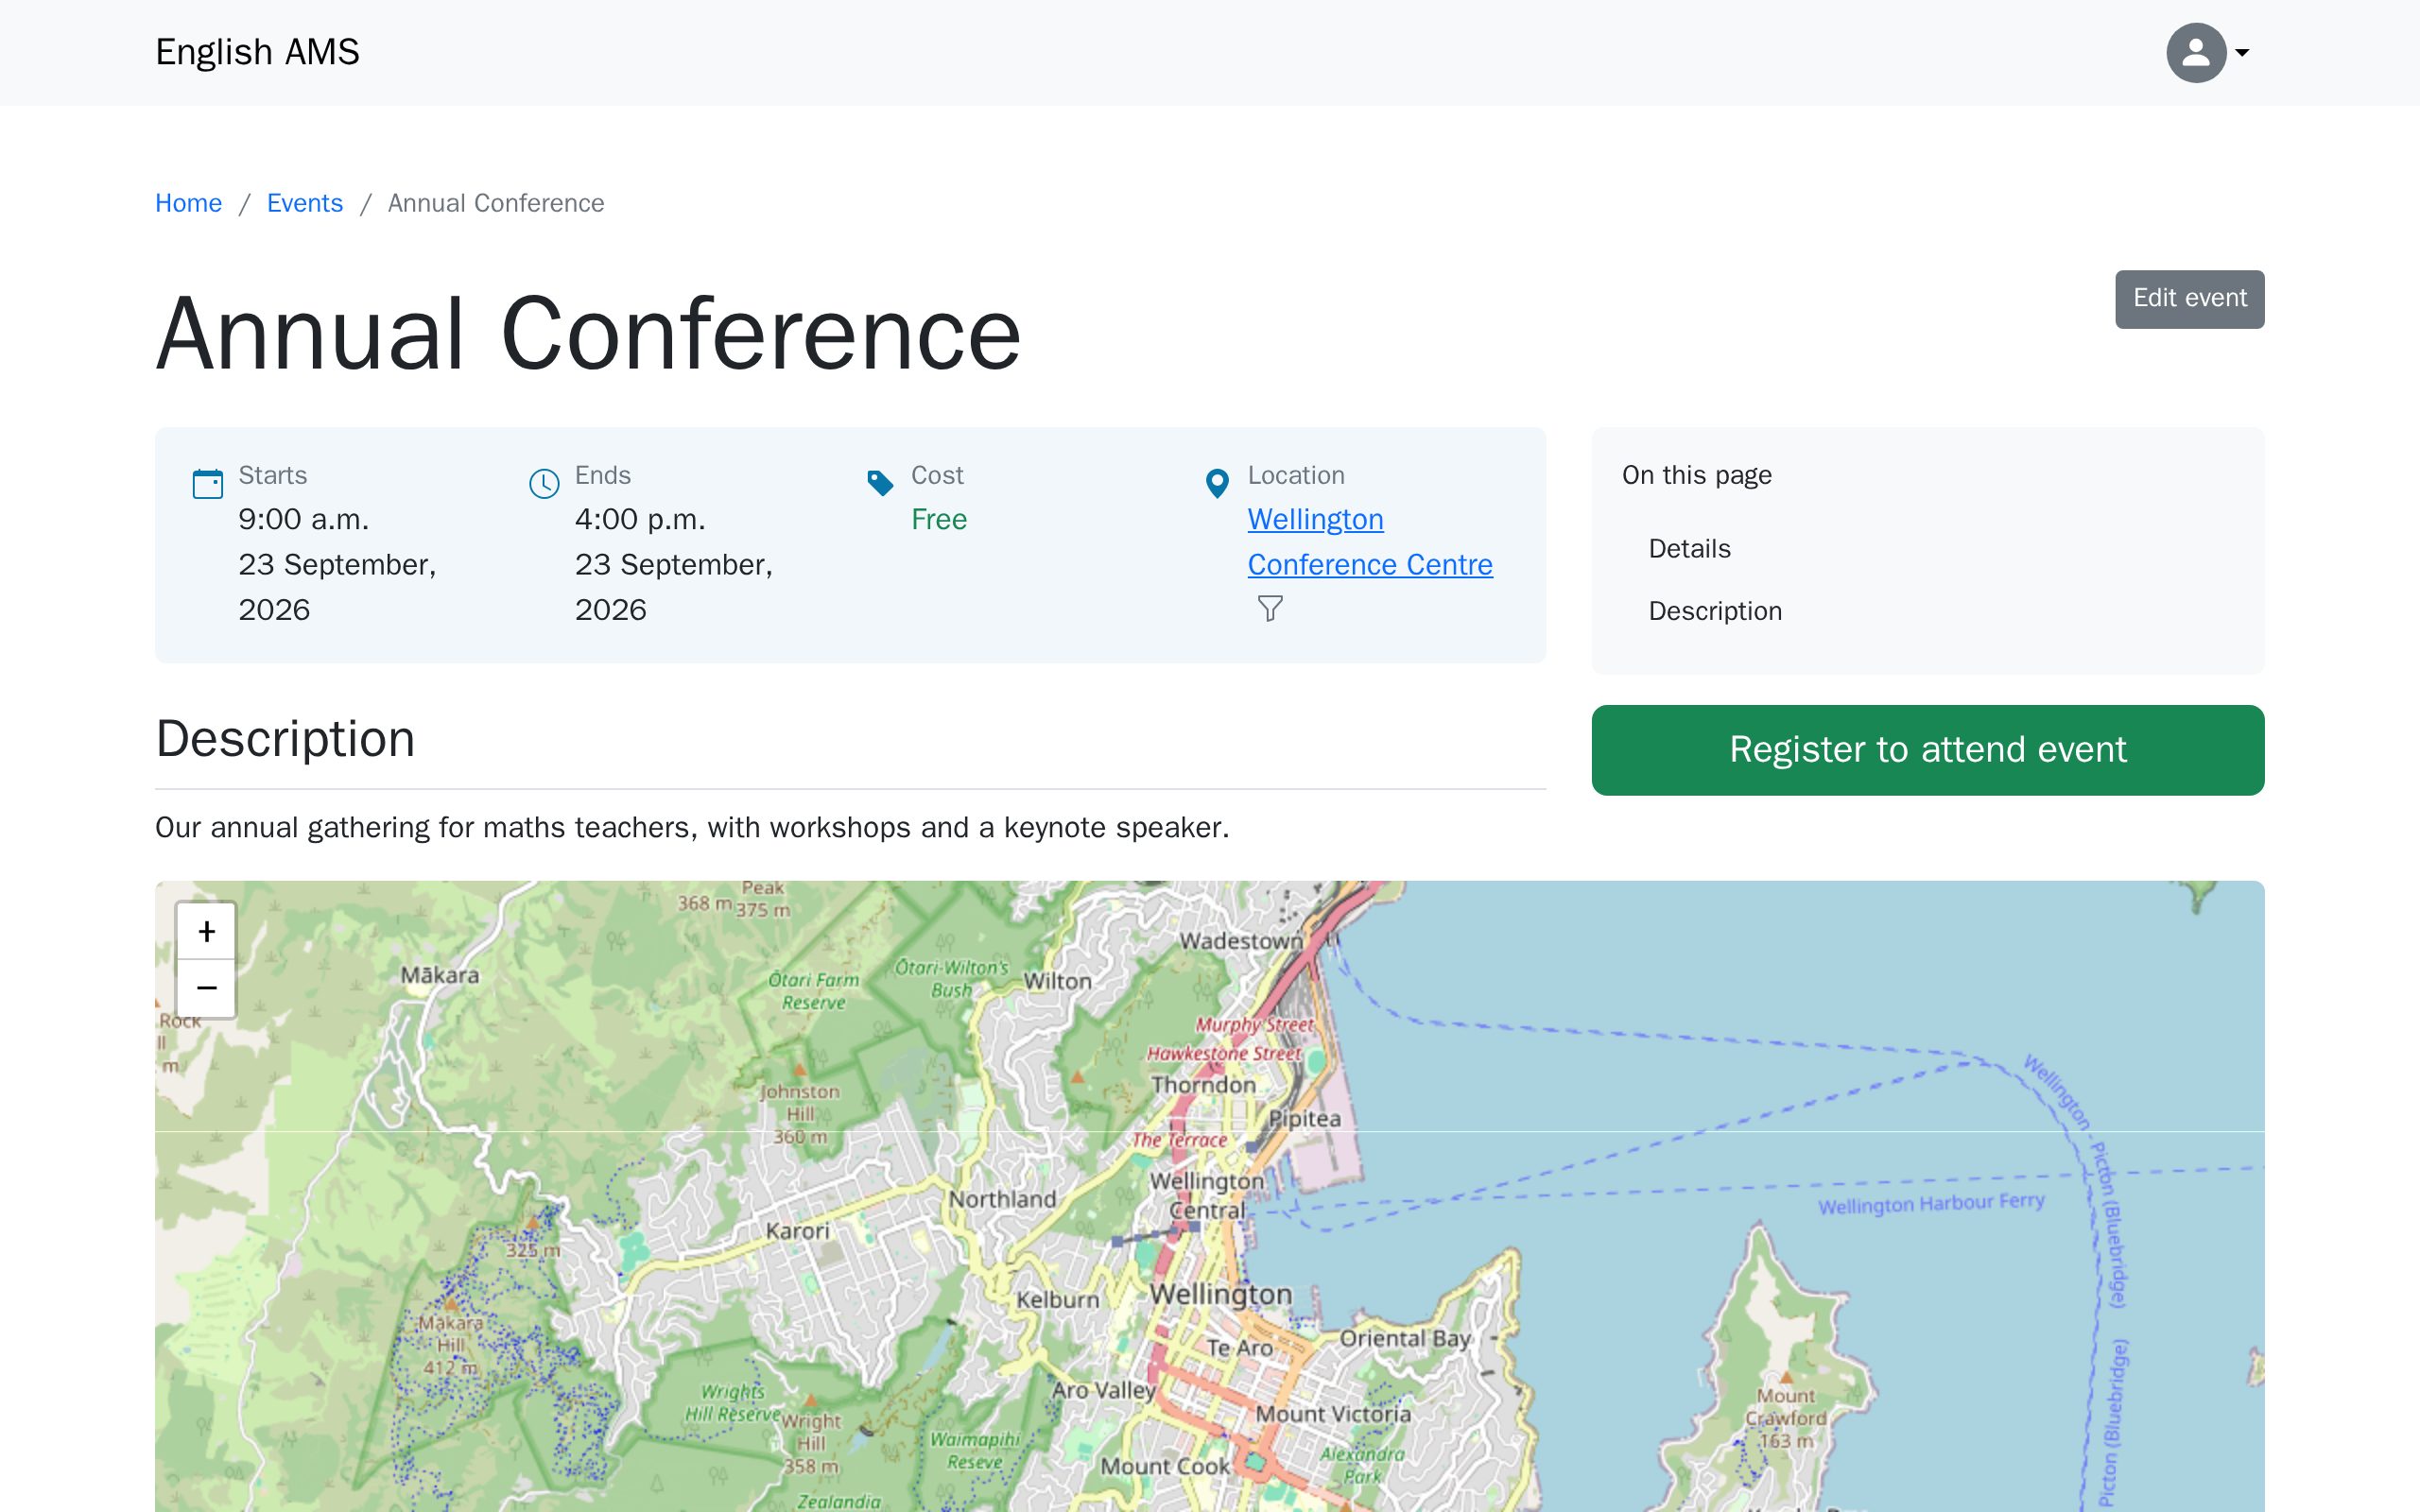
The event's own page
Click through to the event's name from the listing to see its full page — this is what a visitor sees after clicking through.
Series
If your association runs the same event every year, or holds several related events — a conference with regional heats, say — group them with a Series: click Events, then Add next to Series. An event's series shows as a small logo or name near its title.
Adding events to your menu
Nothing links to your events page automatically.
See Adding events to menus — the short version is you link to /events/ the same way you'd link to any other page, in Tutorial 4: Navigation & menus.
What's next
The next tutorial covers resources — if your association uses them.