Tutorial 4: Navigation & menus
Who this page is for: client website admins — the volunteers who will load content and run the day-to-day site, generally with no prior web-admin experience.
What you'll have at the end
Your About and Contact pages, from Tutorial 3, will appear in your site's navigation menu, in the order you choose. You'll know how to group related pages into a dropdown, reorder menu items, rename a menu label without renaming the page, and remove a page from the menu without deleting it.
Before you start
You should have already published some pages — see Tutorial 3: Your first pages if you haven't. This tutorial adds the About and Contact pages from that tutorial to your menu.
Steps
-
In the CMS, click Settings in the left sidebar, then click Main menu. Your menu starts empty — the pages you publish don't appear in it automatically.
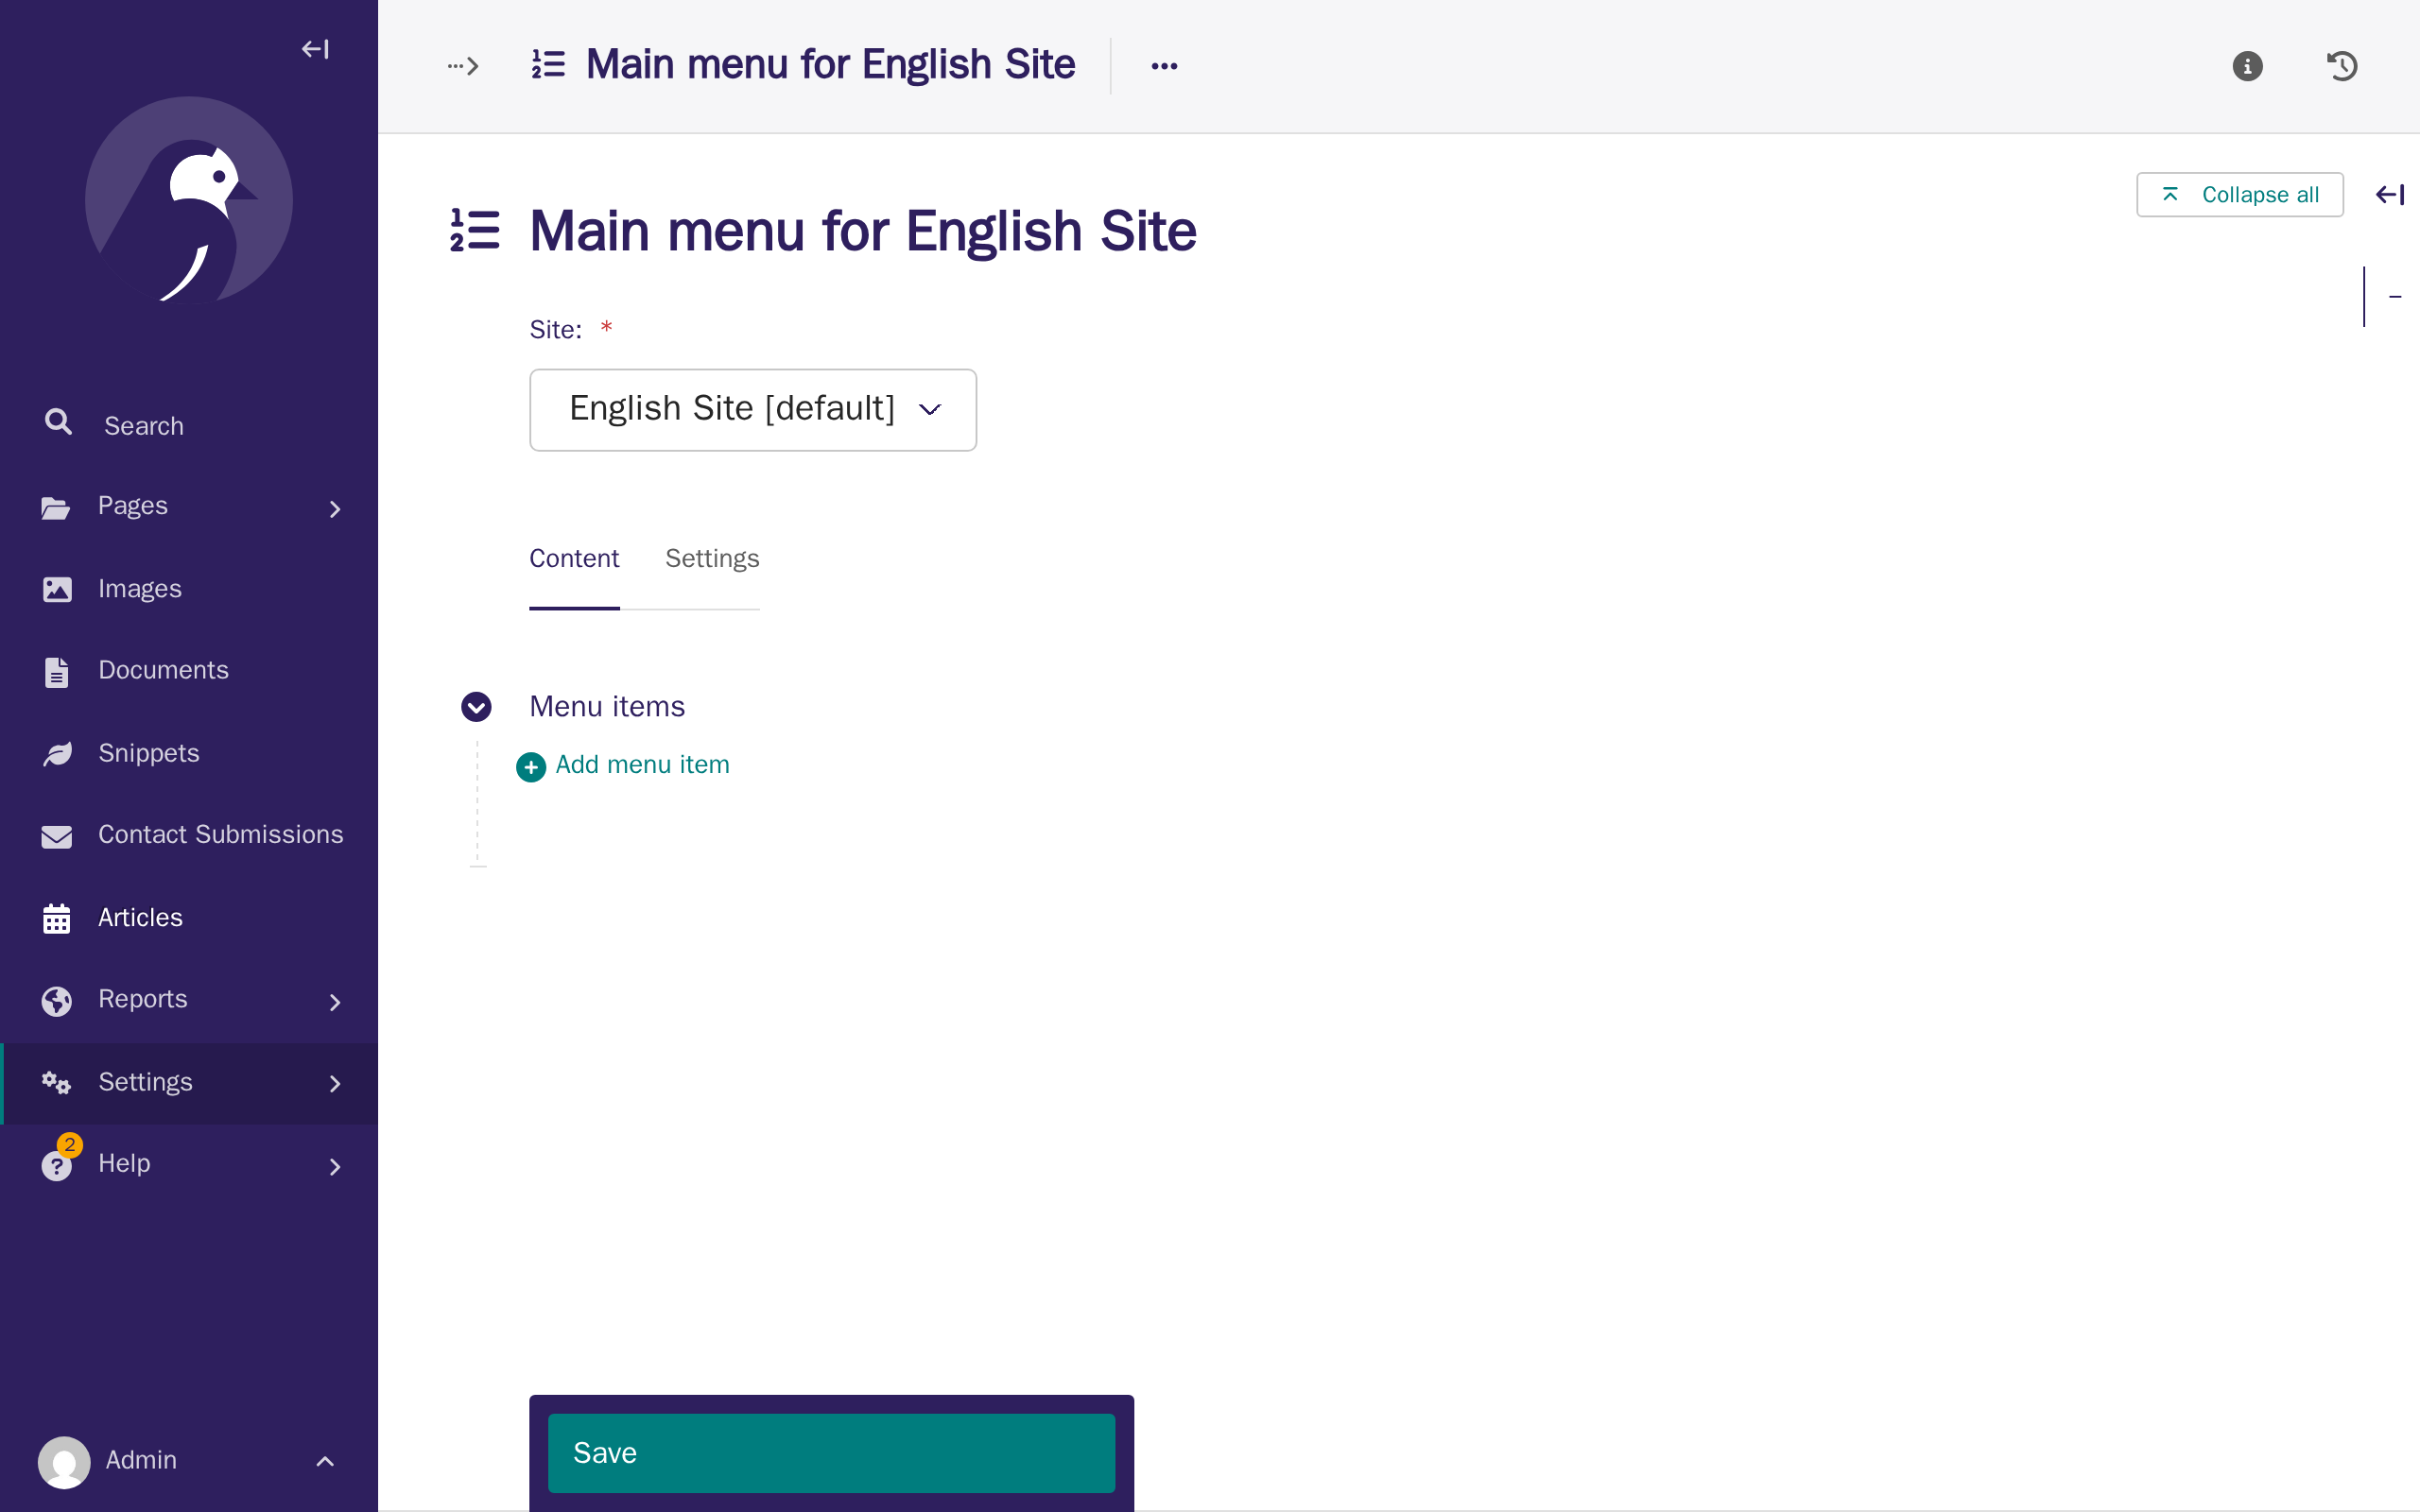
-
Click Add menu item, click Choose a page, then click Explore next to Home and choose About.
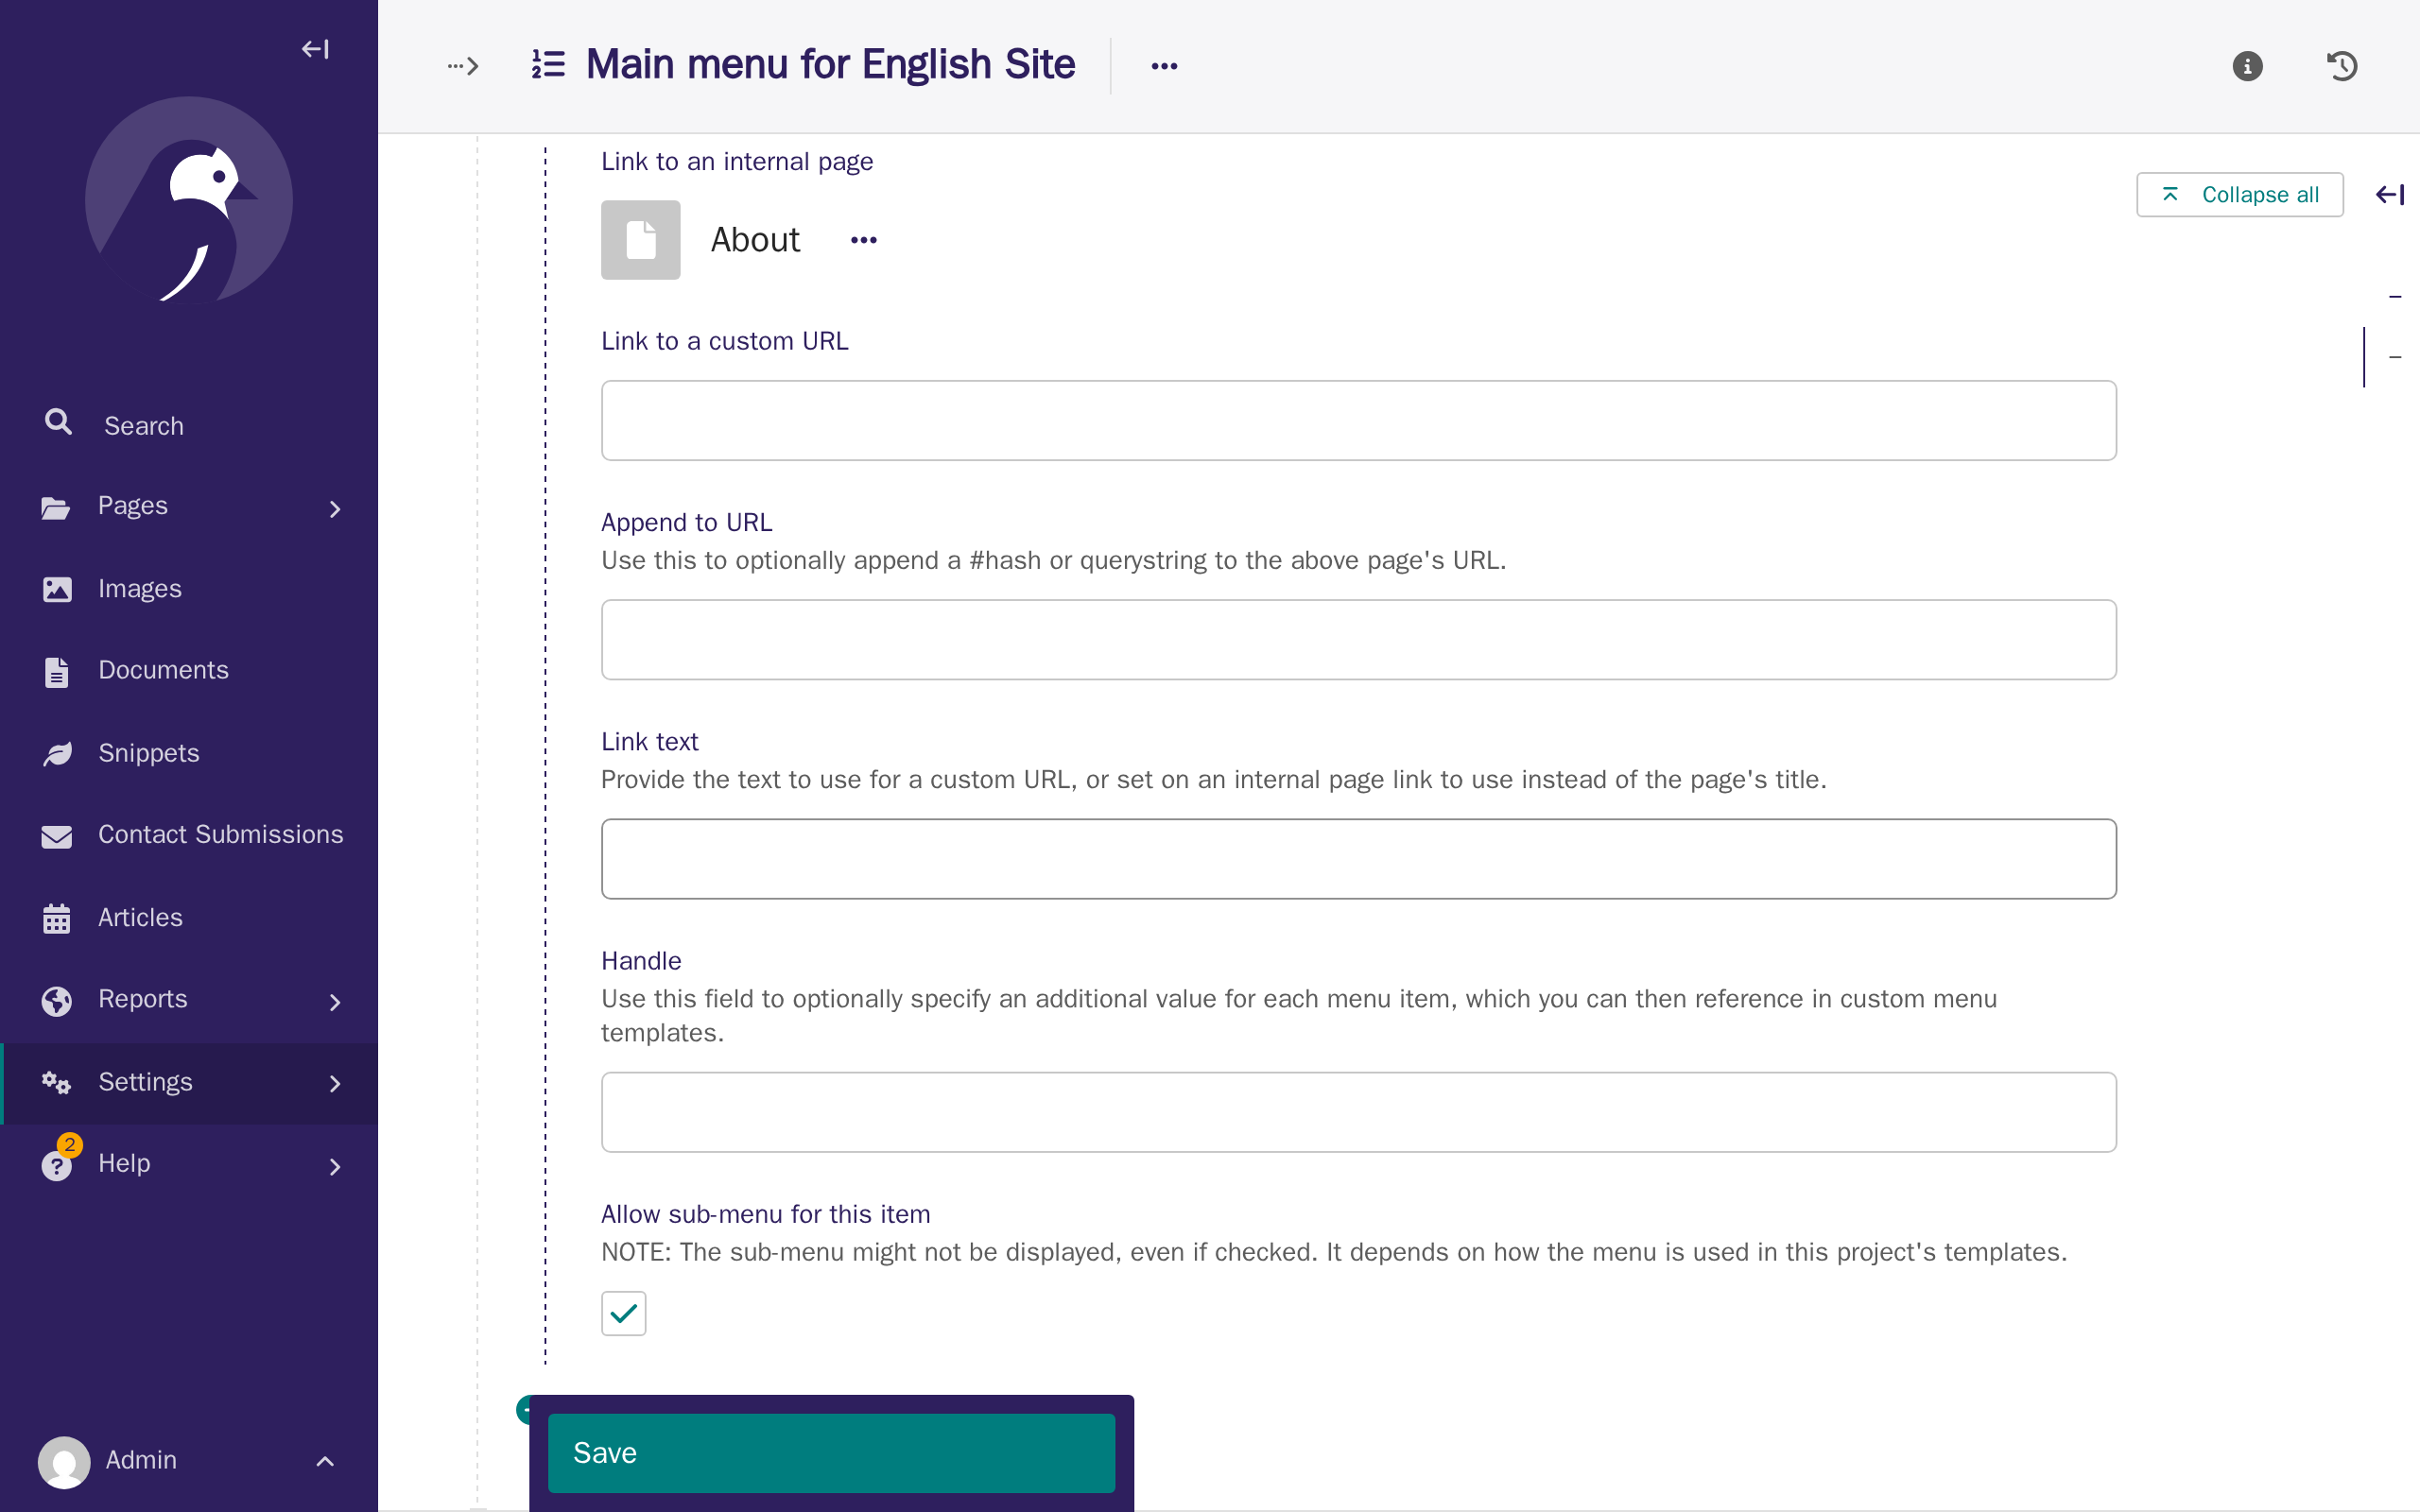
-
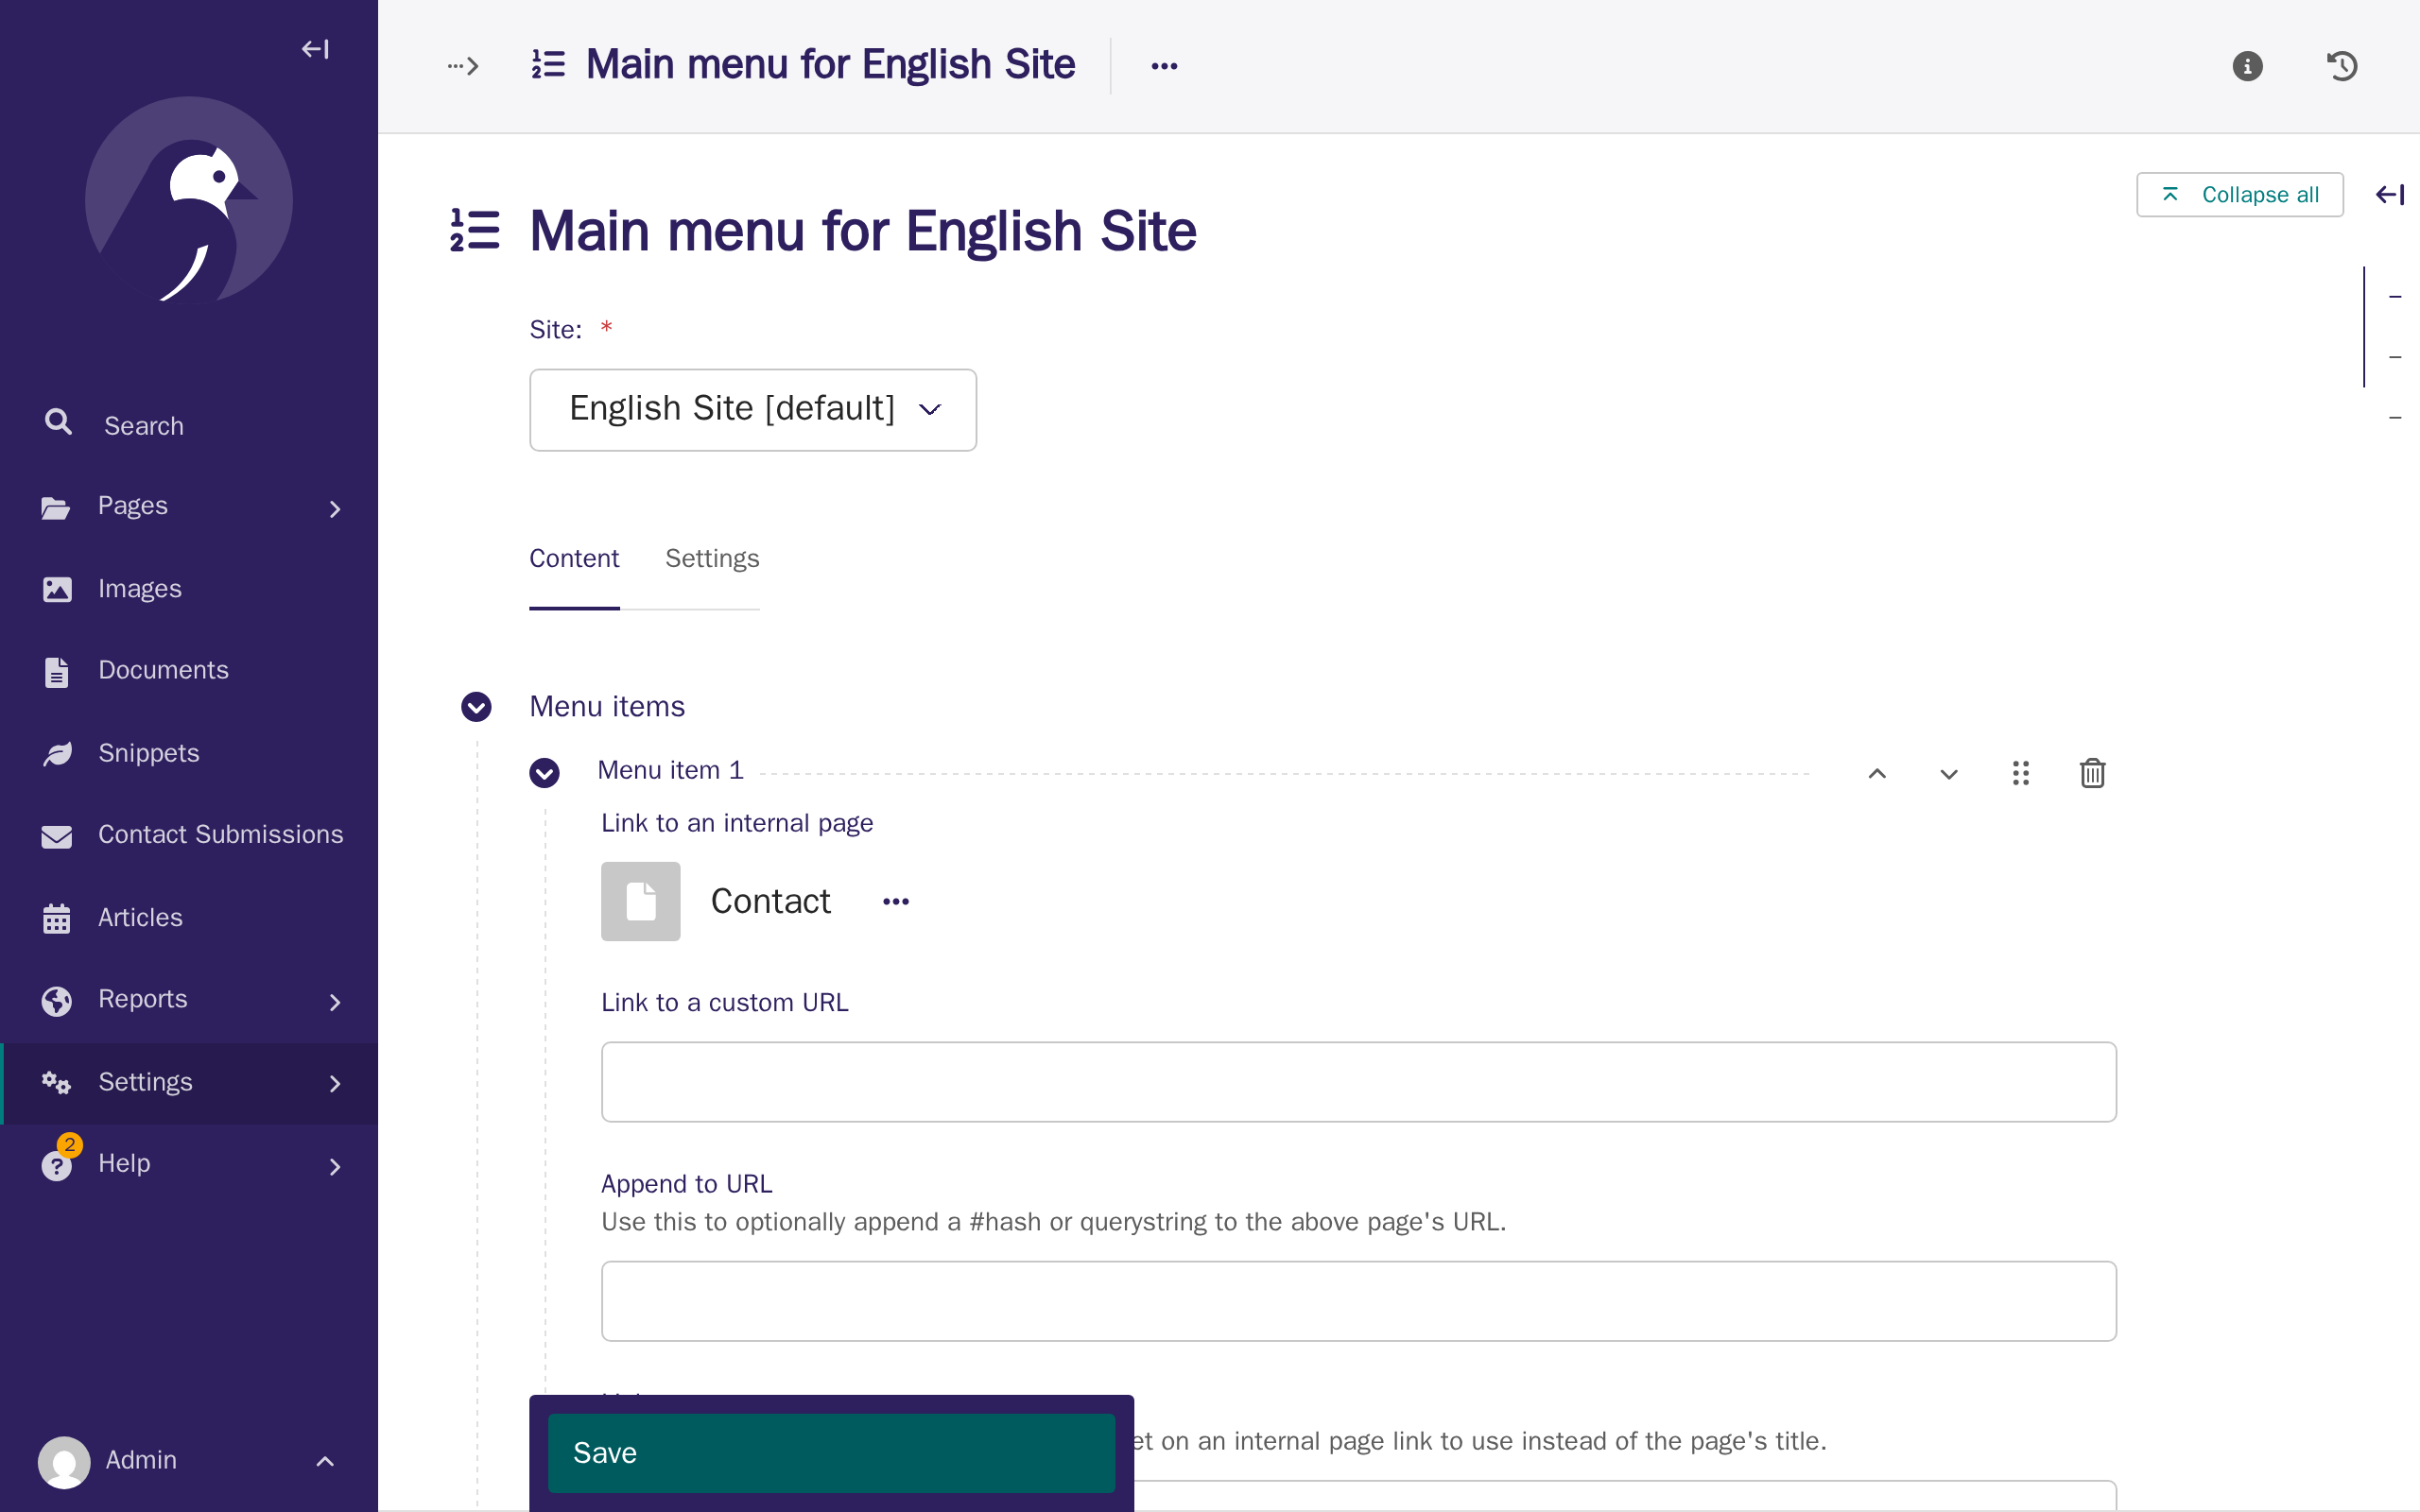
Click Add menu item again and choose Contact the same way. You can link to somewhere outside your own site the same way, too — see Footer links below for how.
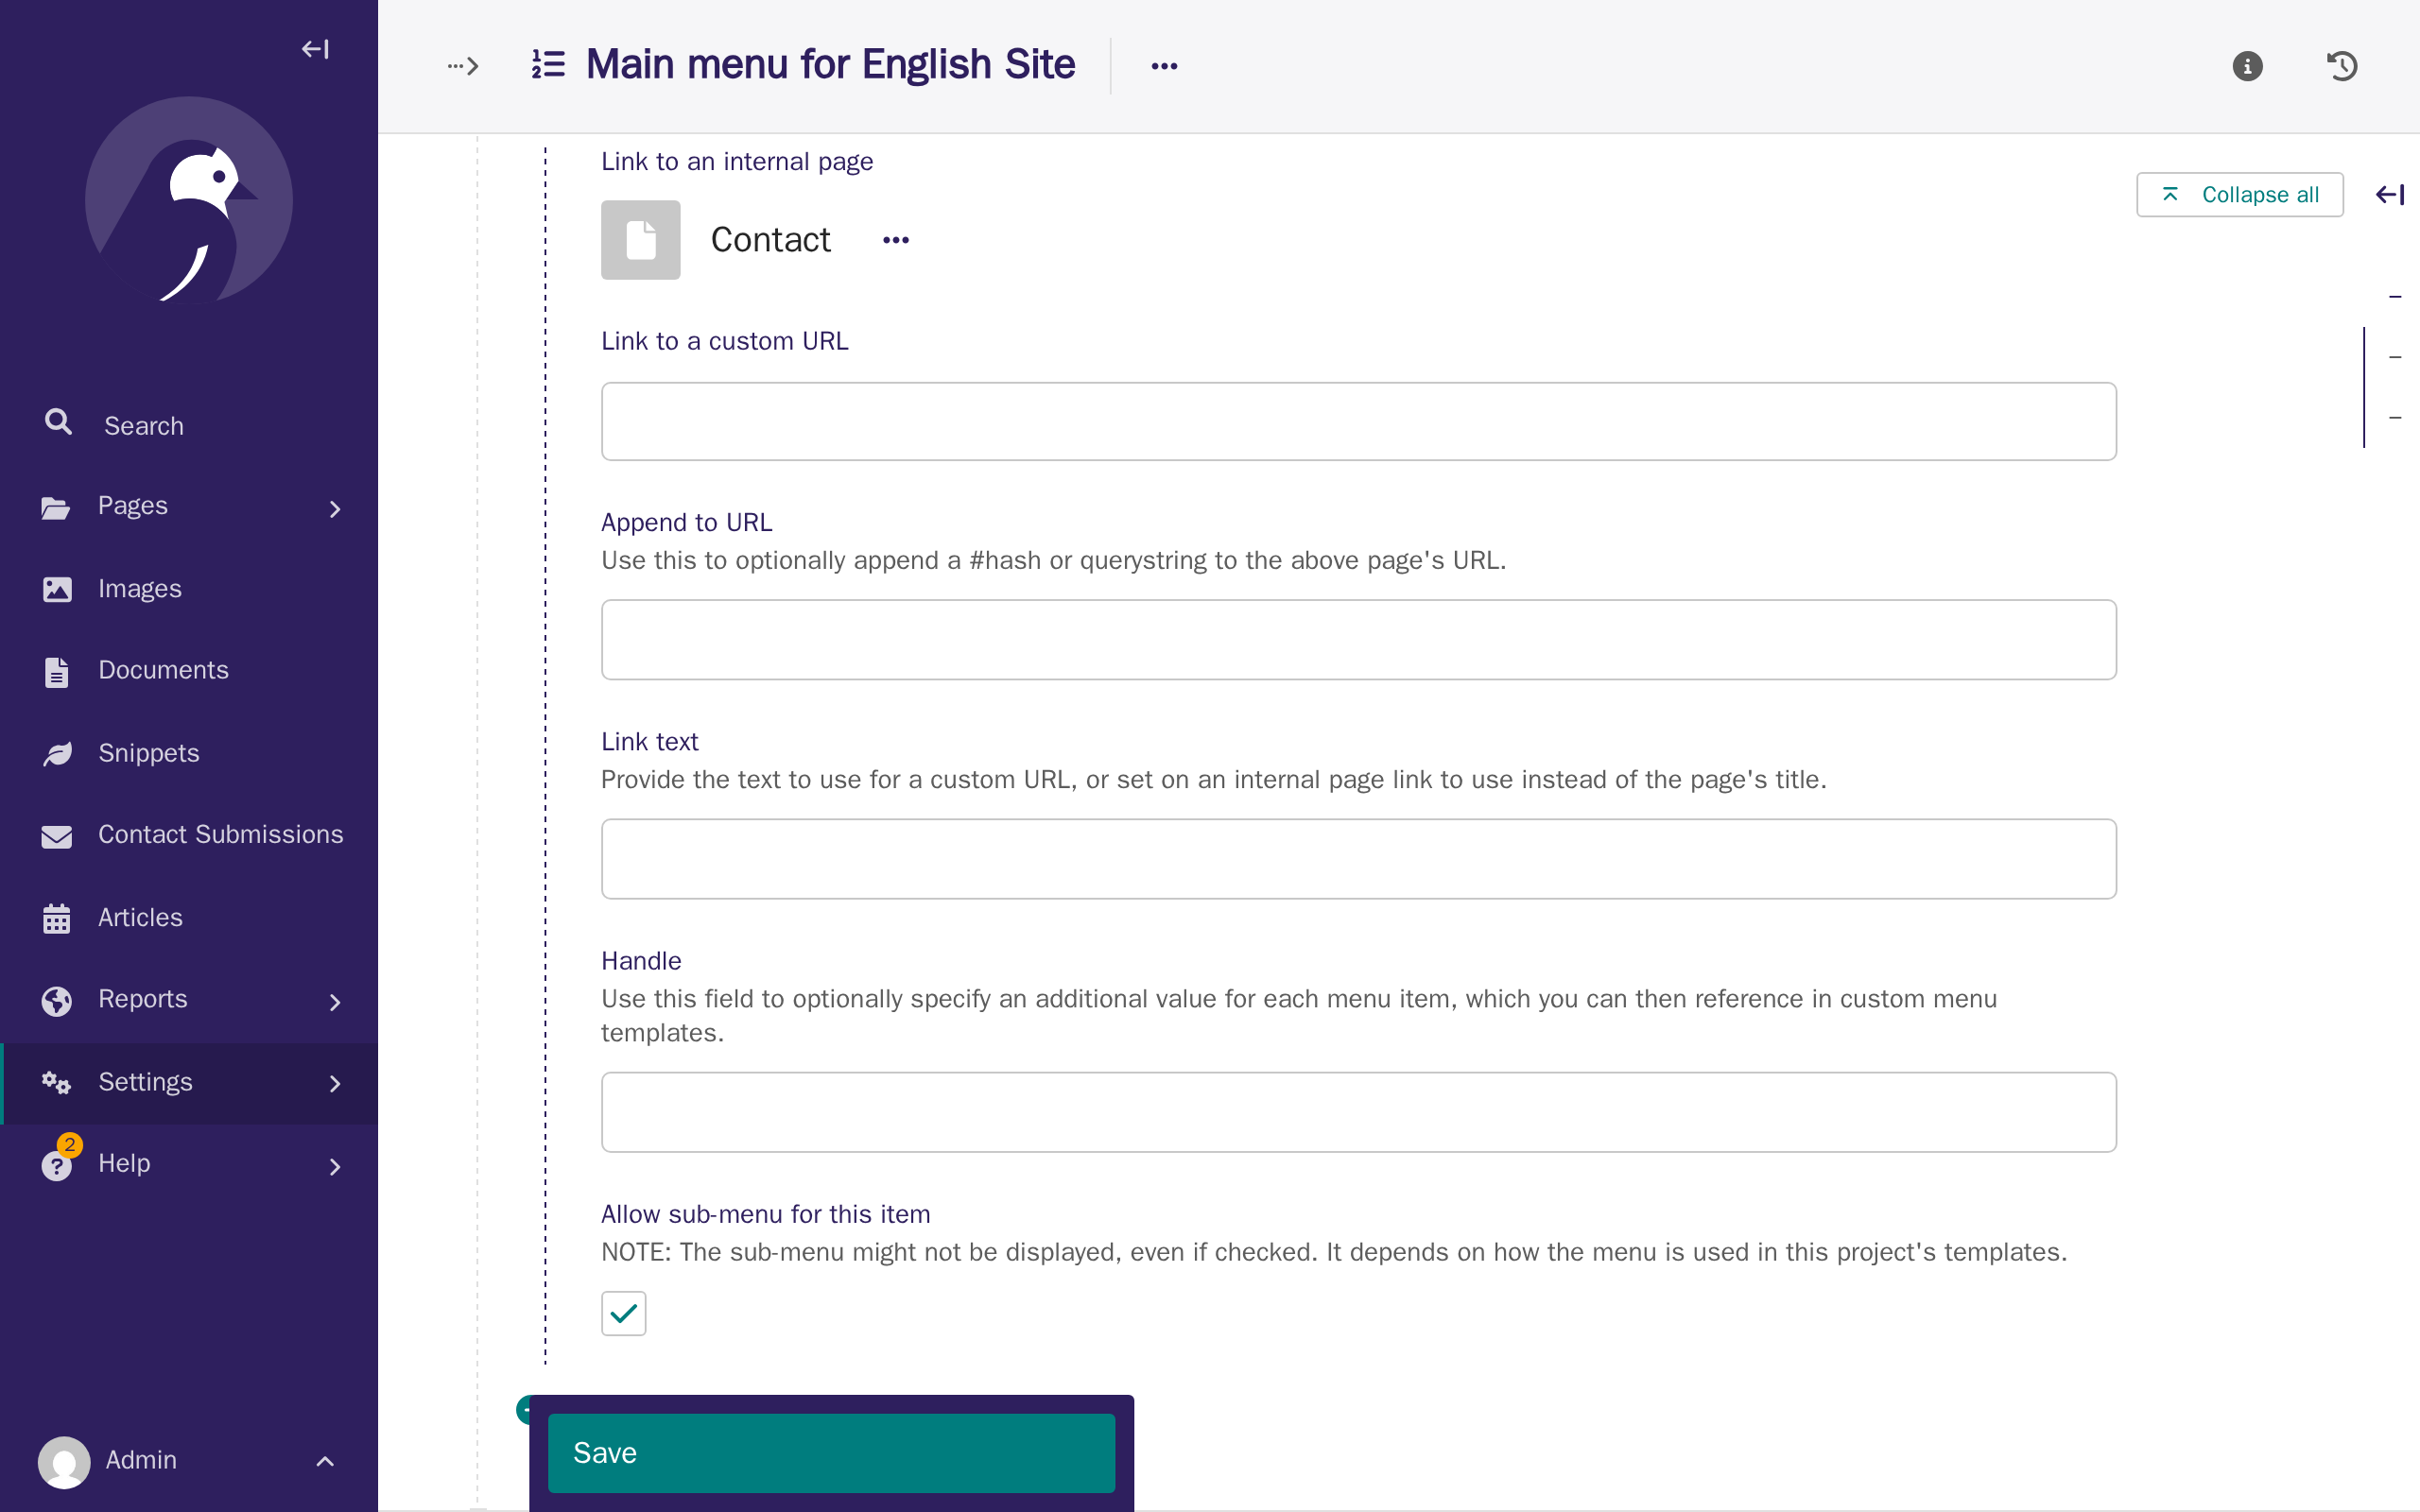
-
Click Save.
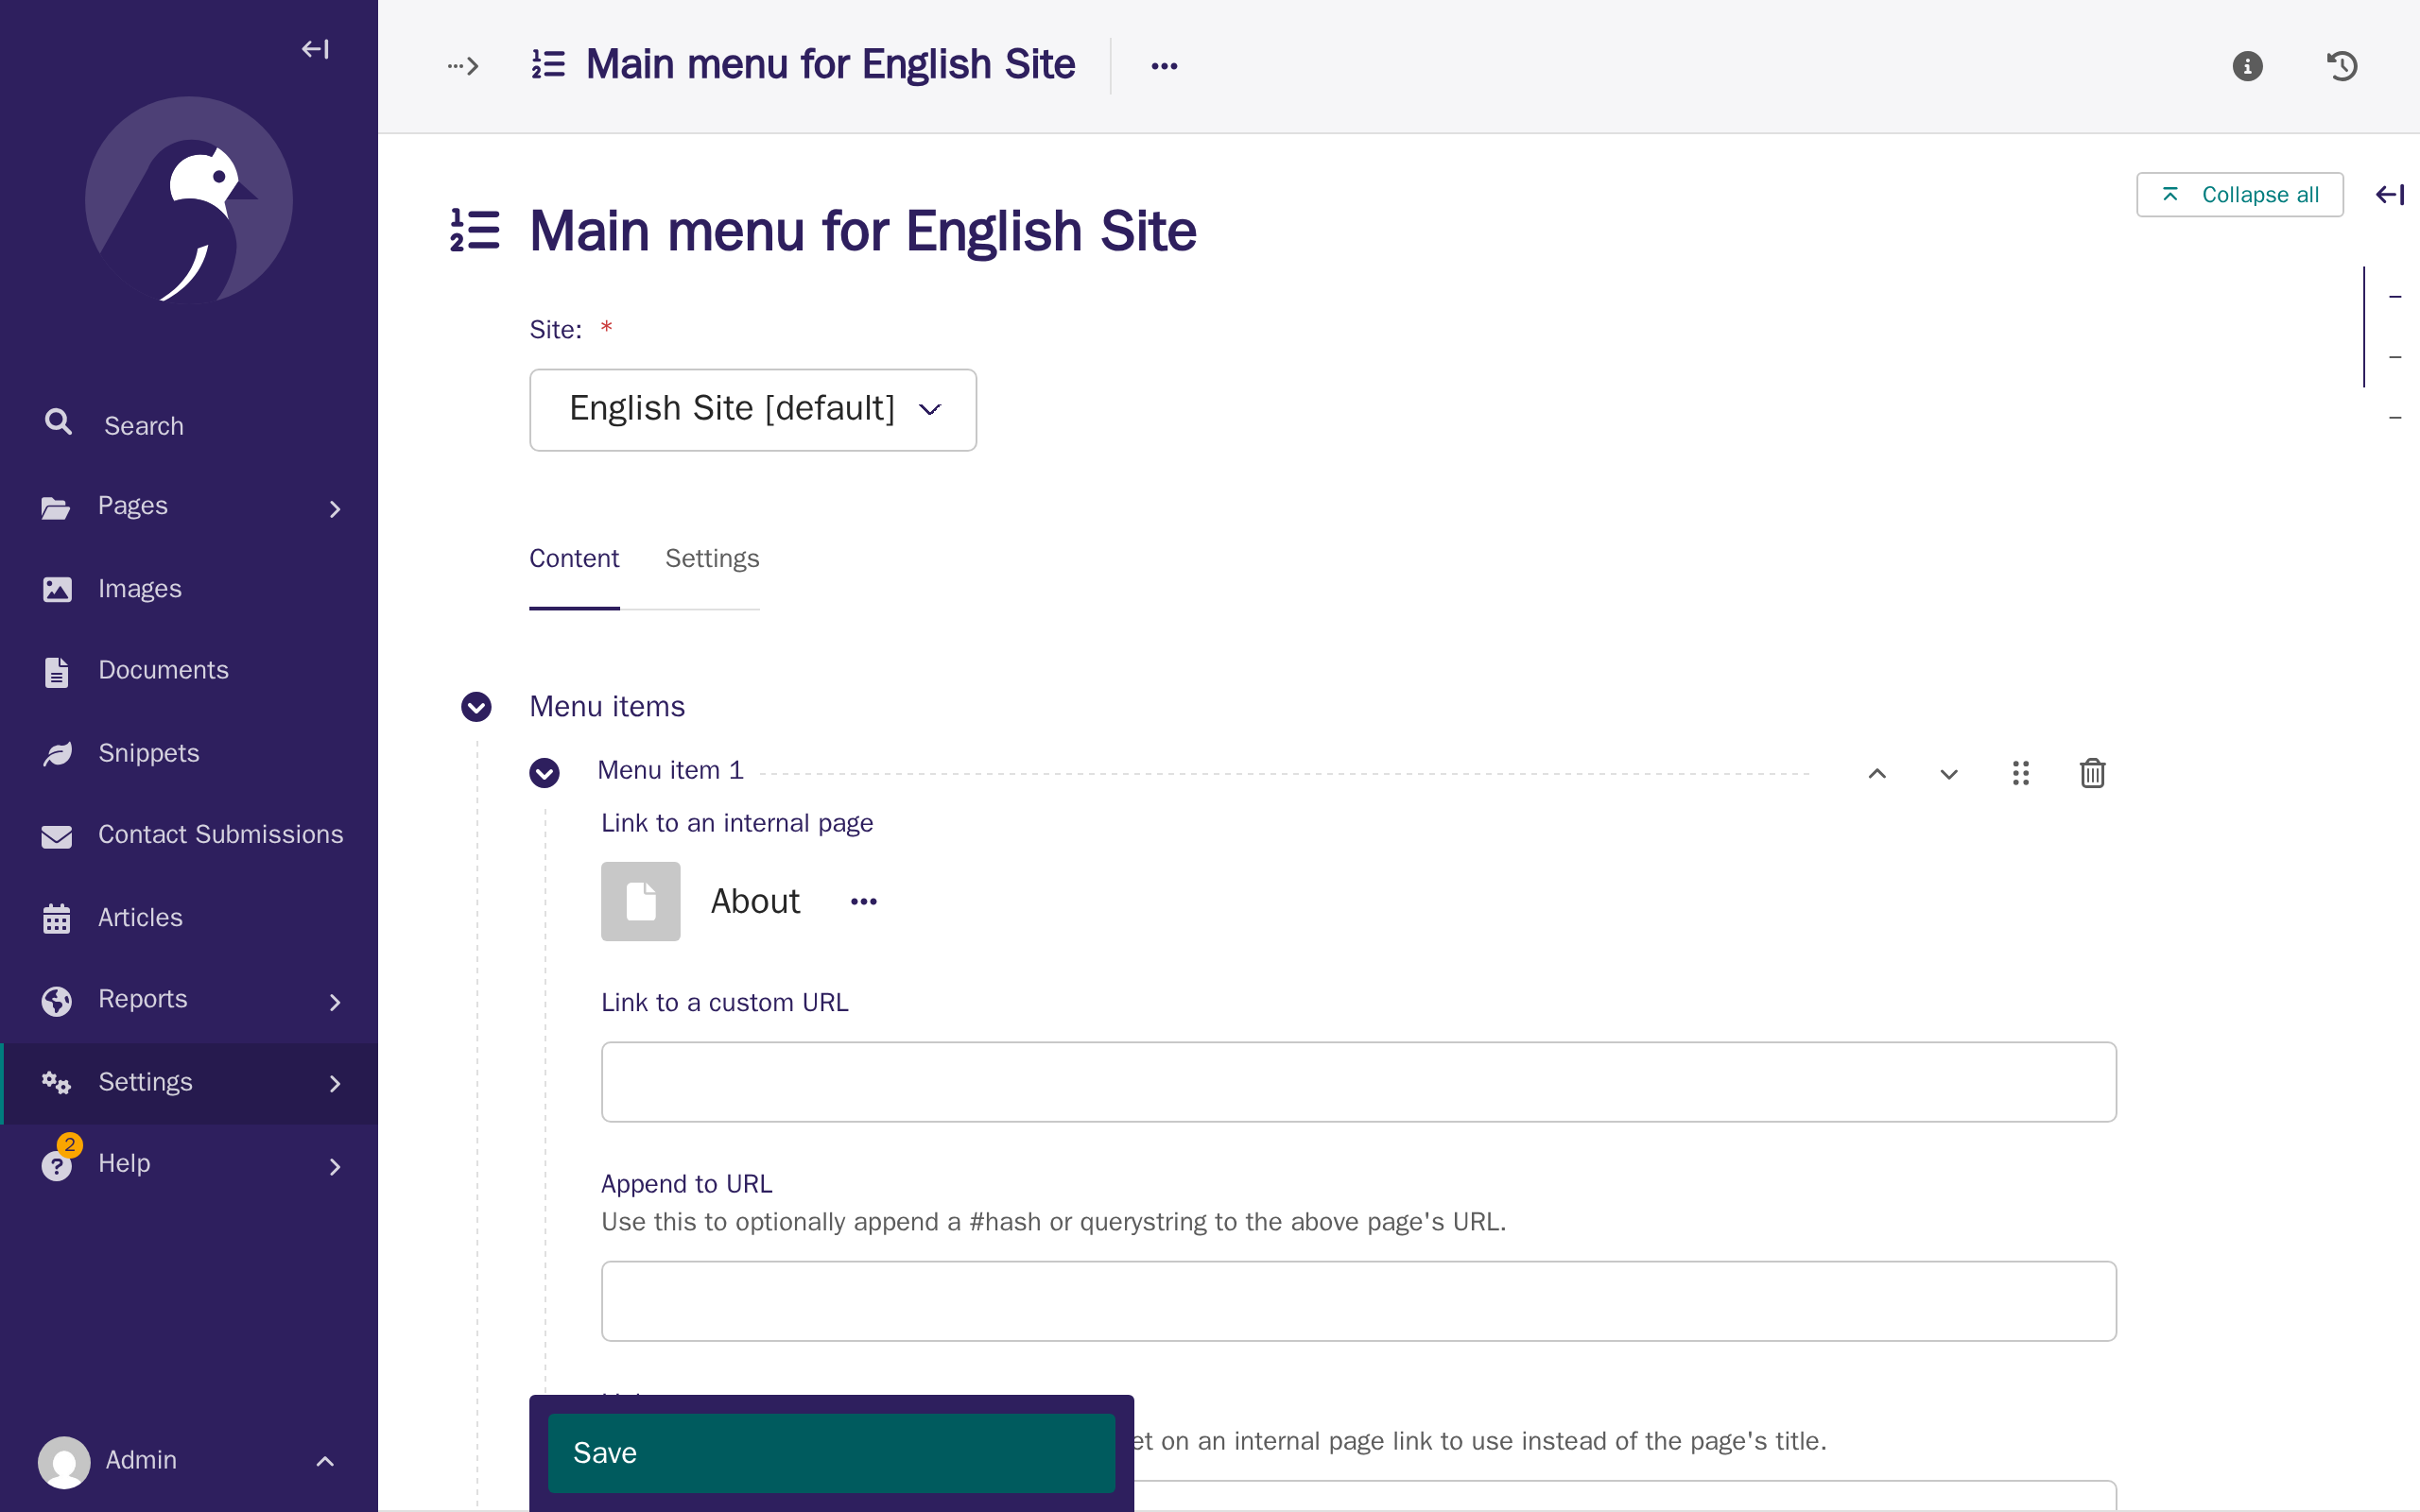
-
Open your site to see your new menu.

-
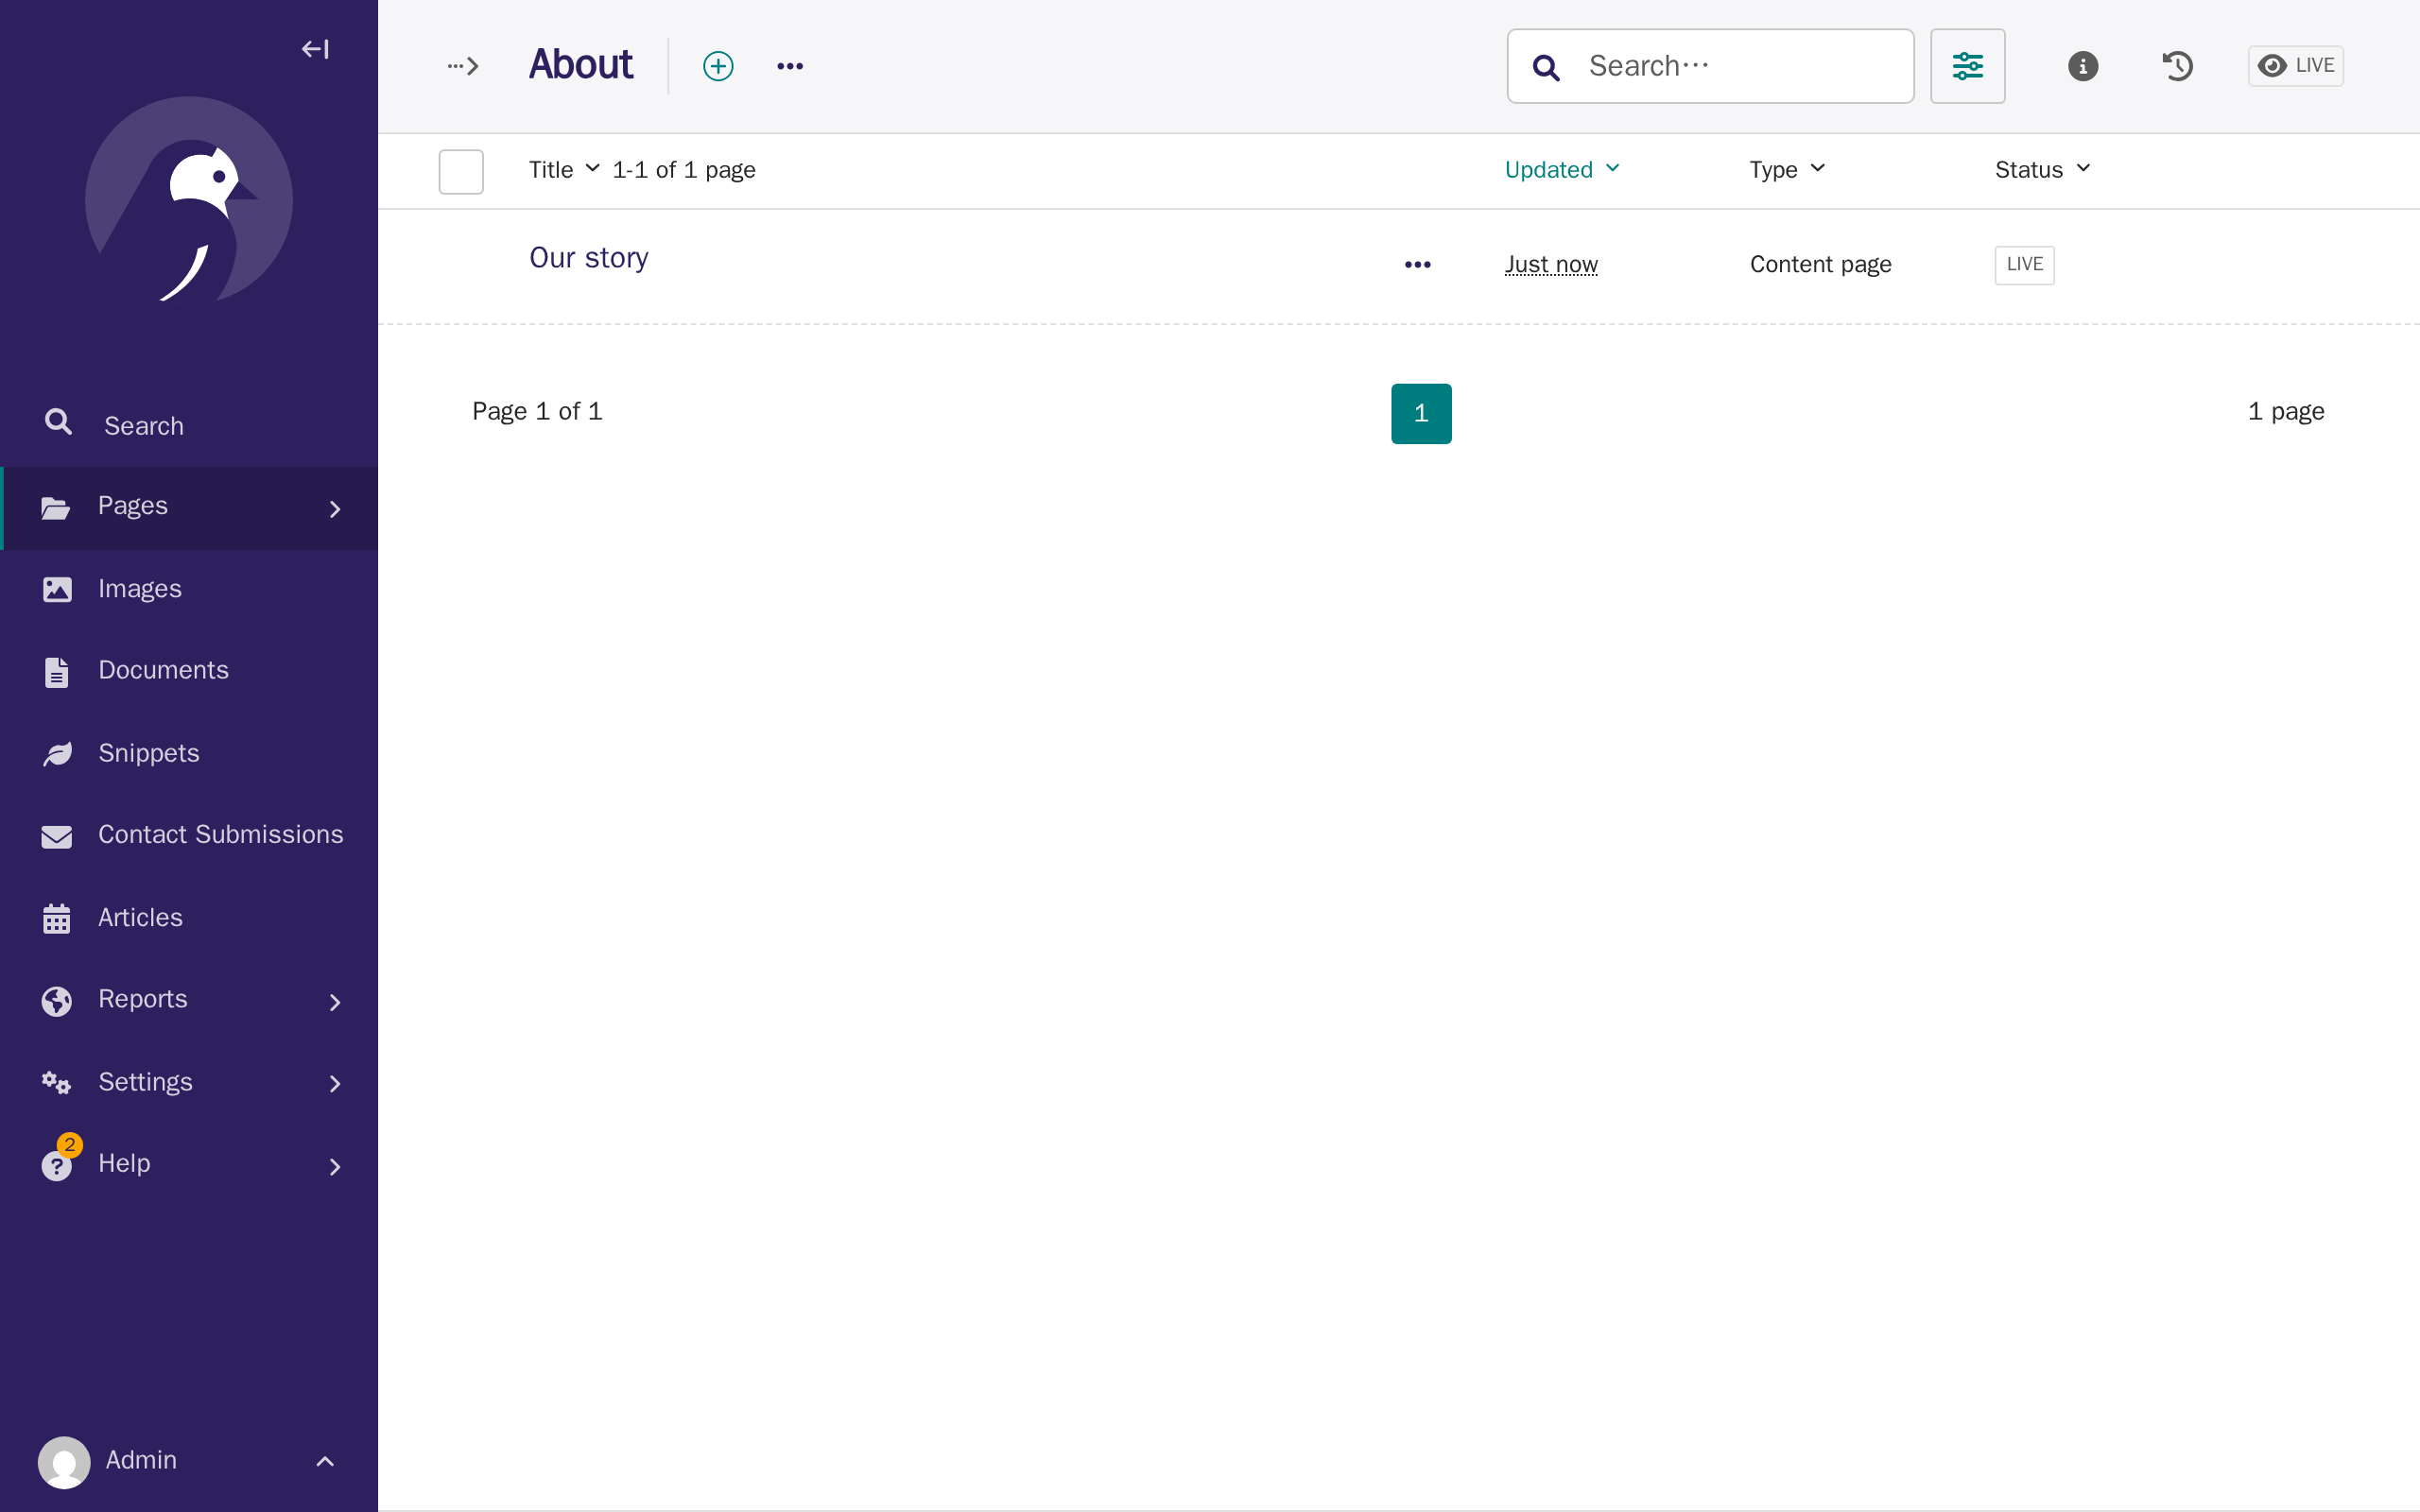
To group pages together, make one page a child of another. In Pages, open About, click Add child page, and create a page called Our story: give it a title and some content, the same as in Tutorial 3, then publish it. A page created here only ever offers one page type, so — unlike Tutorial 3 — you won't see a page-type list to choose from first.
-
Open your site again. About is now a dropdown, and Our story appears inside it — this happens automatically, because About now has a published page underneath it.

-
Back in Settings > Main menu, click Move up next to Contact, then click Save, to move it above About.
Reordering pages inside a dropdown
Dropdown items follow the order of the pages themselves, not a separate menu setting. To reorder them, go to Pages, open the parent page (for example, About), click ⋯ (more options) next to any of its child pages, and choose Sort menu order. Drag a page up or down, or use the keyboard: focus the drag handle, press the up or down arrow key, then press Enter to confirm.
Renaming a menu label without renaming the page
Sometimes you want a menu item to say something different from the page's actual title — for example, a page titled "About" that you want the menu to say "Who we are". Open Settings > Main menu, open that item, and type your preferred wording into Link text. This only changes the menu label — the page's own title stays the same everywhere else.
Moving a page to a different dropdown
If you decide a page belongs under a different section, you can move it in the page tree instead of editing the menu. In Pages, find the page, open its ⋯ (more options) menu, and click Move. Choose the page you want it to sit under and confirm. It now appears in that page's dropdown instead, with no changes needed in the menu editor itself.
The same Move action is also how you merge two existing pages under one dropdown: move one of them so it becomes a child of the other (or a child of a shared parent page). There's no separate "merge" command — it's the same move, just applied to two pages you already have instead of a new one.
Removing a page from the menu
To take a page out of the menu without deleting it, open Settings > Main menu, open that menu item, and click Delete, then Save. The page itself is untouched — only the menu item is removed. To get rid of a page entirely (for example, a duplicate created by mistake), delete the page itself instead: in Pages, open its ⋯ (more options) menu and click Delete.
Keeping your menu easy to use
Every item you add to the top-level menu takes up space across the top of every page, including on a phone screen. A menu with more than five or six top-level items usually feels crowded — group related pages into dropdowns instead of adding them all to the top level.
Footer links
Your site also has a separate footer menu, split into three independent columns, for links you want visible at the bottom of every page rather than the top. Each column is its own menu, under Settings > Flat menus, and needs its own name before visitors see anything — an empty column with no heading just looks like nothing is there.
-
In the CMS, click Settings, then click Flat menus, then click Add flat menu.
-
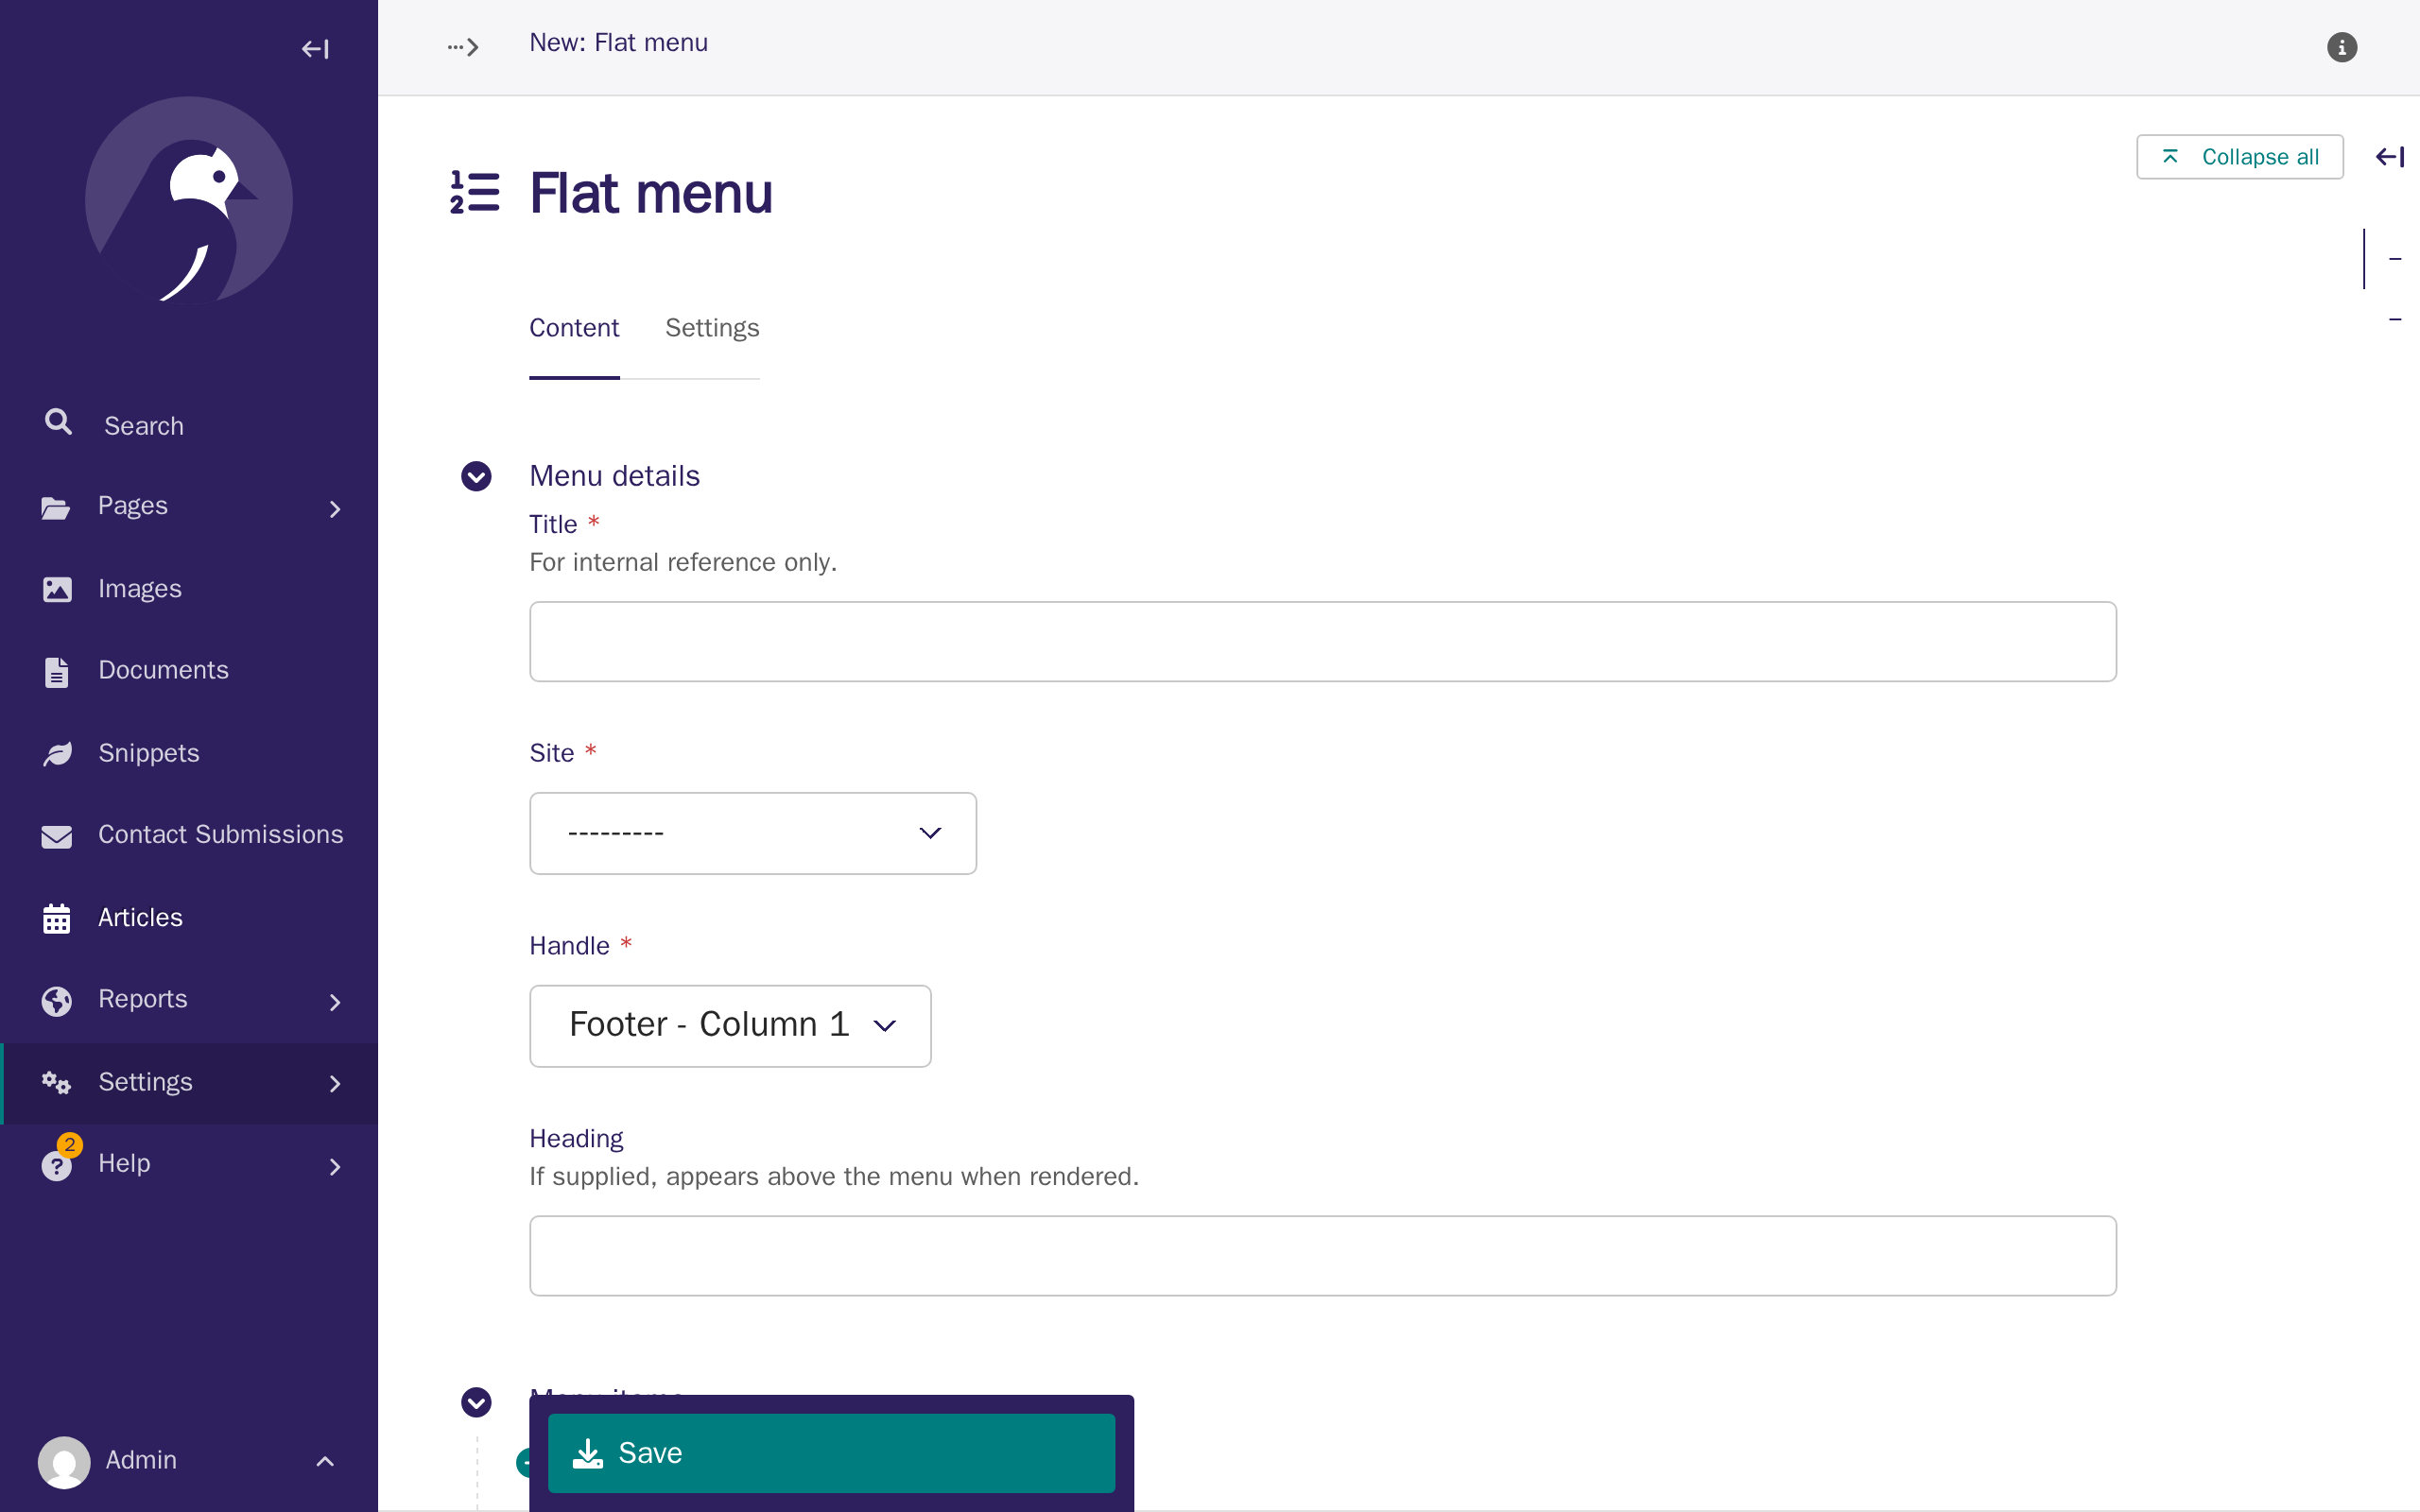
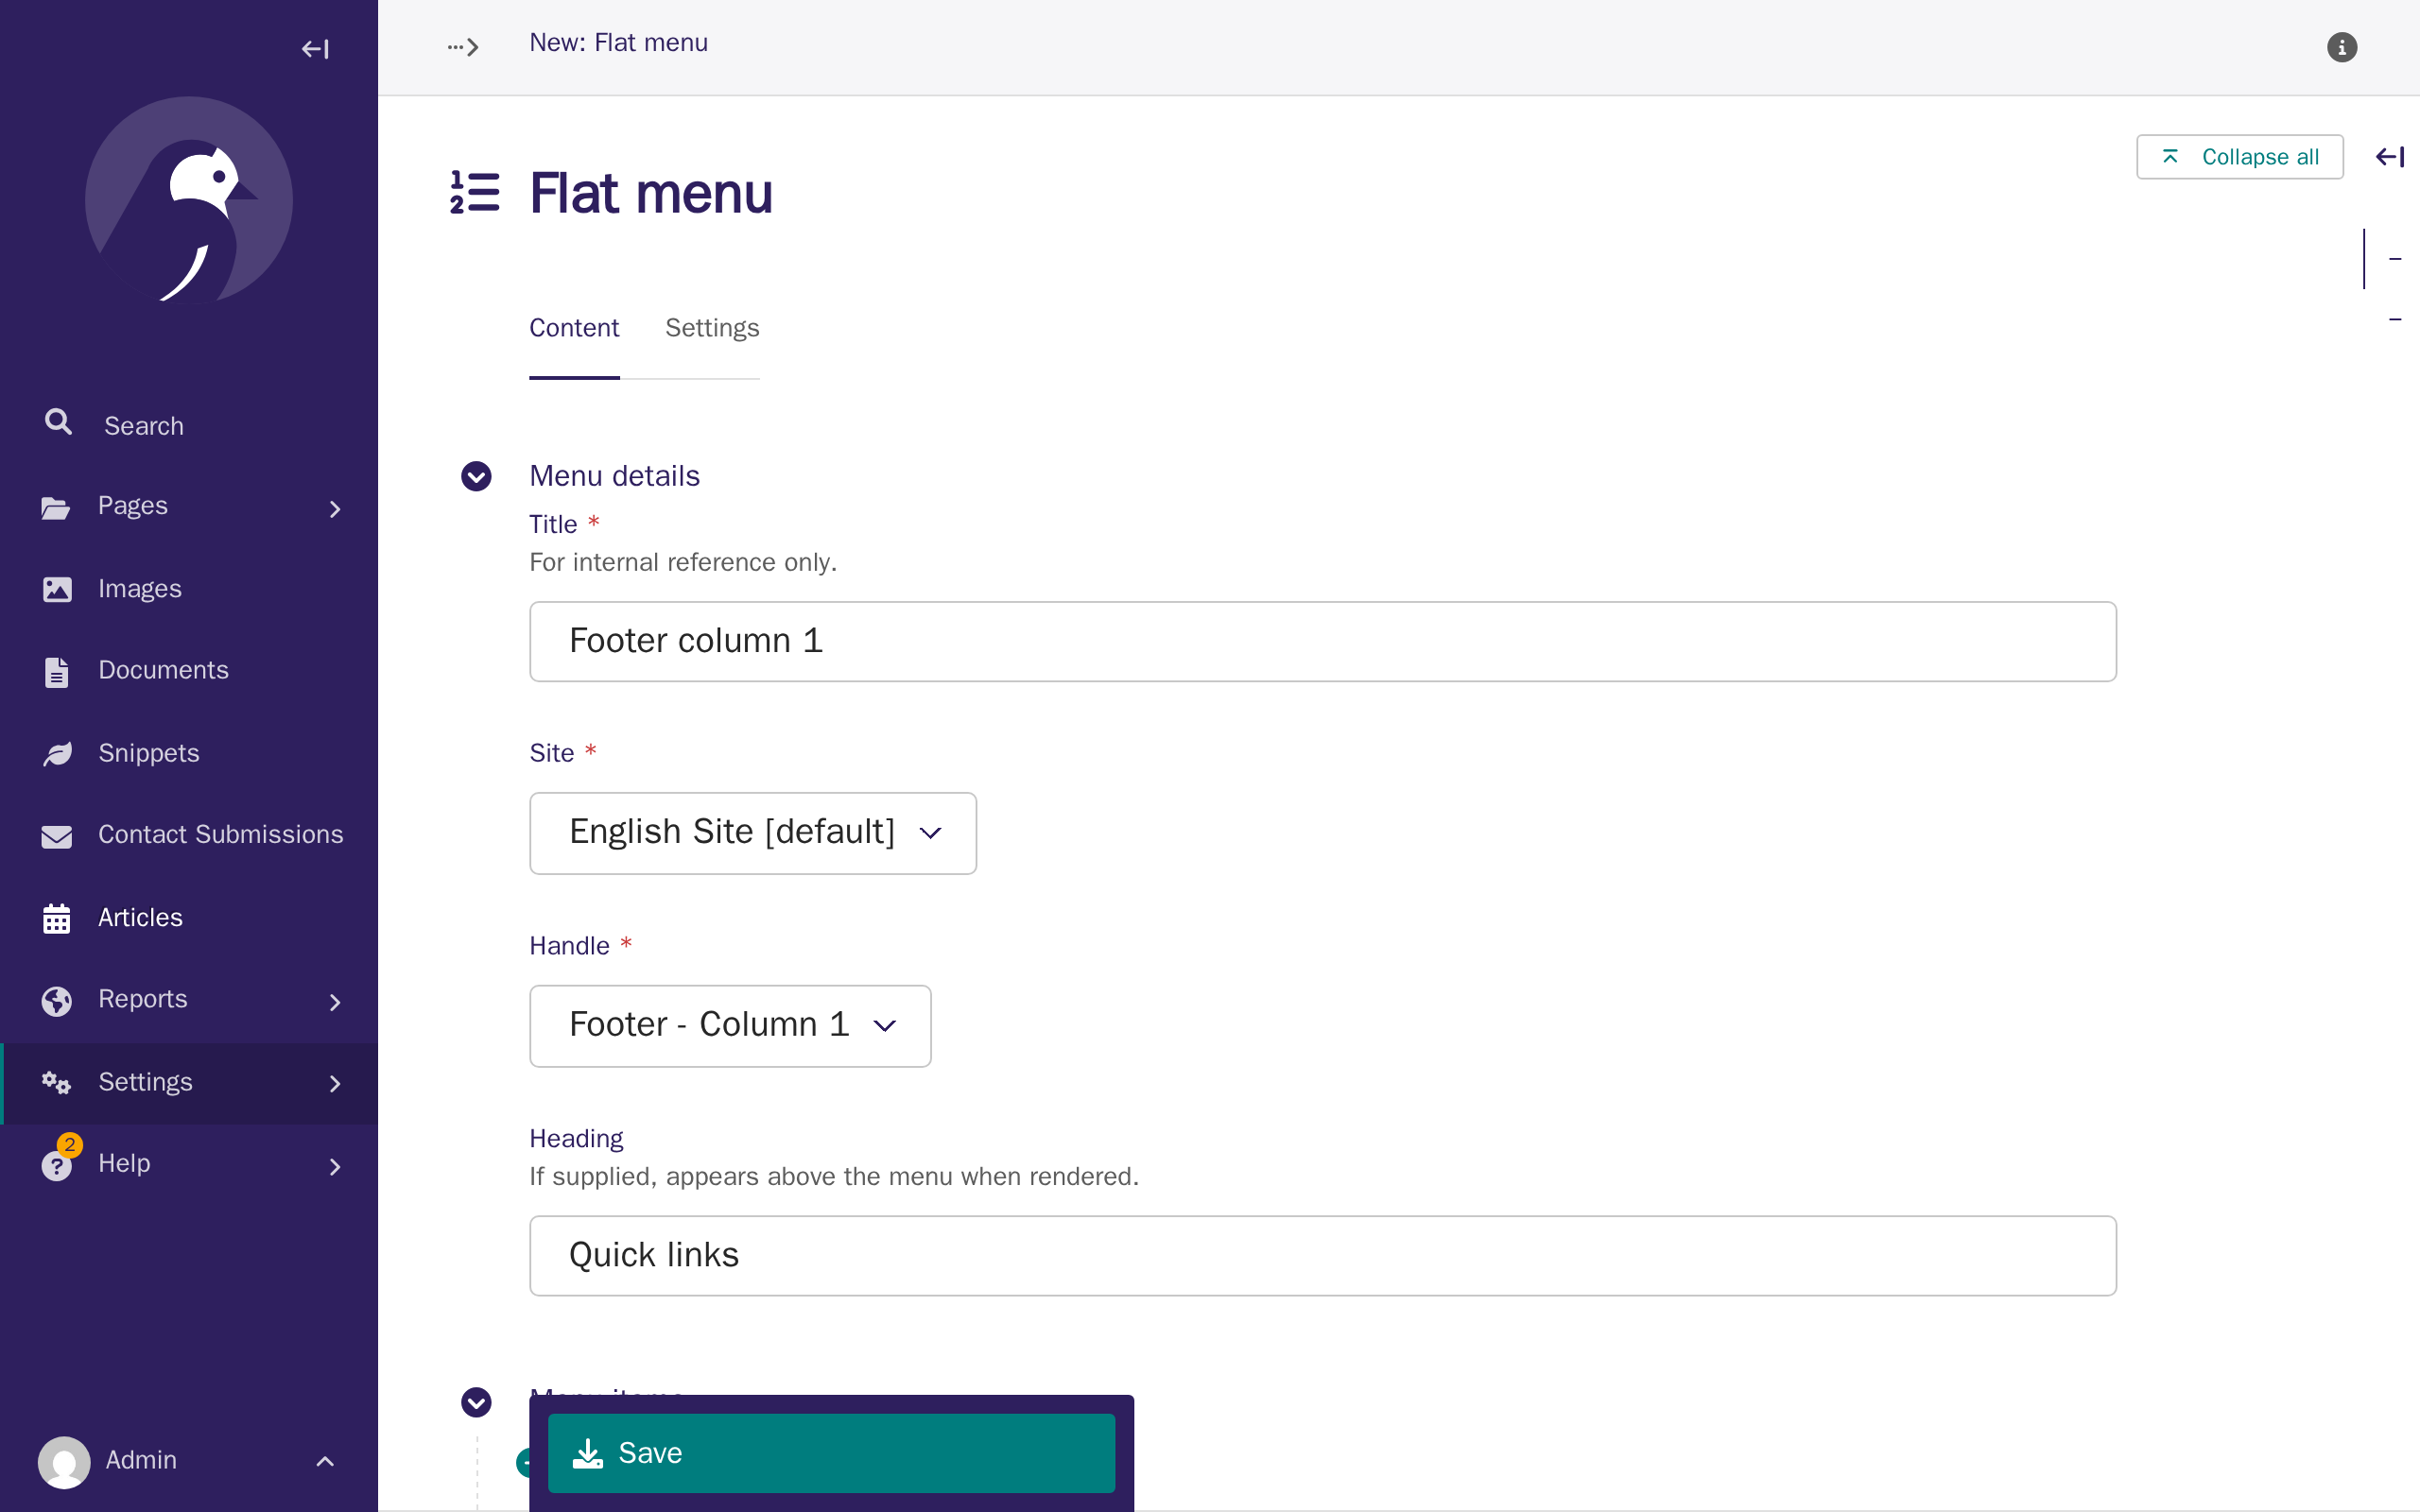
Fill in a Title (so you can find this menu again later — visitors never see this one), choose your association's Site, choose a Handle (which column: Footer - Column 1, 2, or 3), and type a Heading. The Heading is the name visitors see above the column's links — this is optional, but useful if you want groups of links.
-
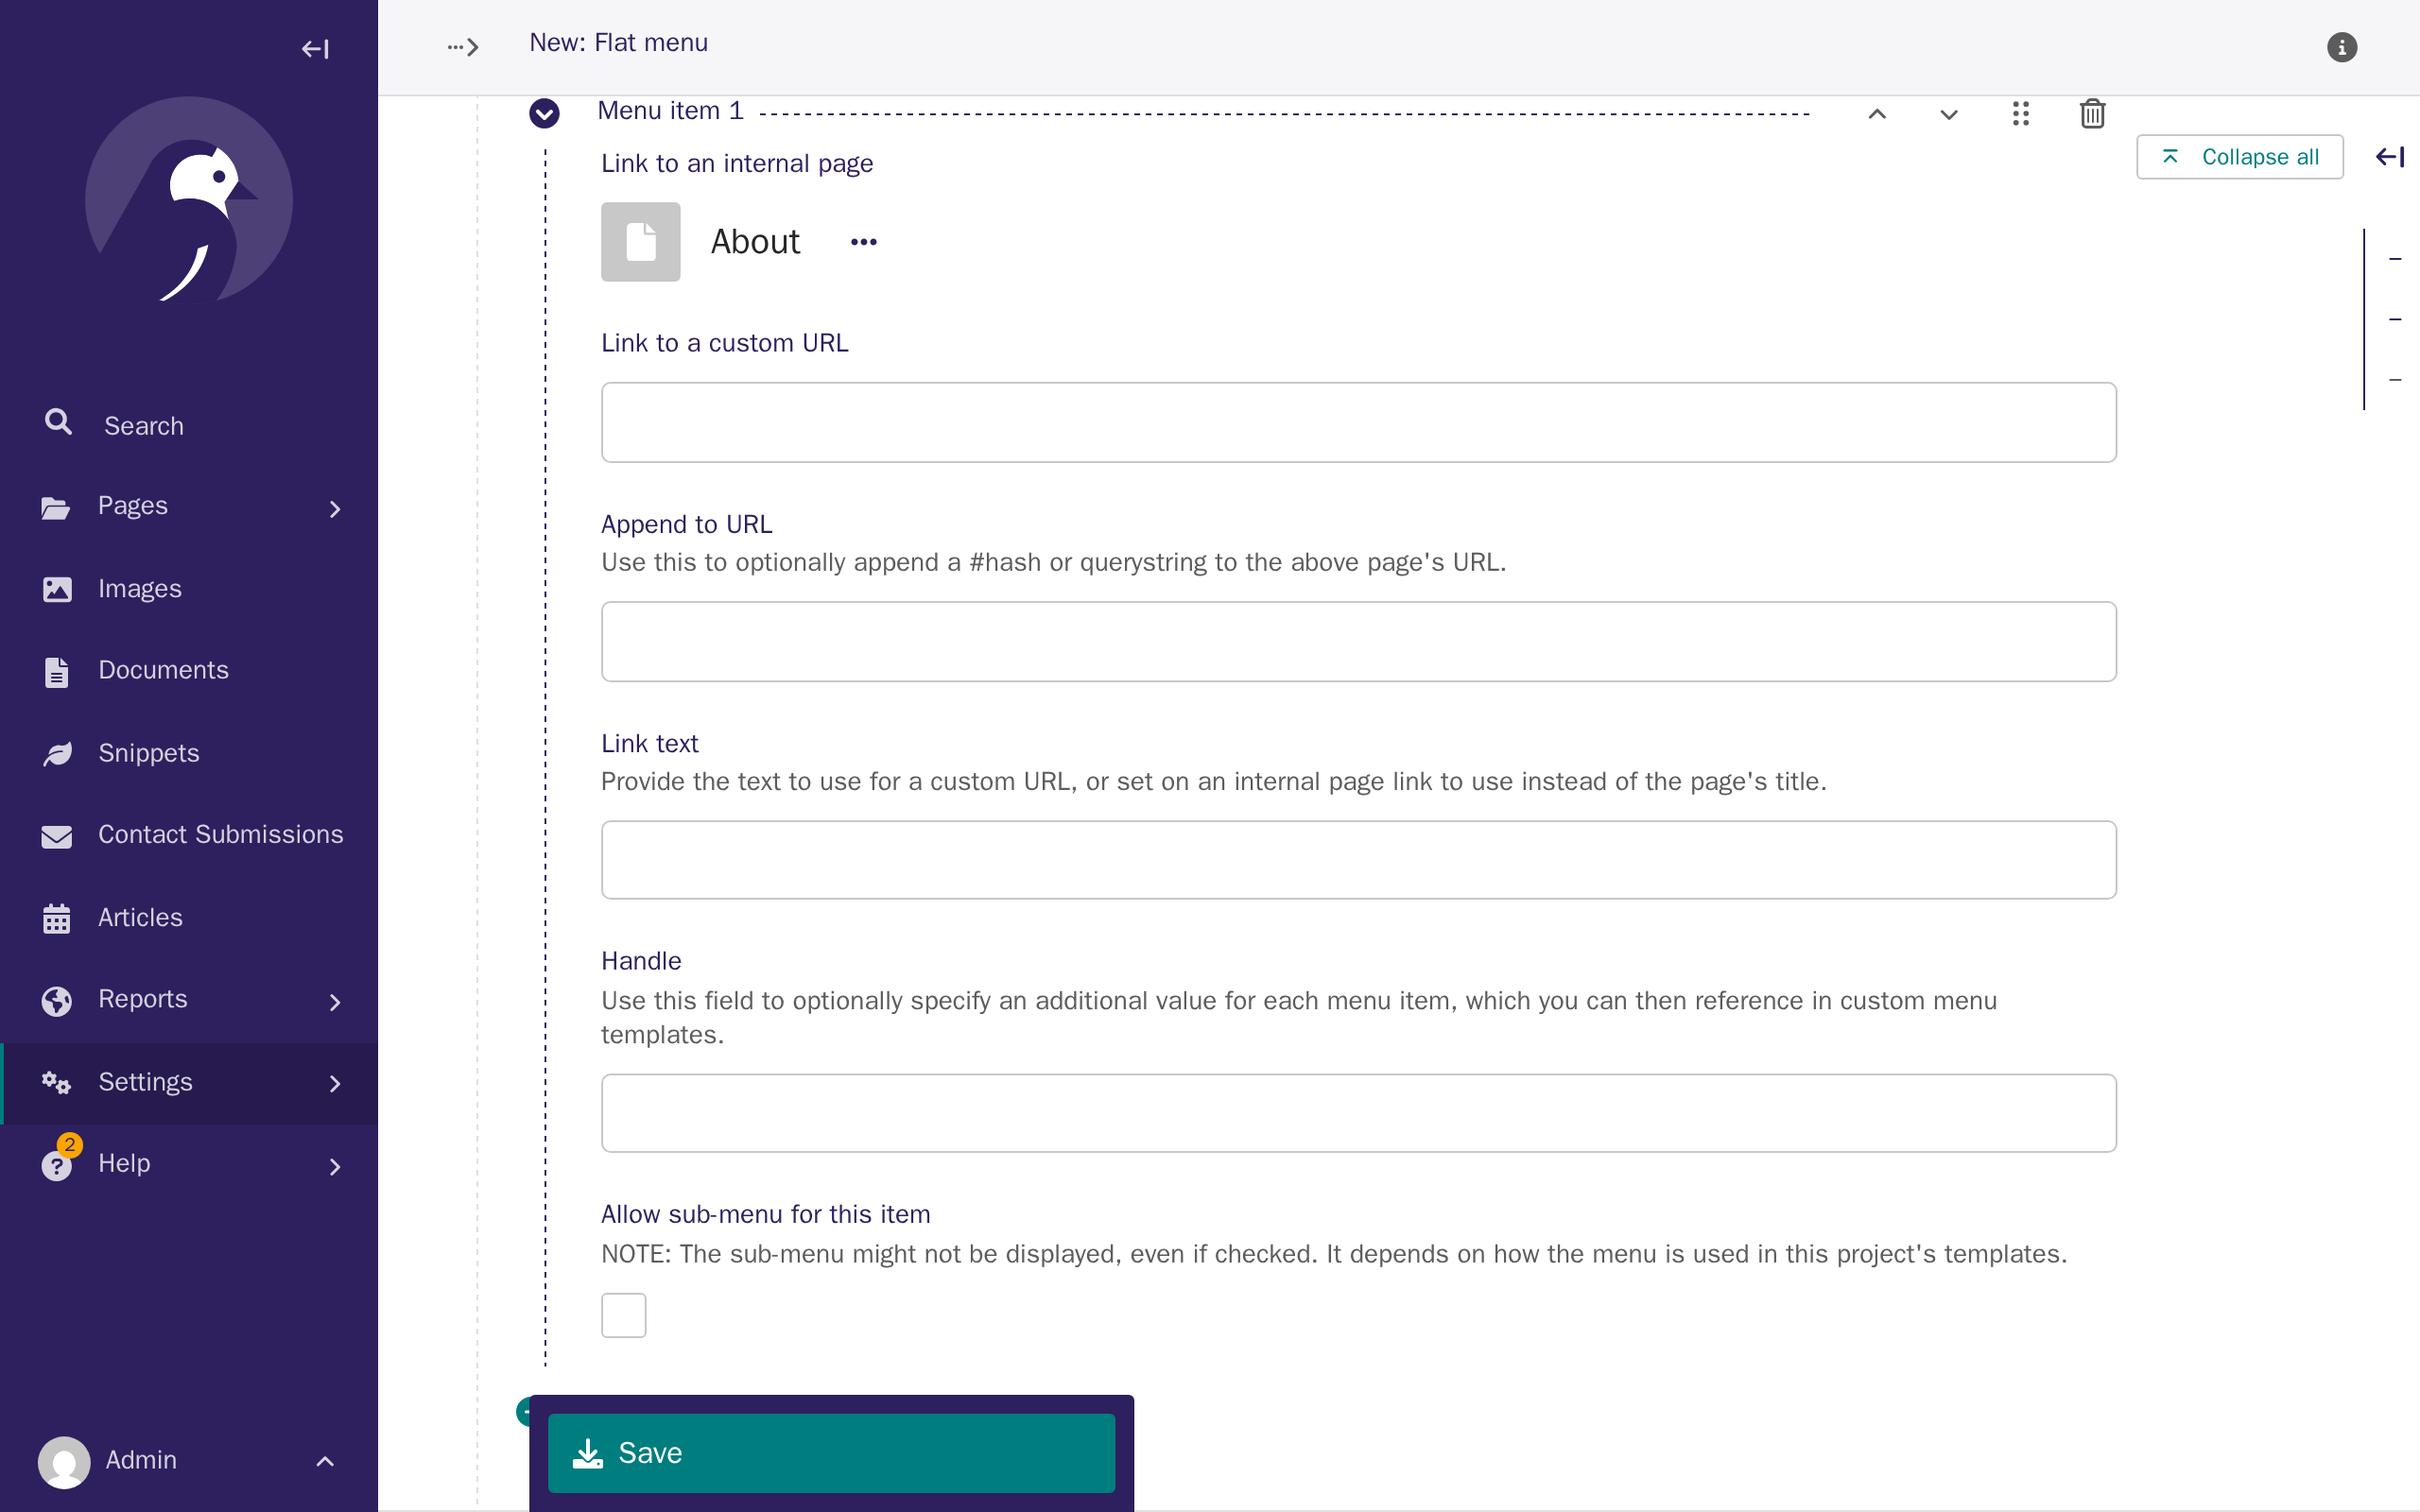
Click Add menu item, click Choose a page, and pick a page — the same as adding a page to the Main menu above.
-
Click Add menu item again. This time, to link to somewhere outside your site, type the full web address into Link to a custom URL instead of choosing a page, and type the words you want visitors to see into Link text. A custom URL always needs
https://(orhttp://) at the start — without it, visitors' browsers won't know it's a web address.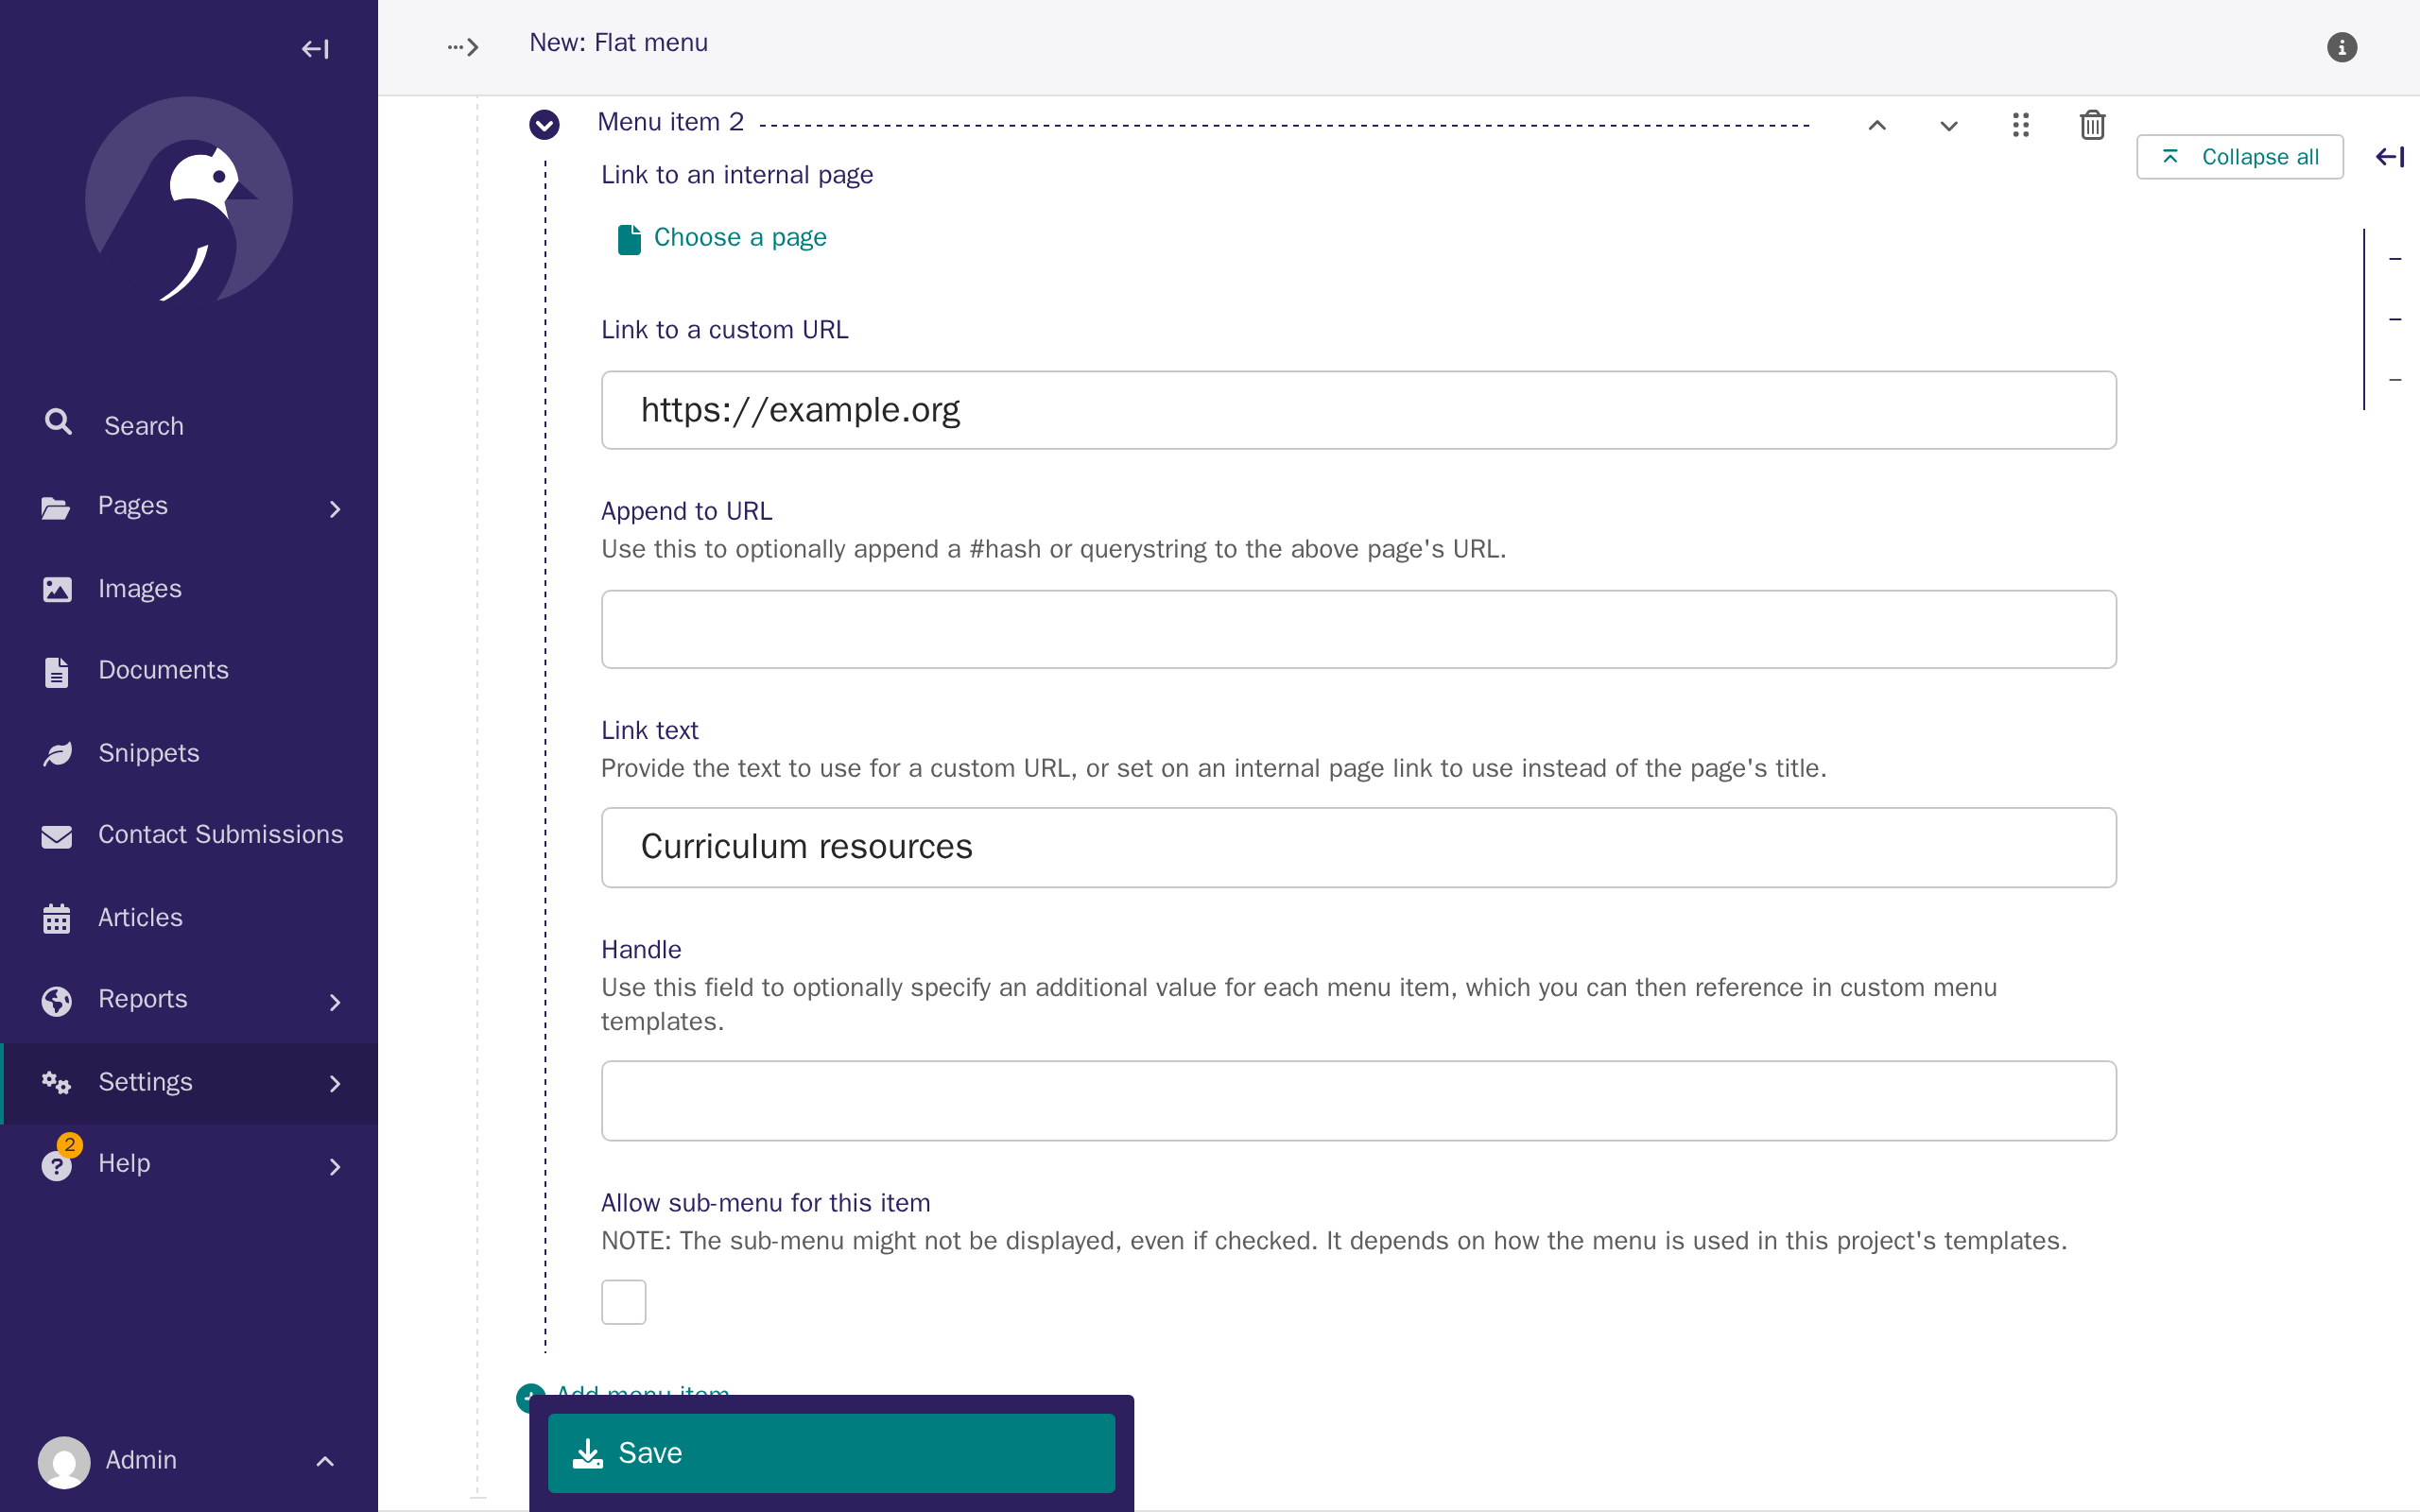
Linking to your forum is the one exception to the rule above: type
/forum/into Link to a custom URL instead of a full web address, with nohttps://in front. That's a shortcut built into your own site that signs a visitor in and sends them straight into the forum — see Tutorial 8: Forum for why it's worth using instead of your forum's own address. -
Click Save.
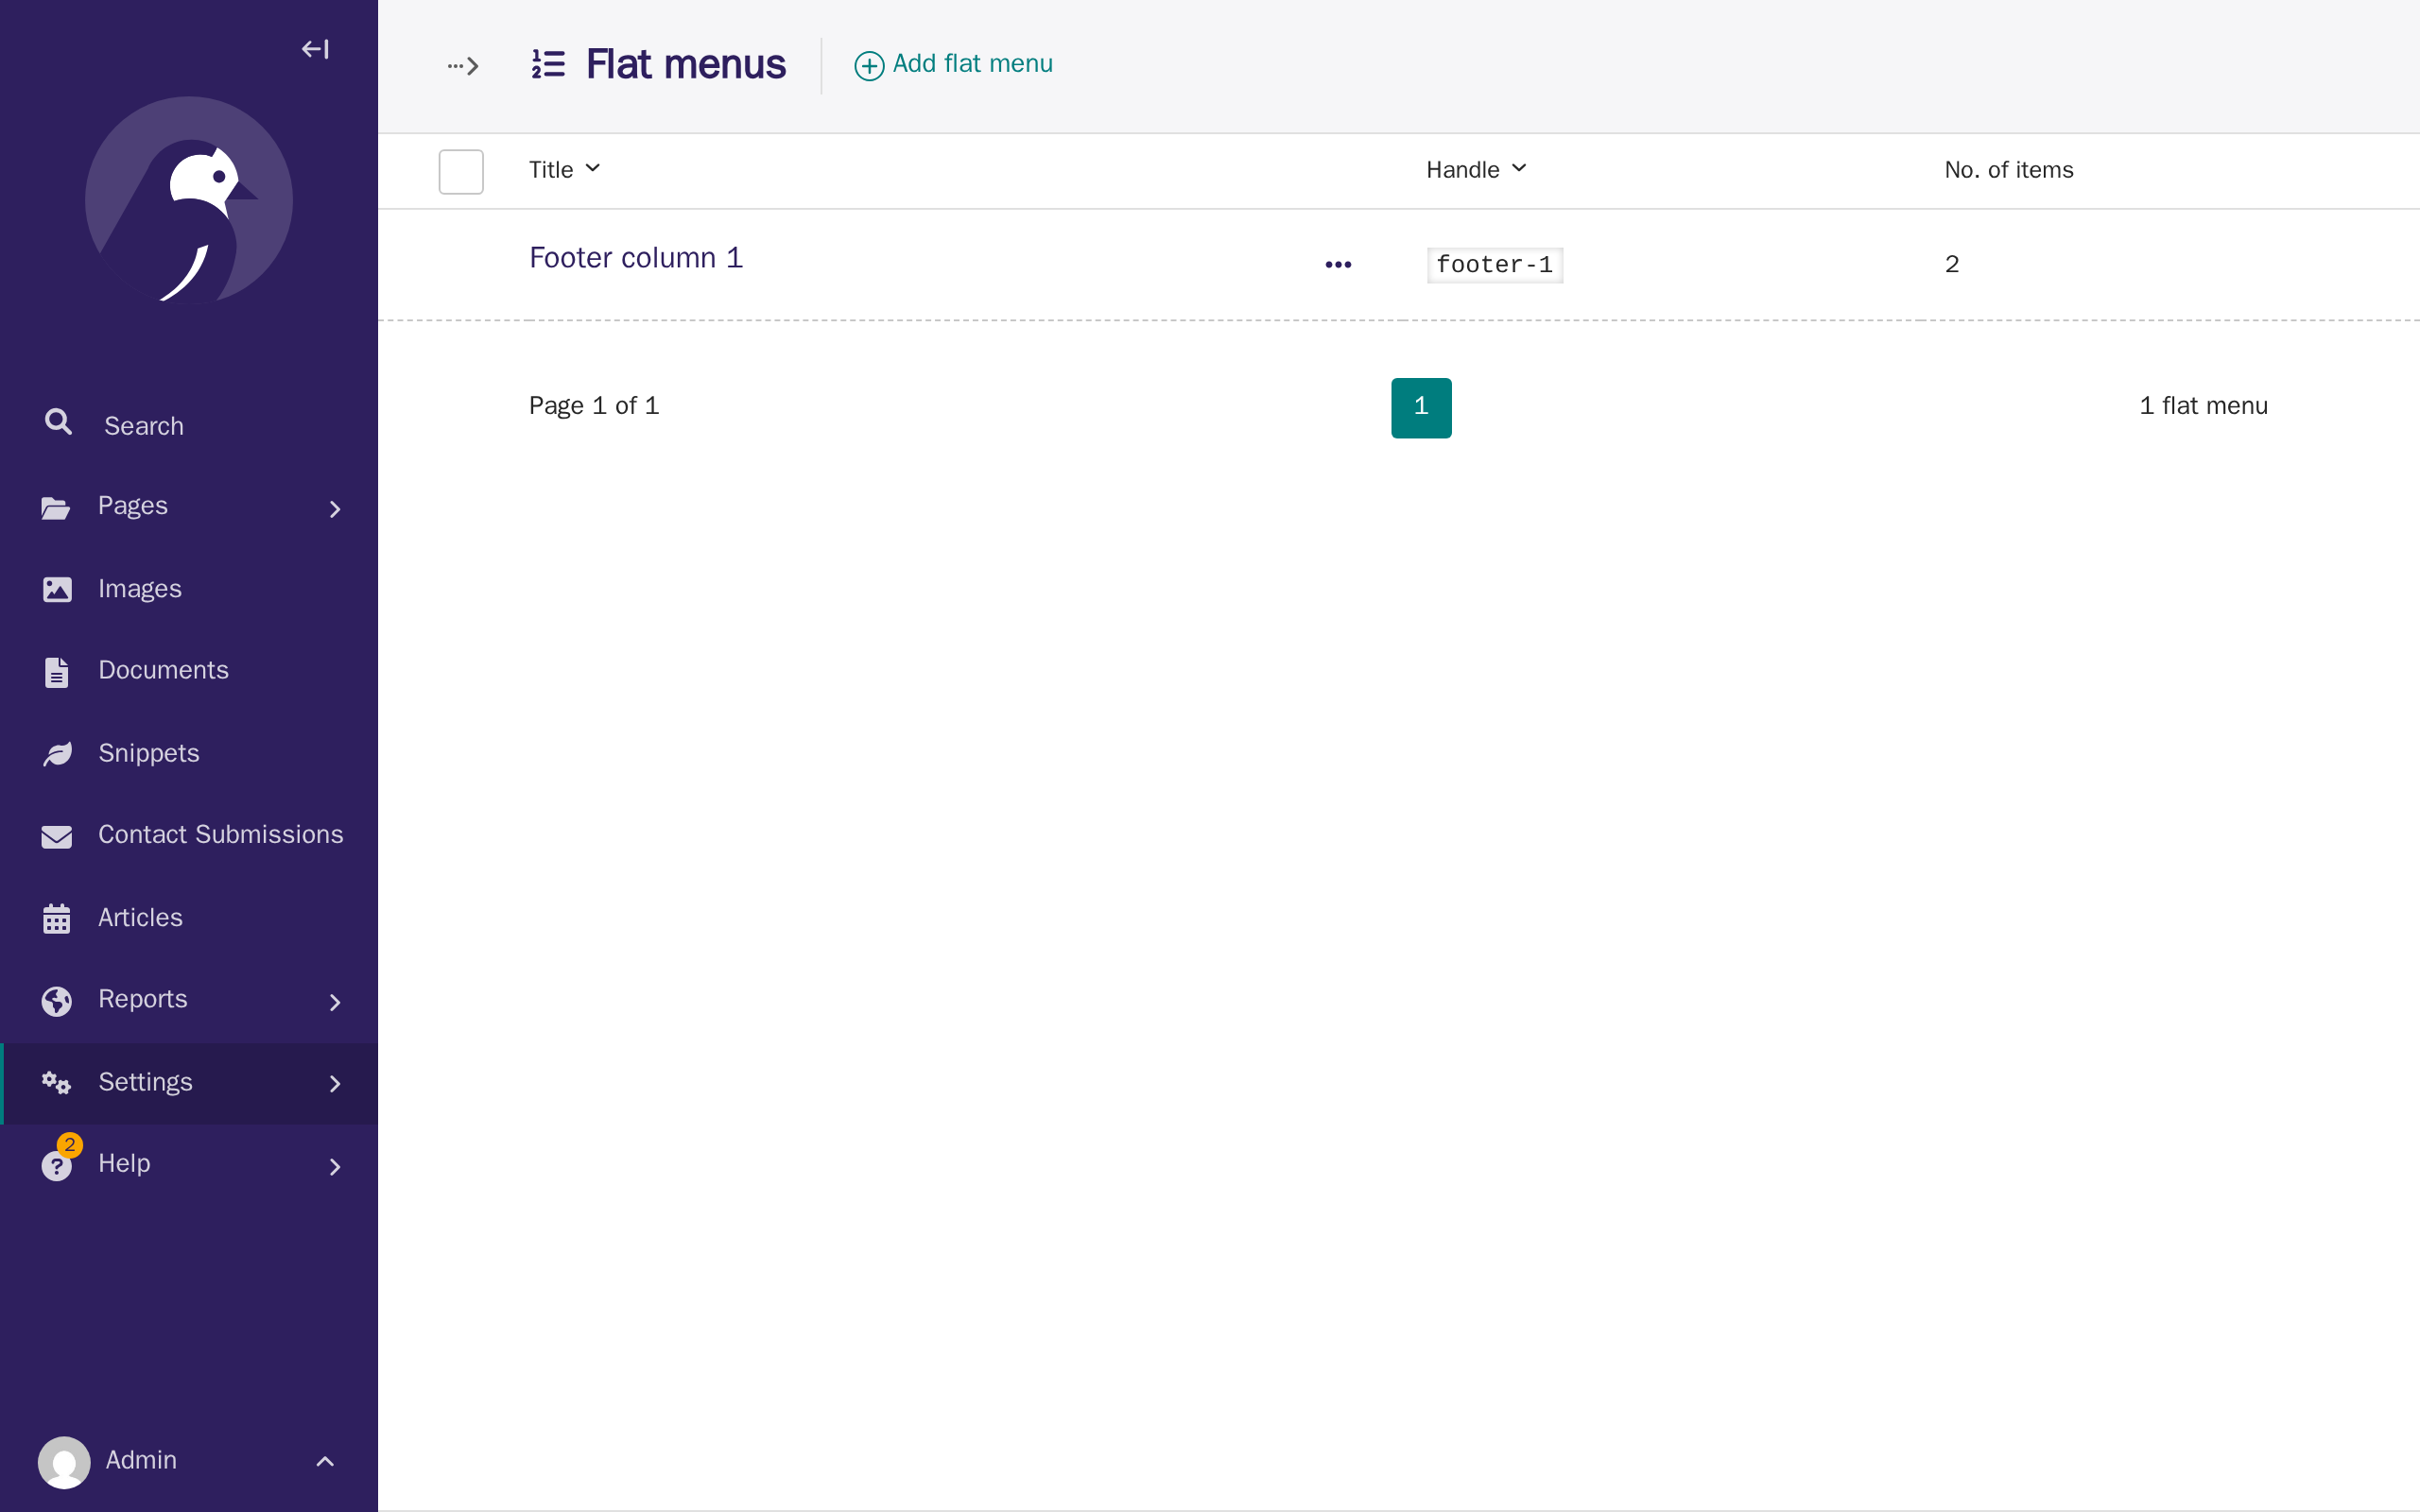
Repeat these steps for Footer - Column 2 or Footer - Column 3 to add more columns. Each one is completely independent, with its own heading and its own links — here's a site with two columns filled in, each with its own name:
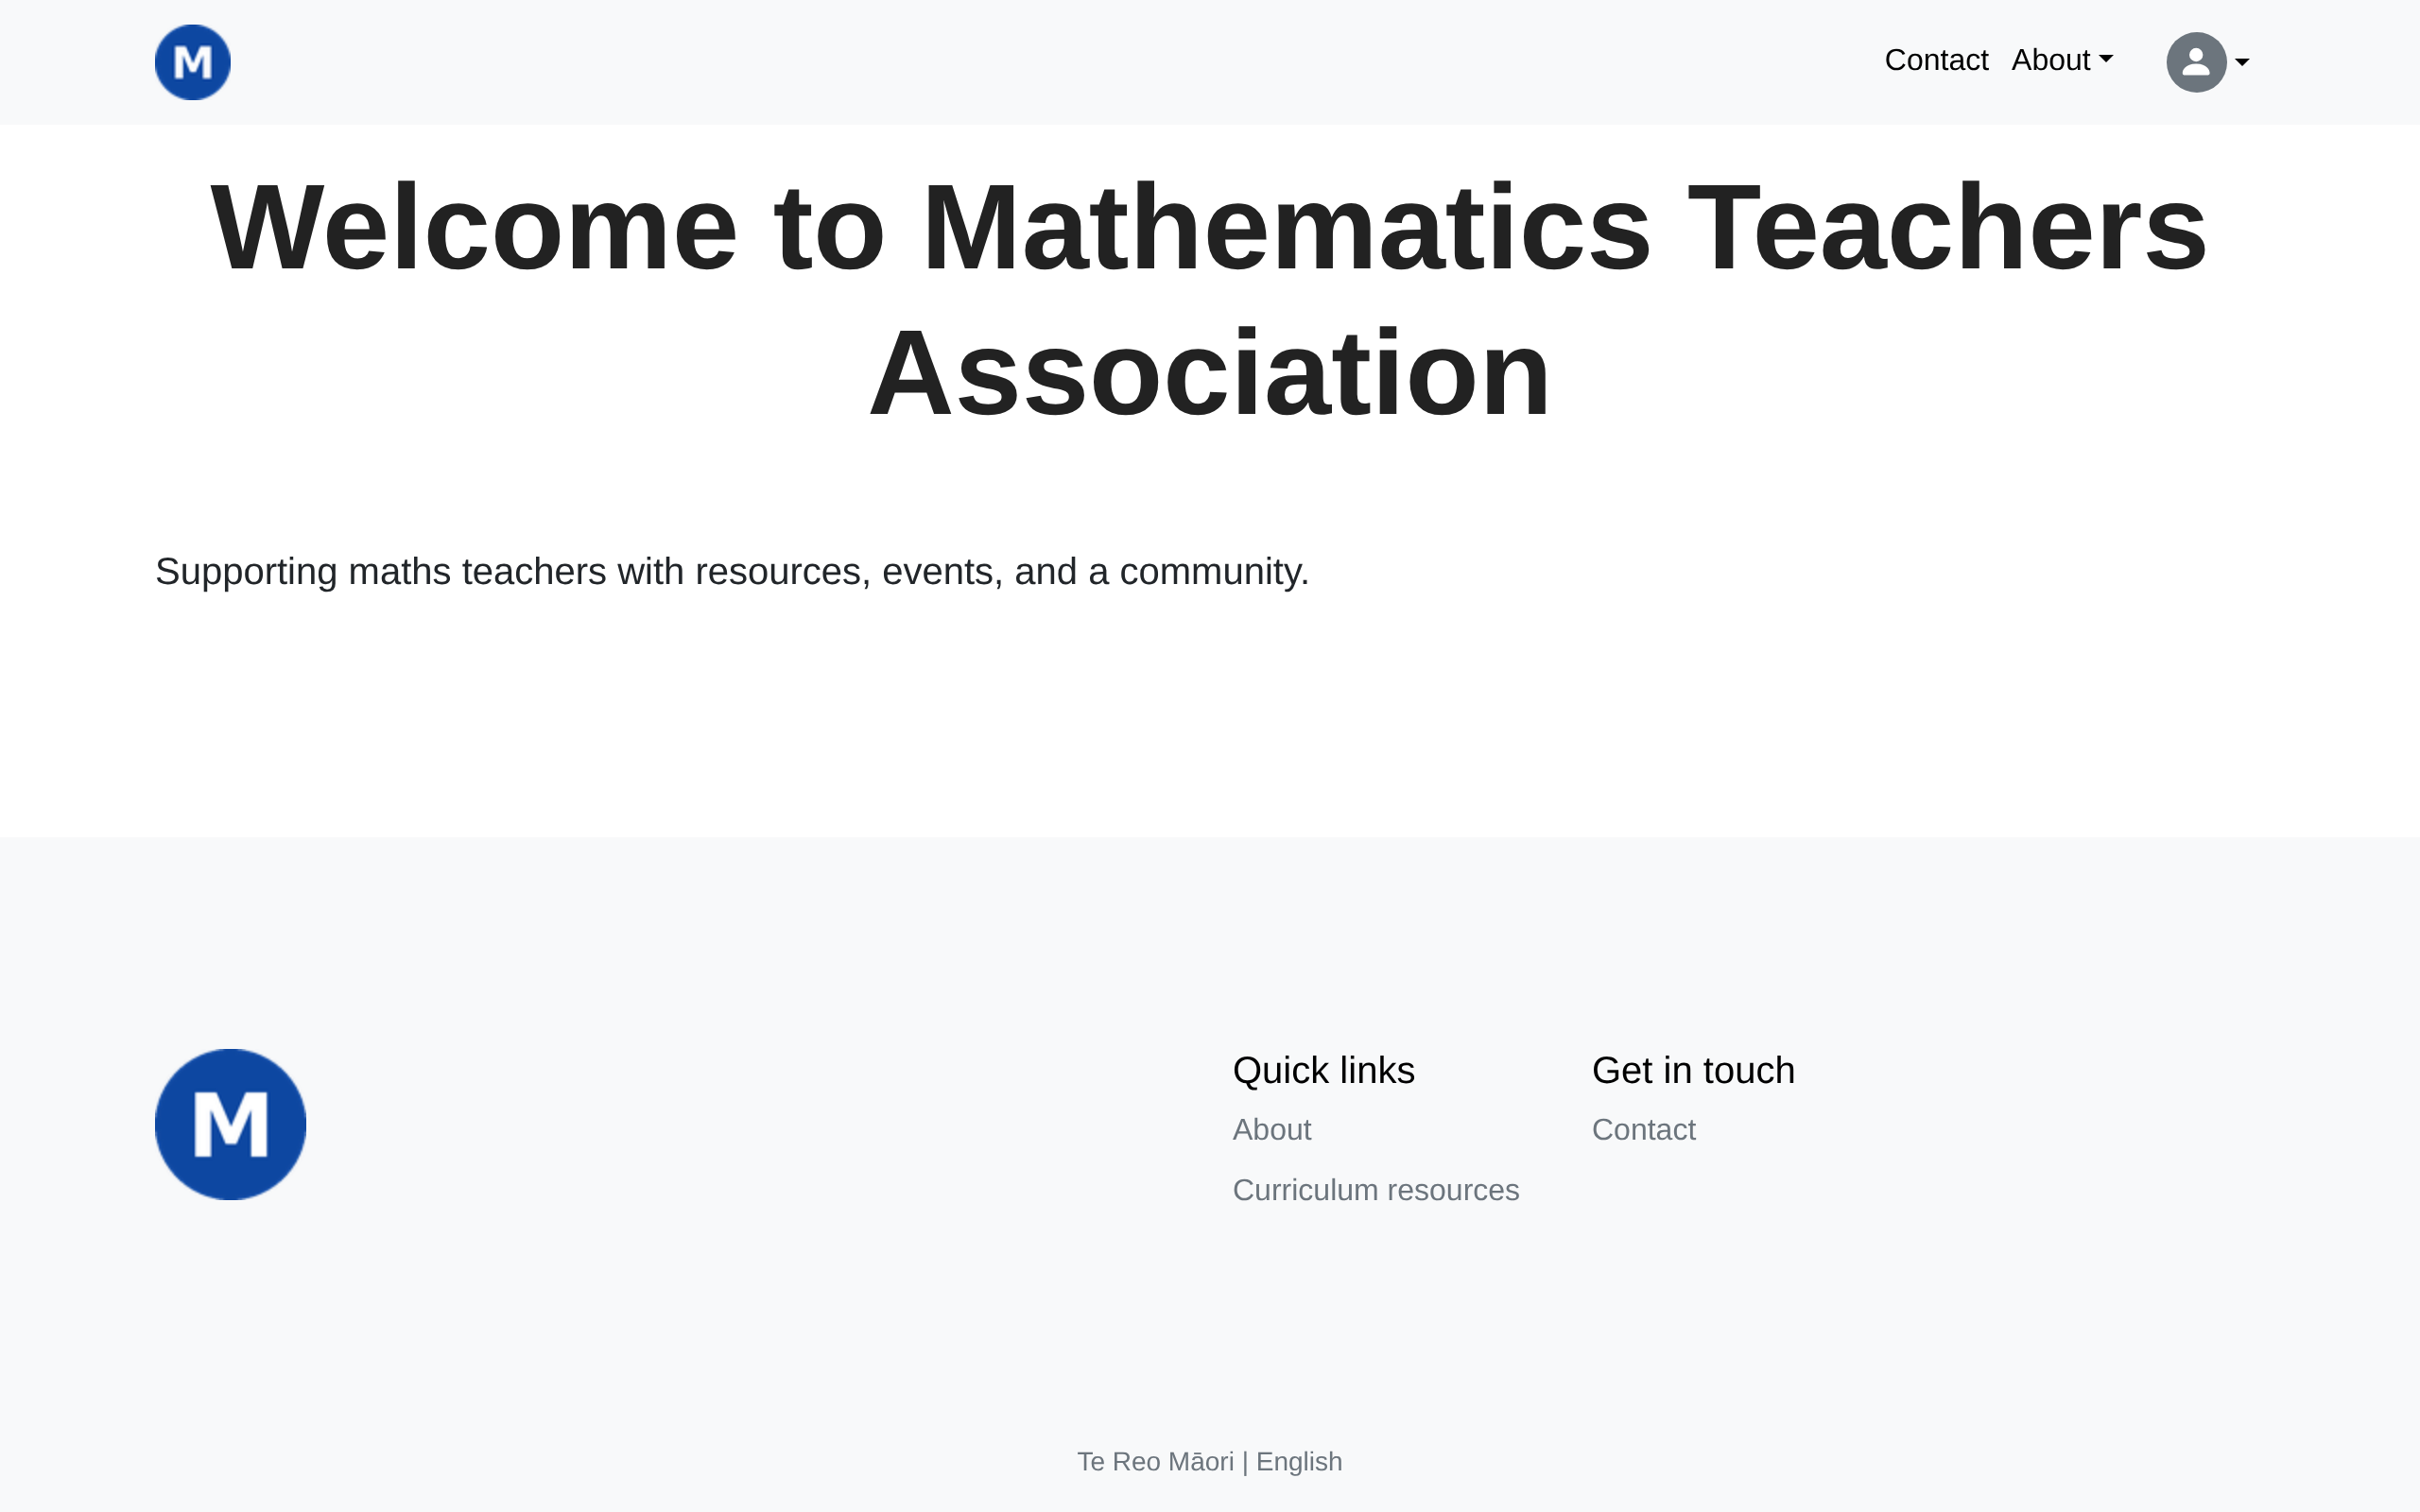
What's next
The next tutorial covers languages & translations — how your site's content works across more than one language.