Tutorial 3: Your first pages
Who this page is for: client website admins — the volunteers who will load content and run the day-to-day site, generally with no prior web-admin experience.
What you'll have at the end
Your home page will have a heading and a welcome message. You'll have an About page and a Contact page, both published and visible to visitors. You'll know the difference between saving a draft and publishing, and how to preview a page before anyone else sees it.
Before you start
You should already be signed in to the CMS — see Tutorial 1: Orientation if you're not.
Steps
-
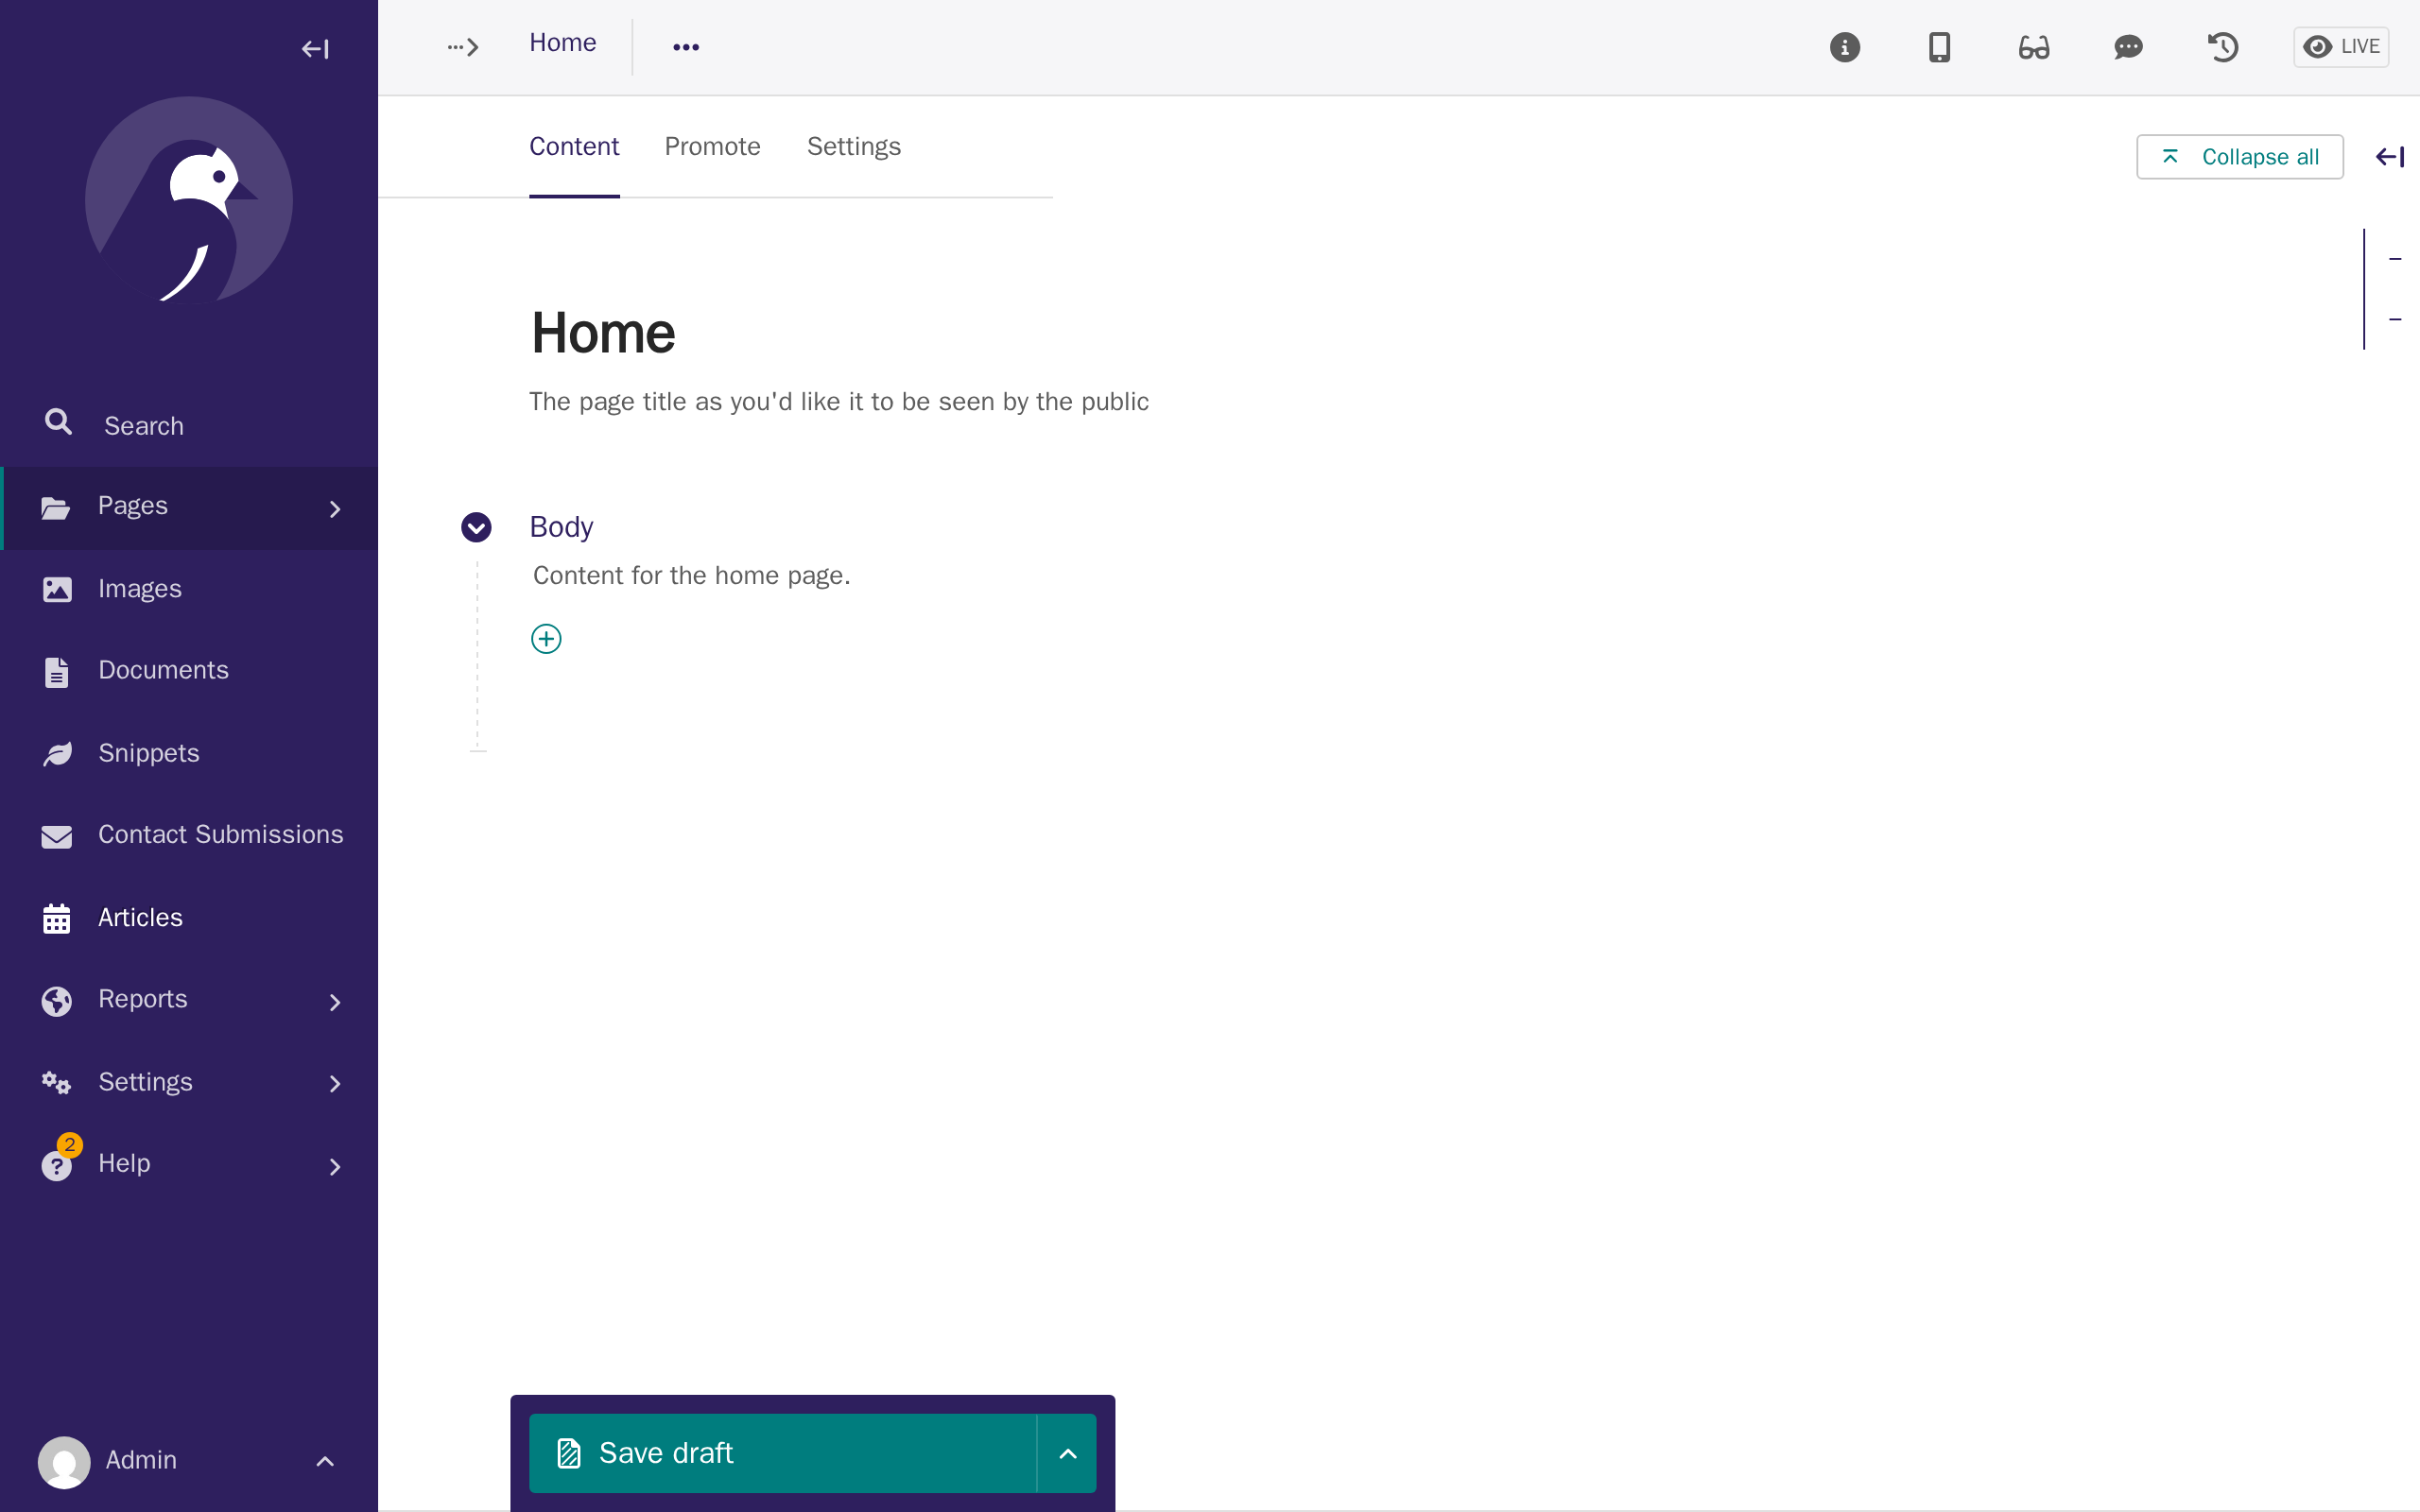
In the CMS, click Pages in the left sidebar, click Home, then click Actions, then Edit. Your home page already exists — your provider created it for you — but it starts empty.
-
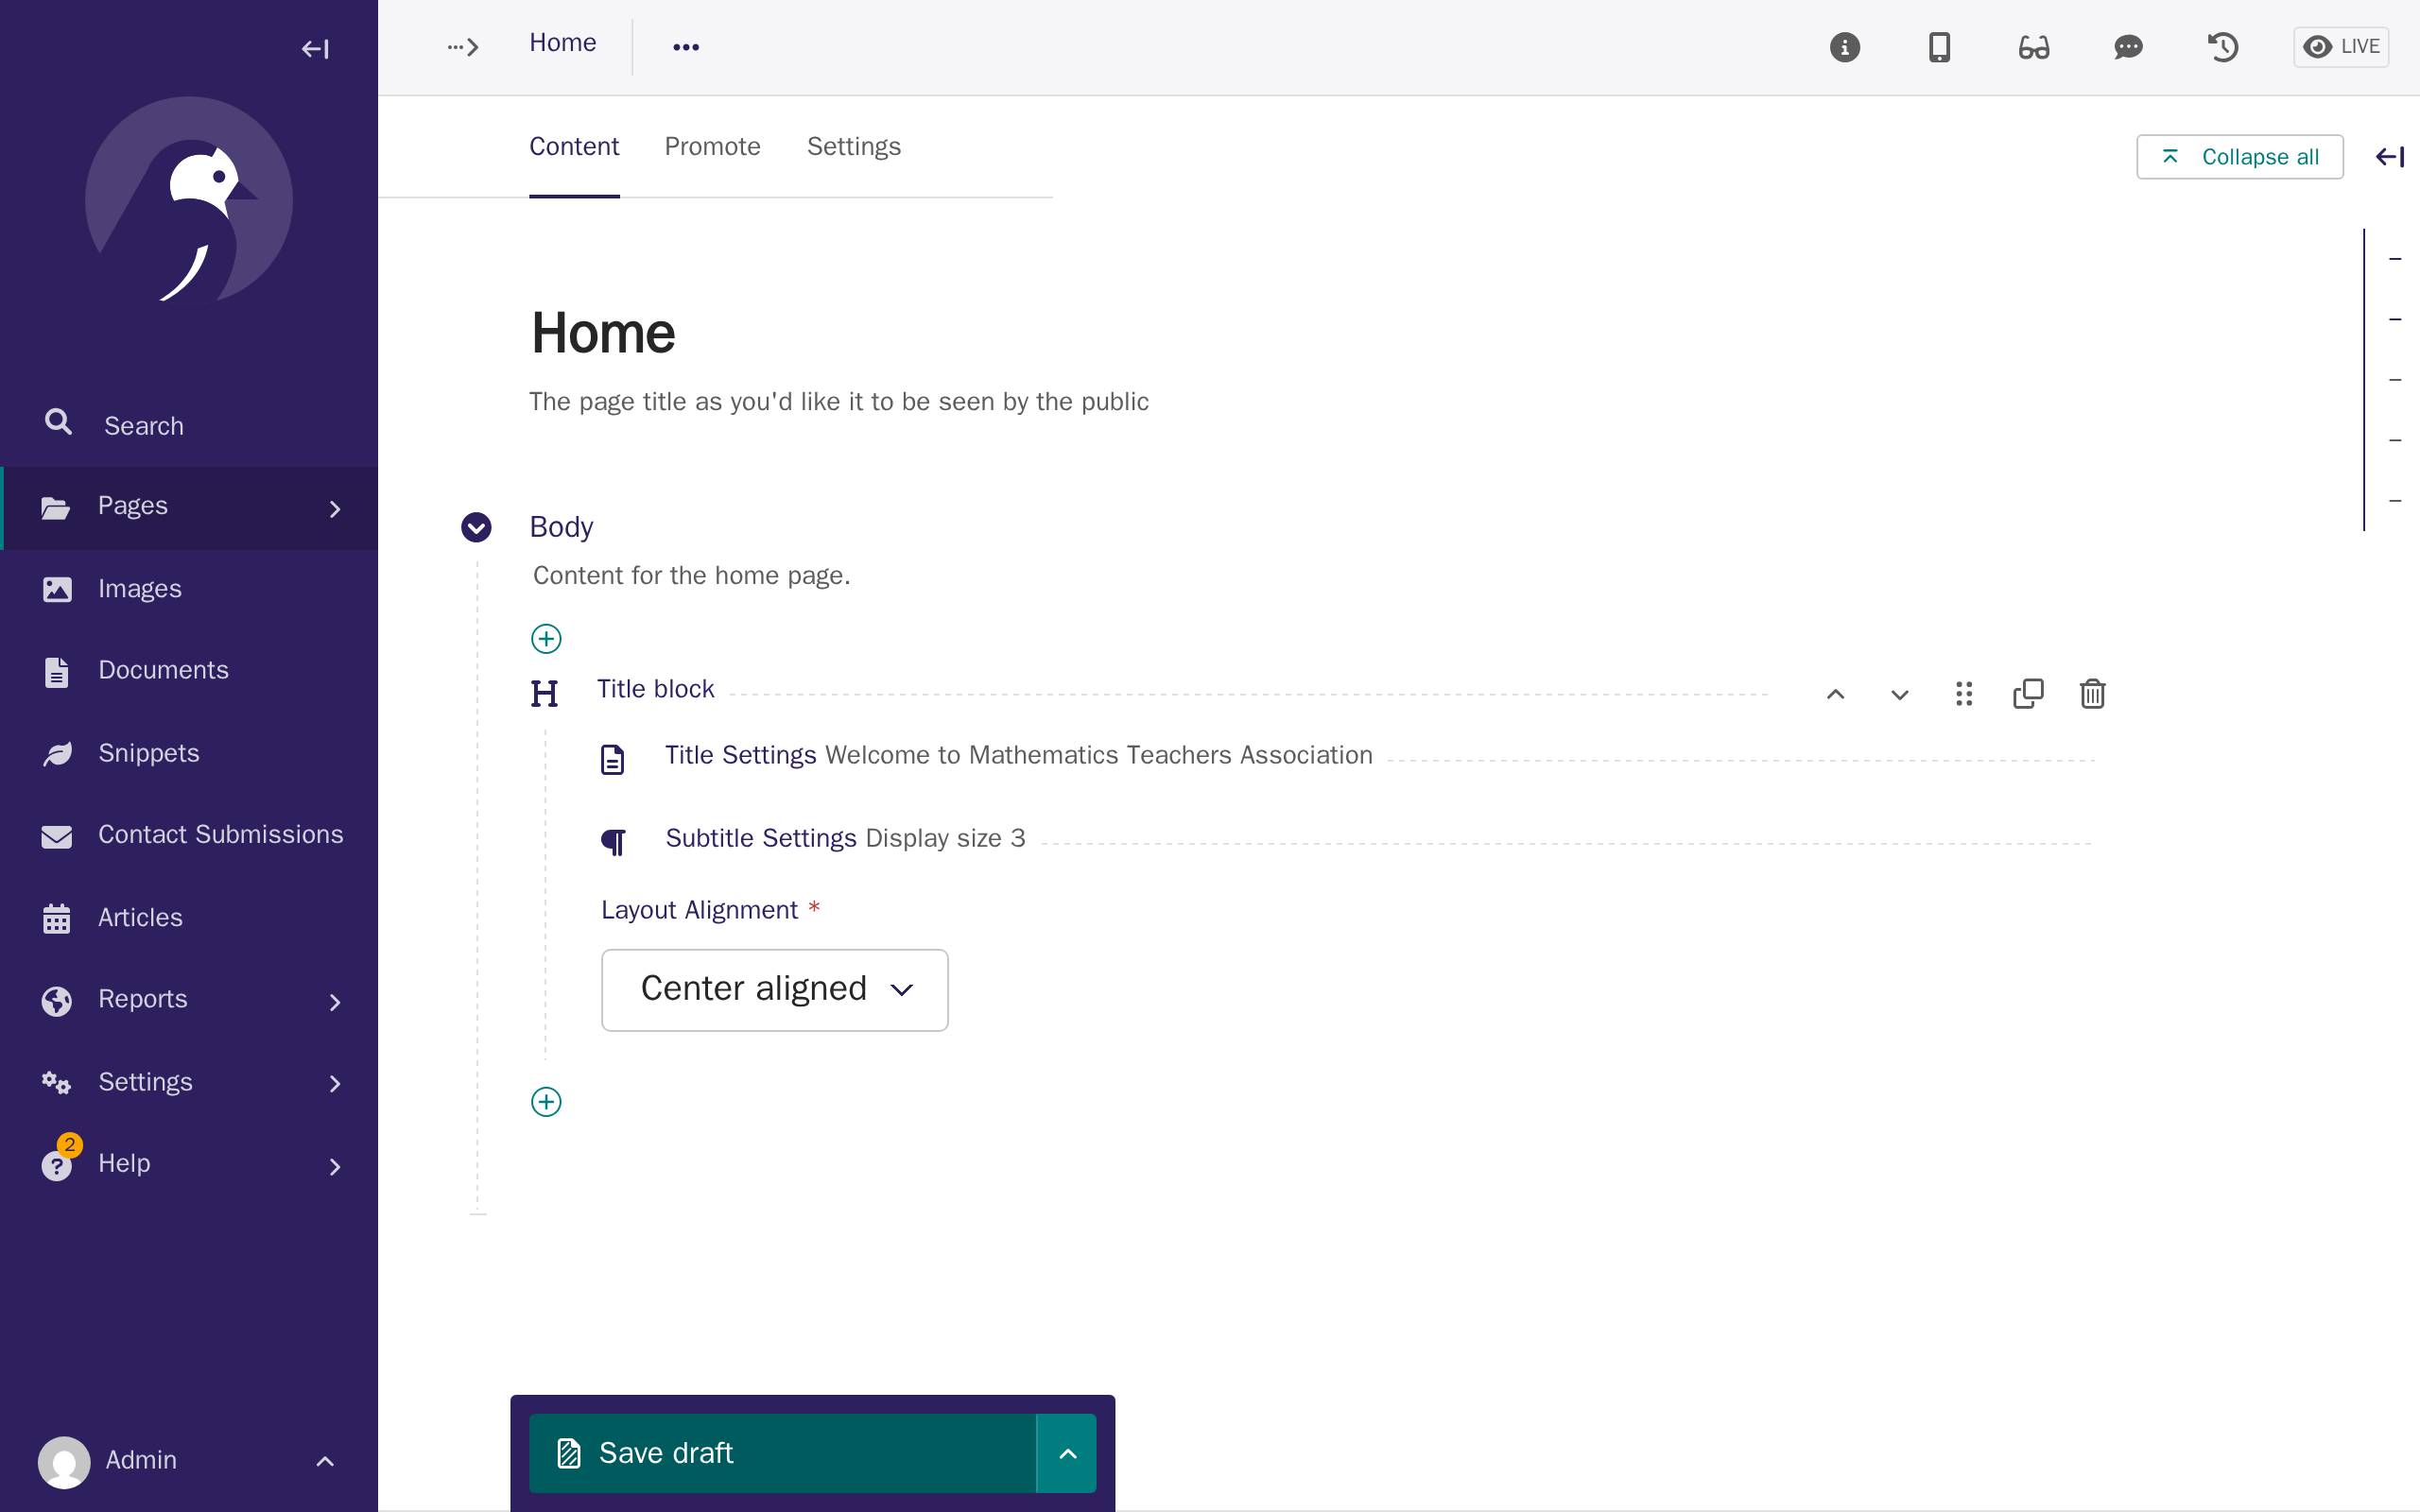
In the Body section, click the + button and choose Title block. Click Title Settings to expand it, then type your page's main heading — for example, a welcome message using your association's name. Click Save draft to save your heading without publishing it yet.
-
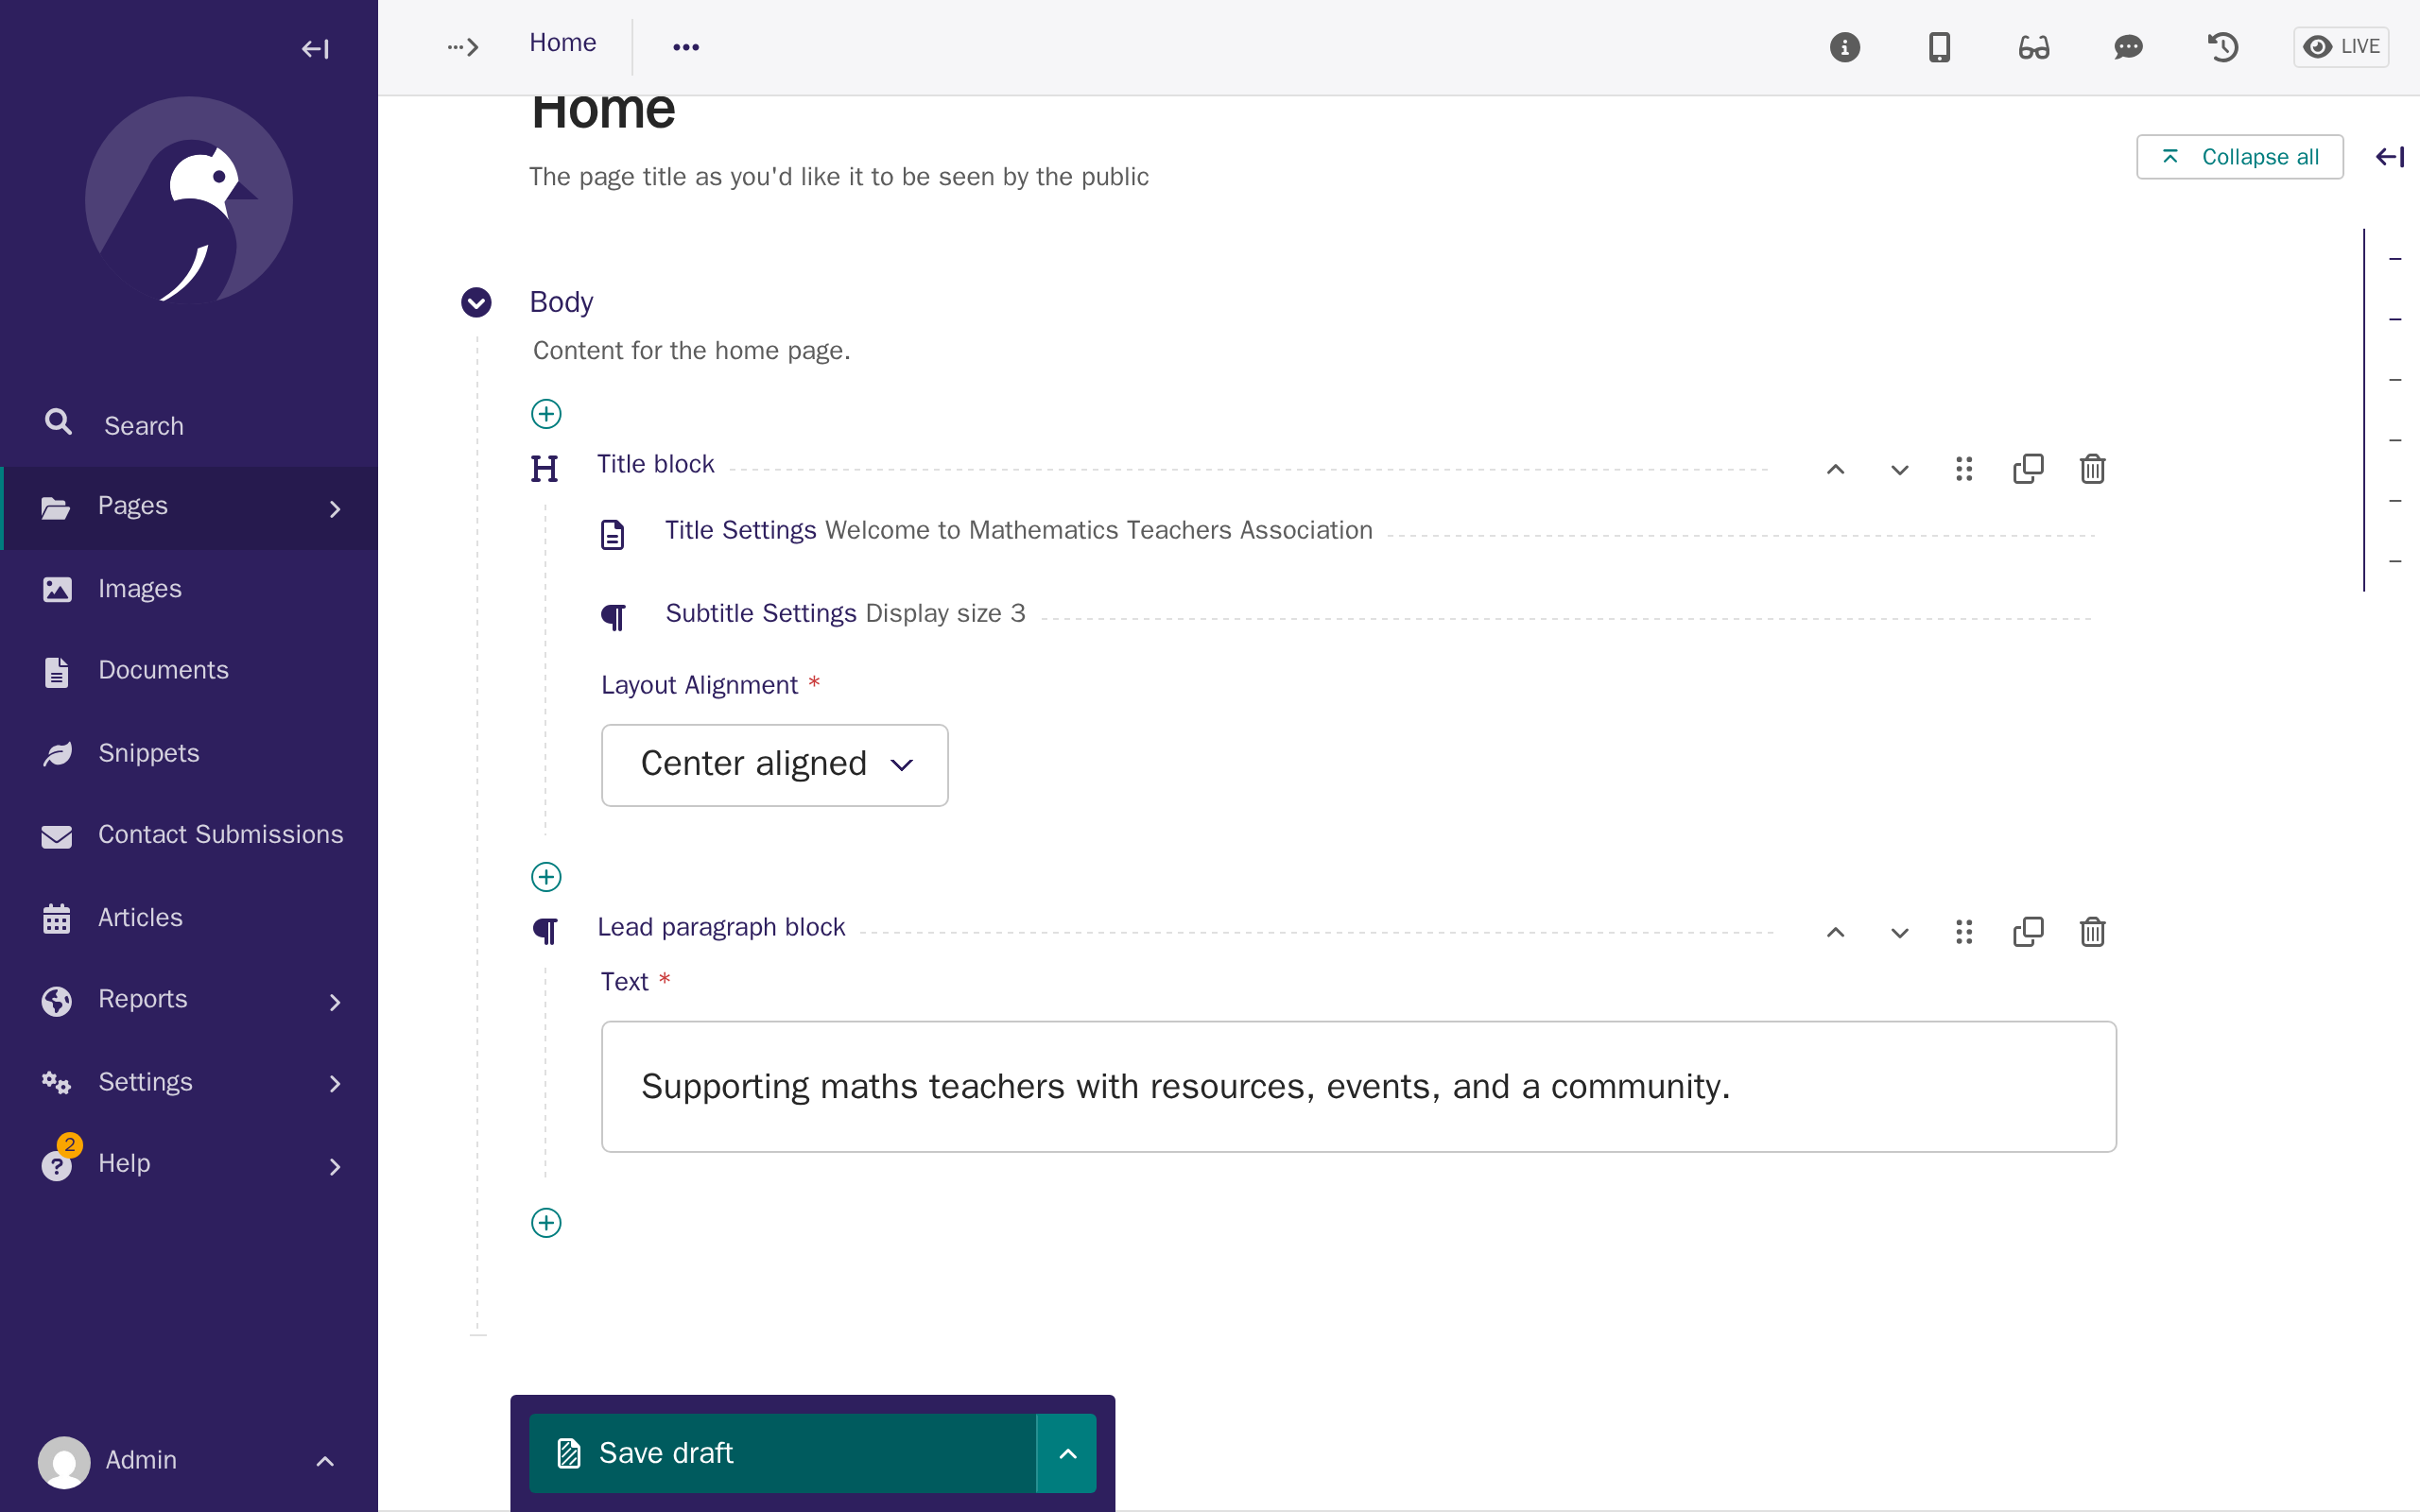
Click the + button again, choose Lead paragraph block, and write a short tagline underneath your heading. Click Save draft again. Saving after each block, rather than adding several and saving once at the end, is a good habit generally.
-
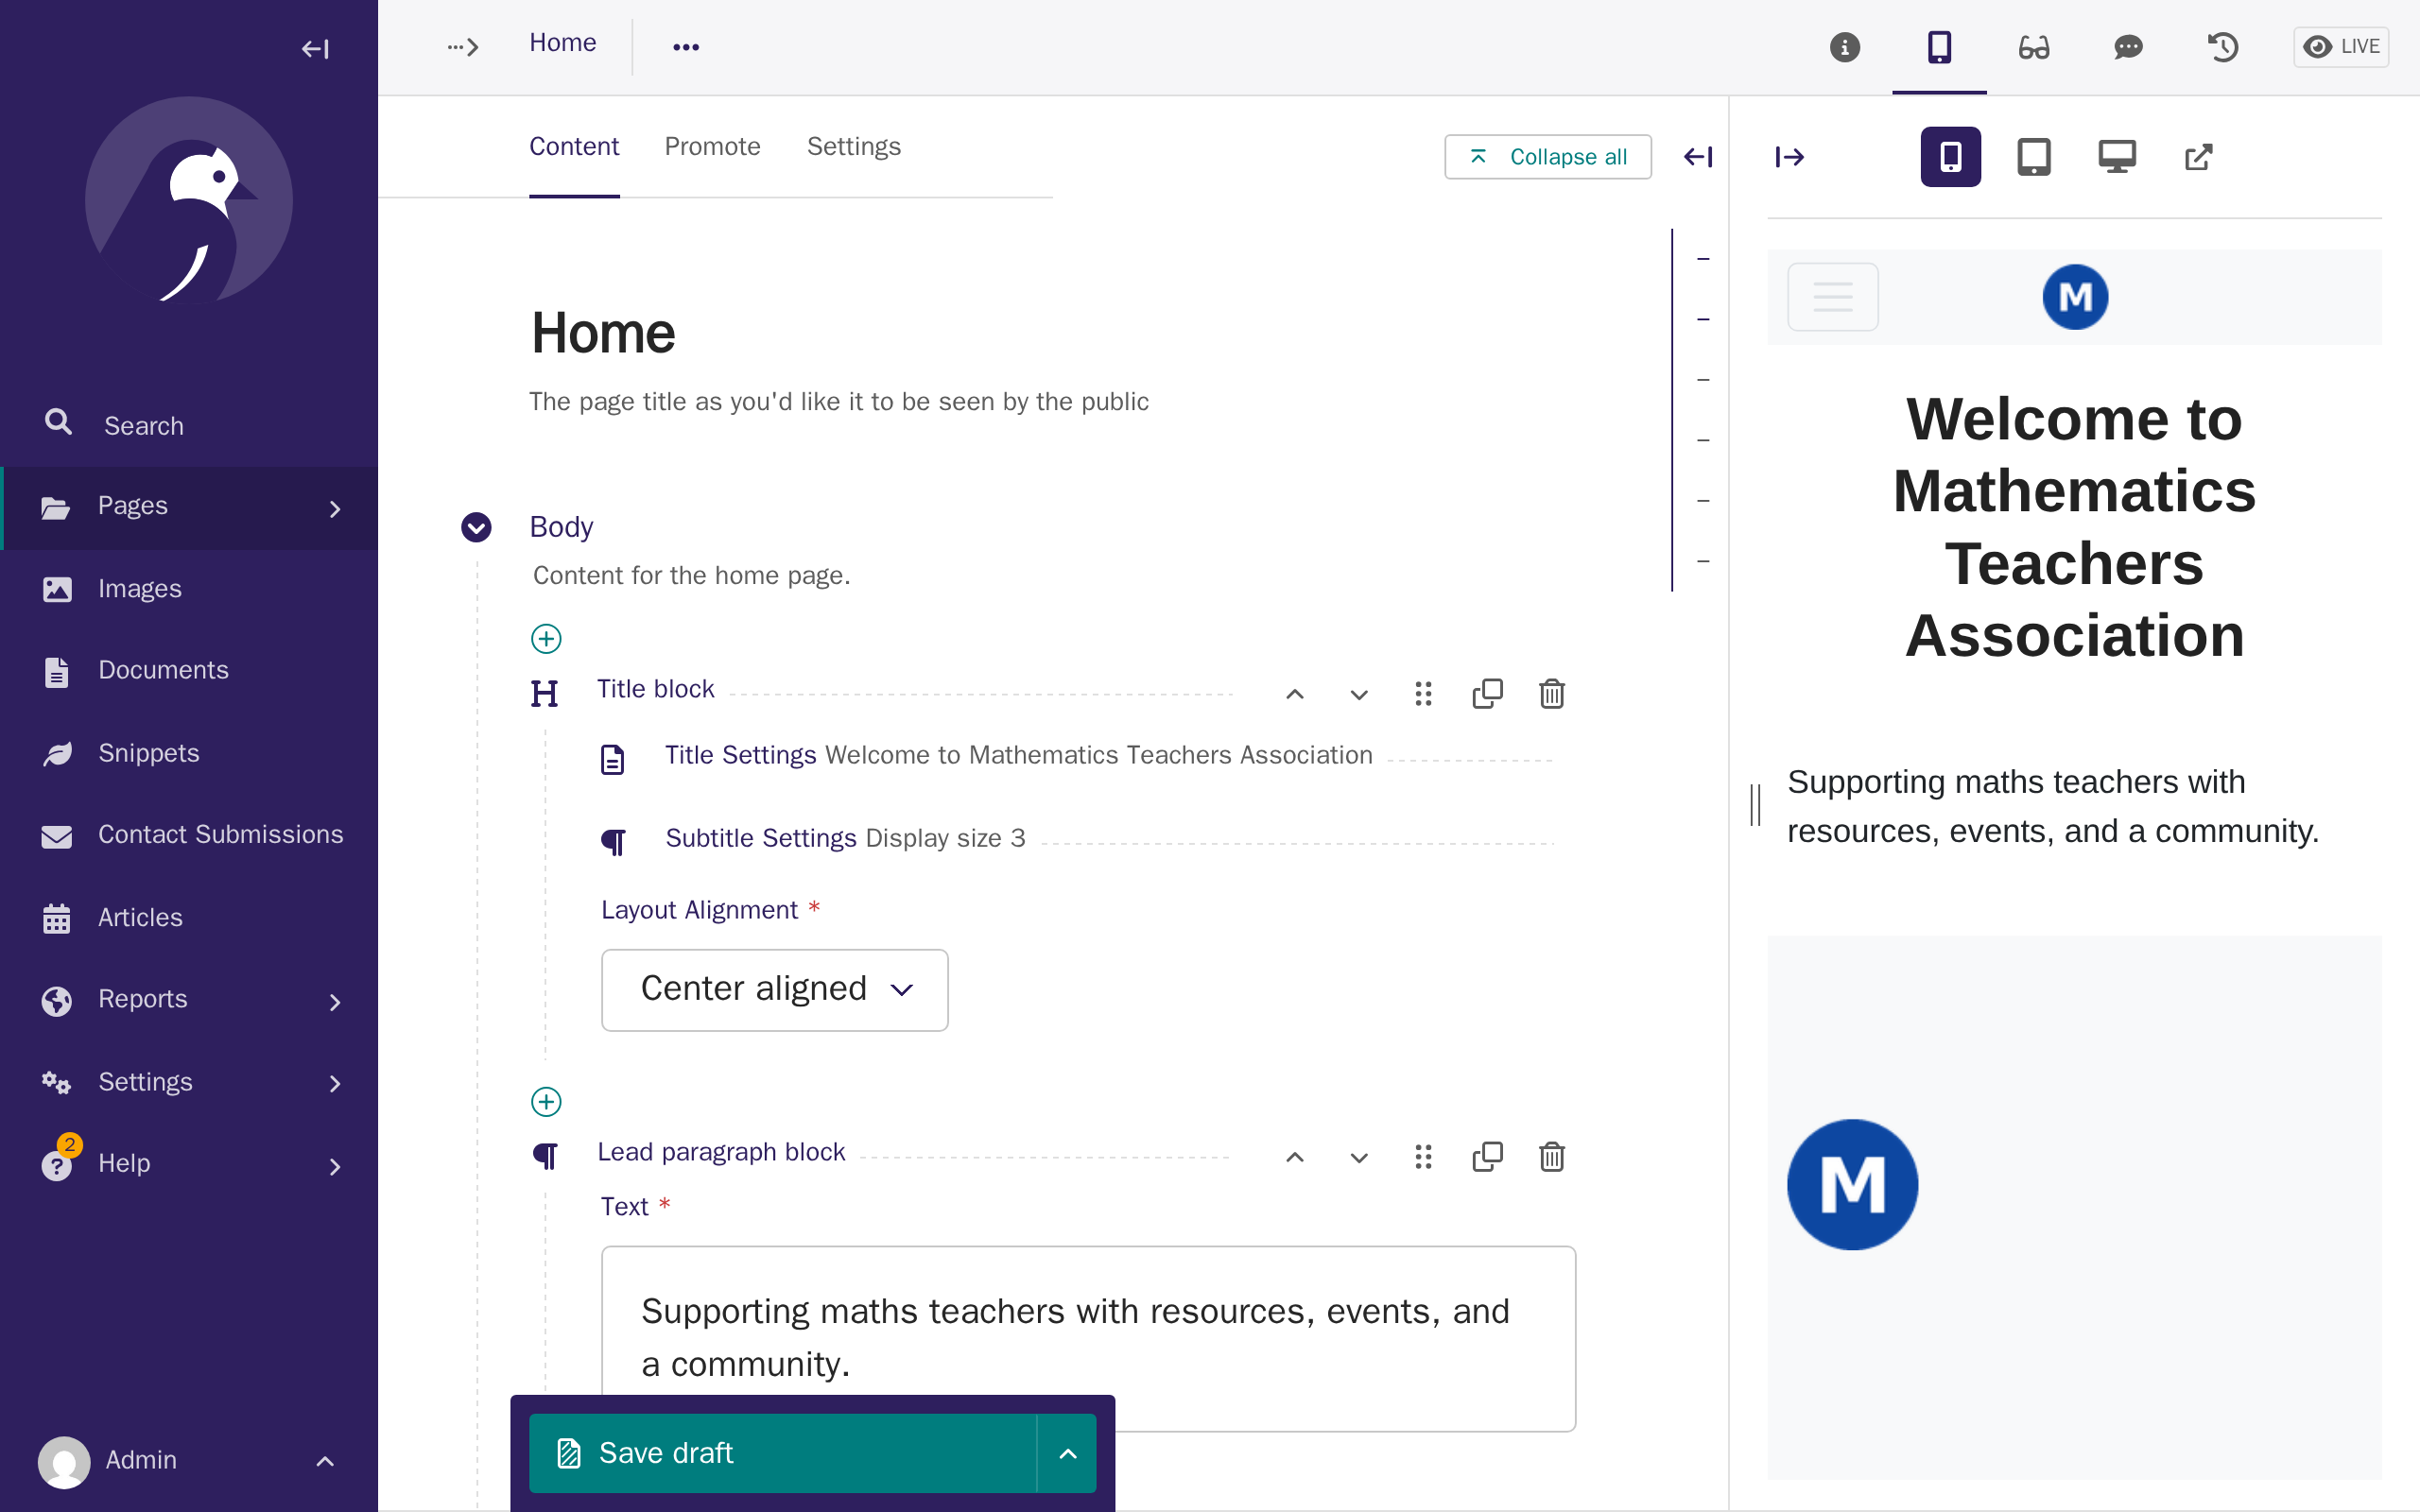
Click Toggle preview (top right) to see how your heading and tagline will look on your live site, before anyone else can see it.
-
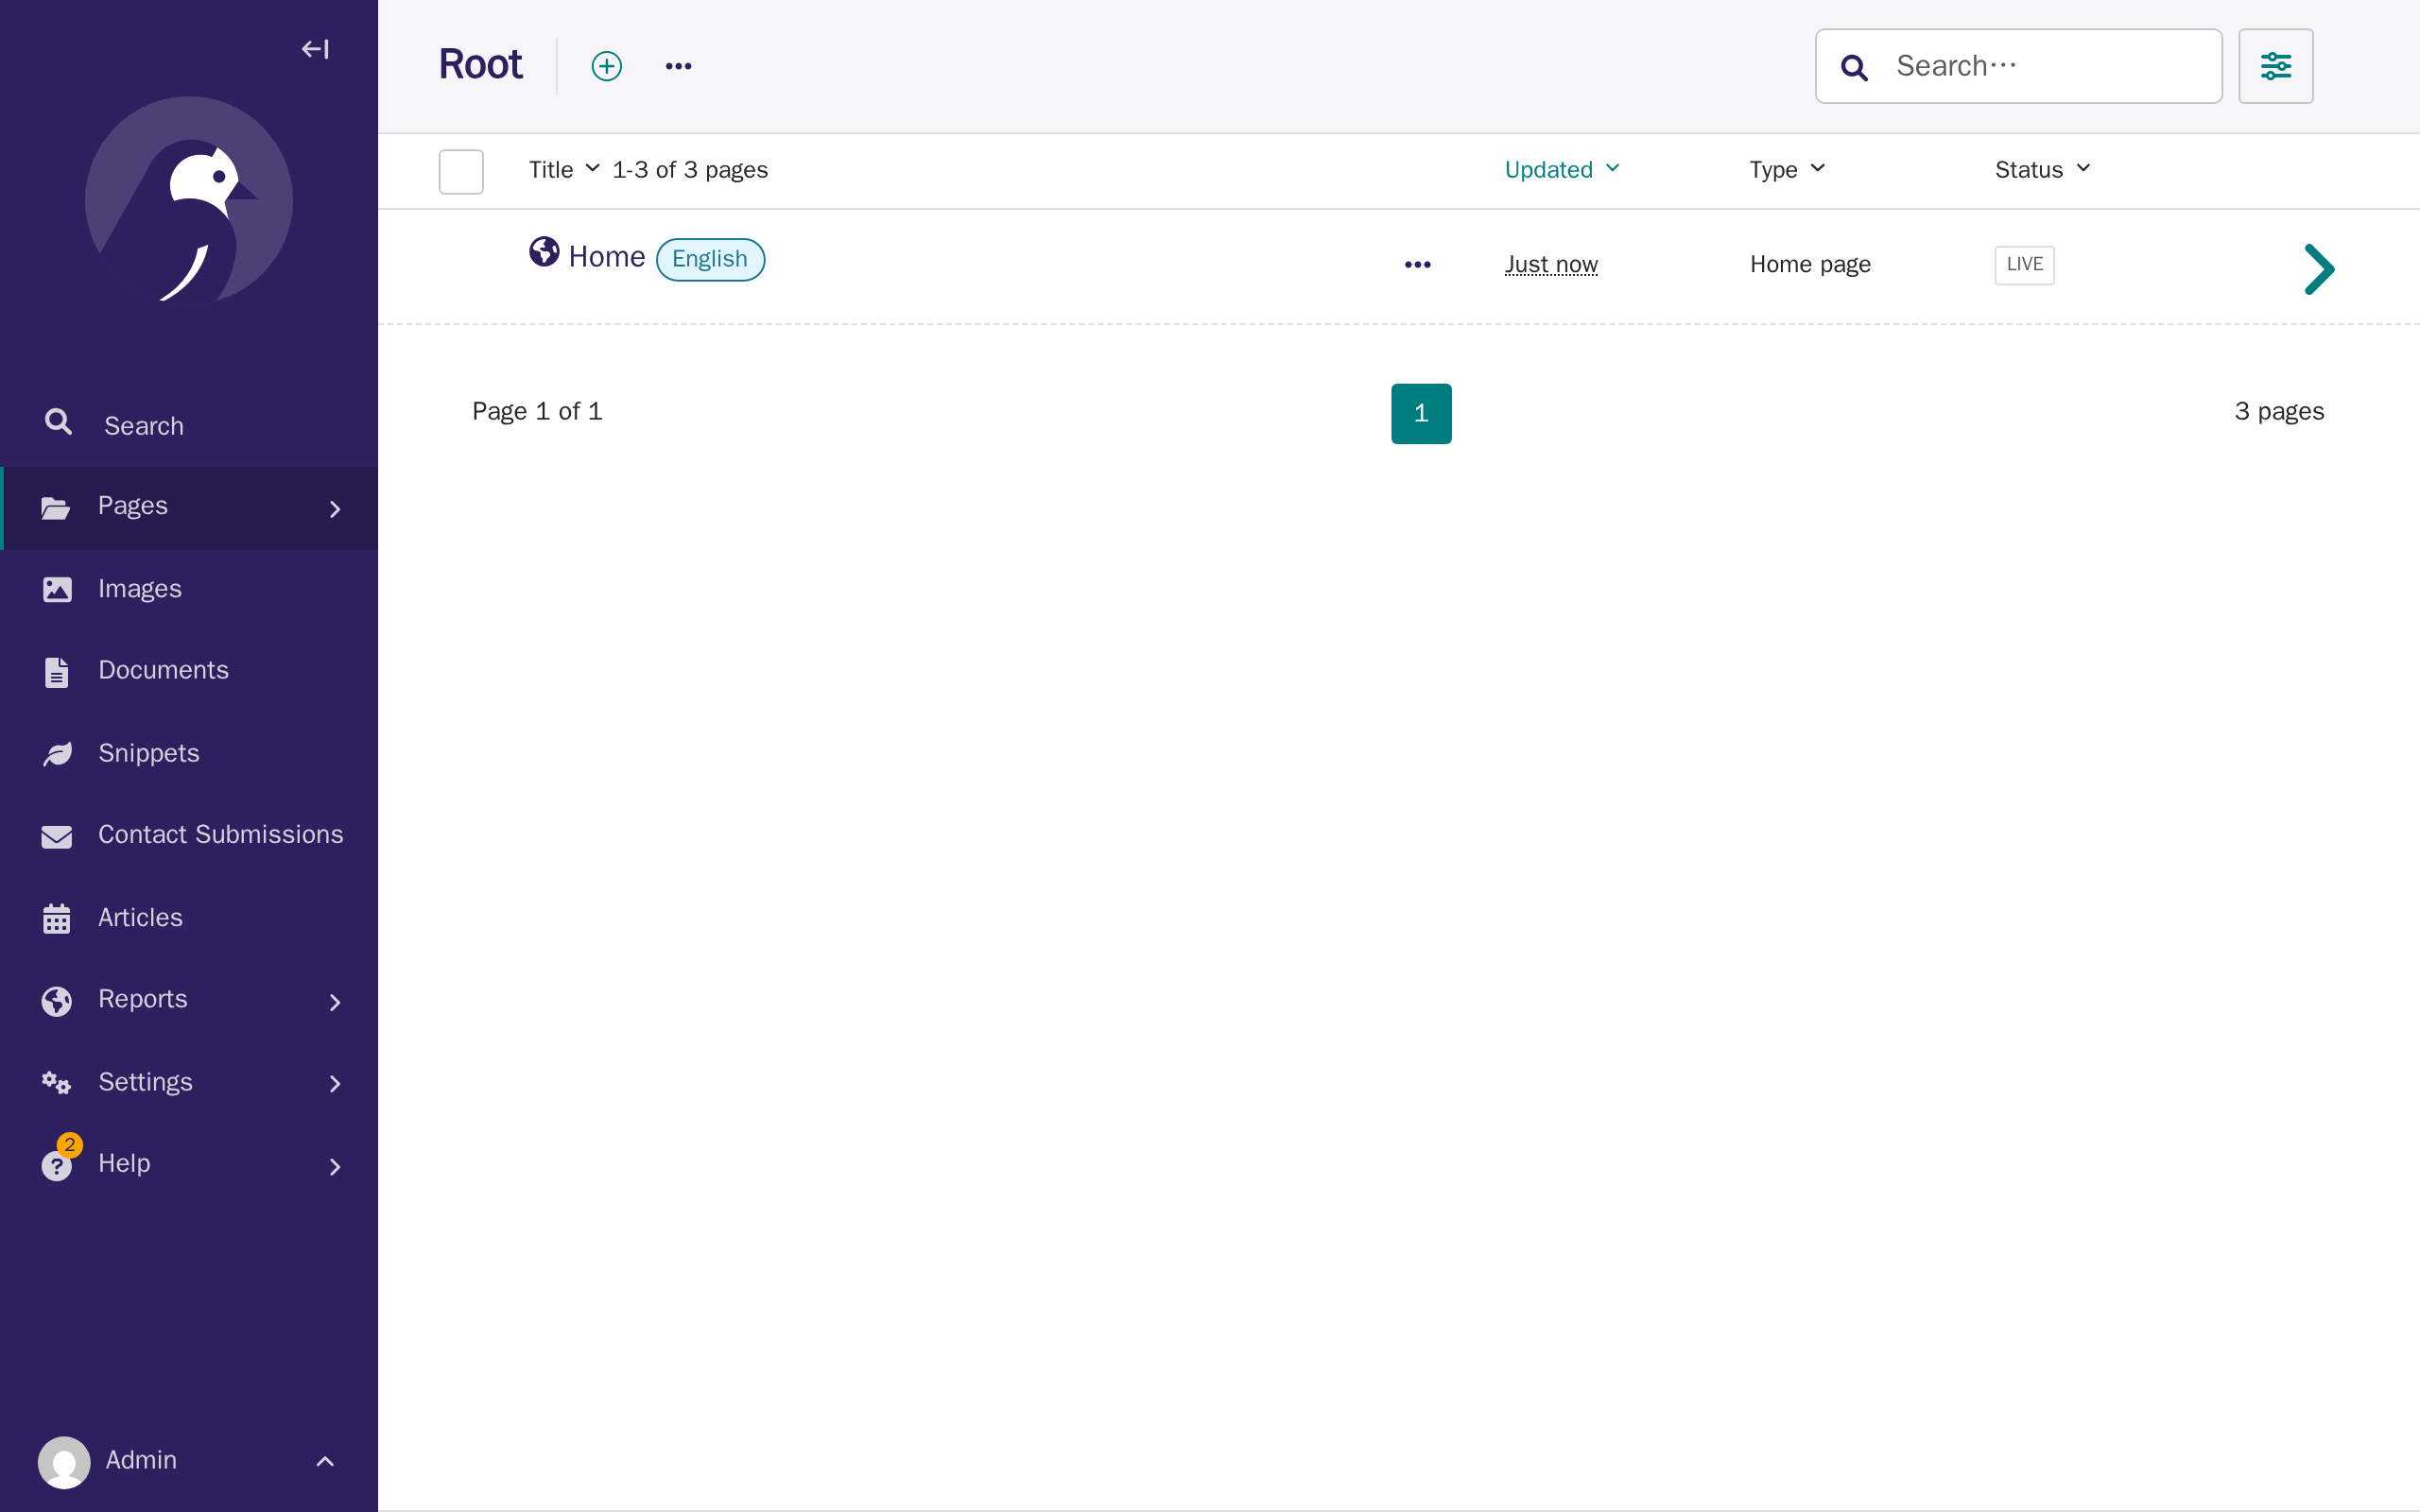
Click the arrow next to Save draft, then click Publish, to make your home page's new content visible to visitors.
-
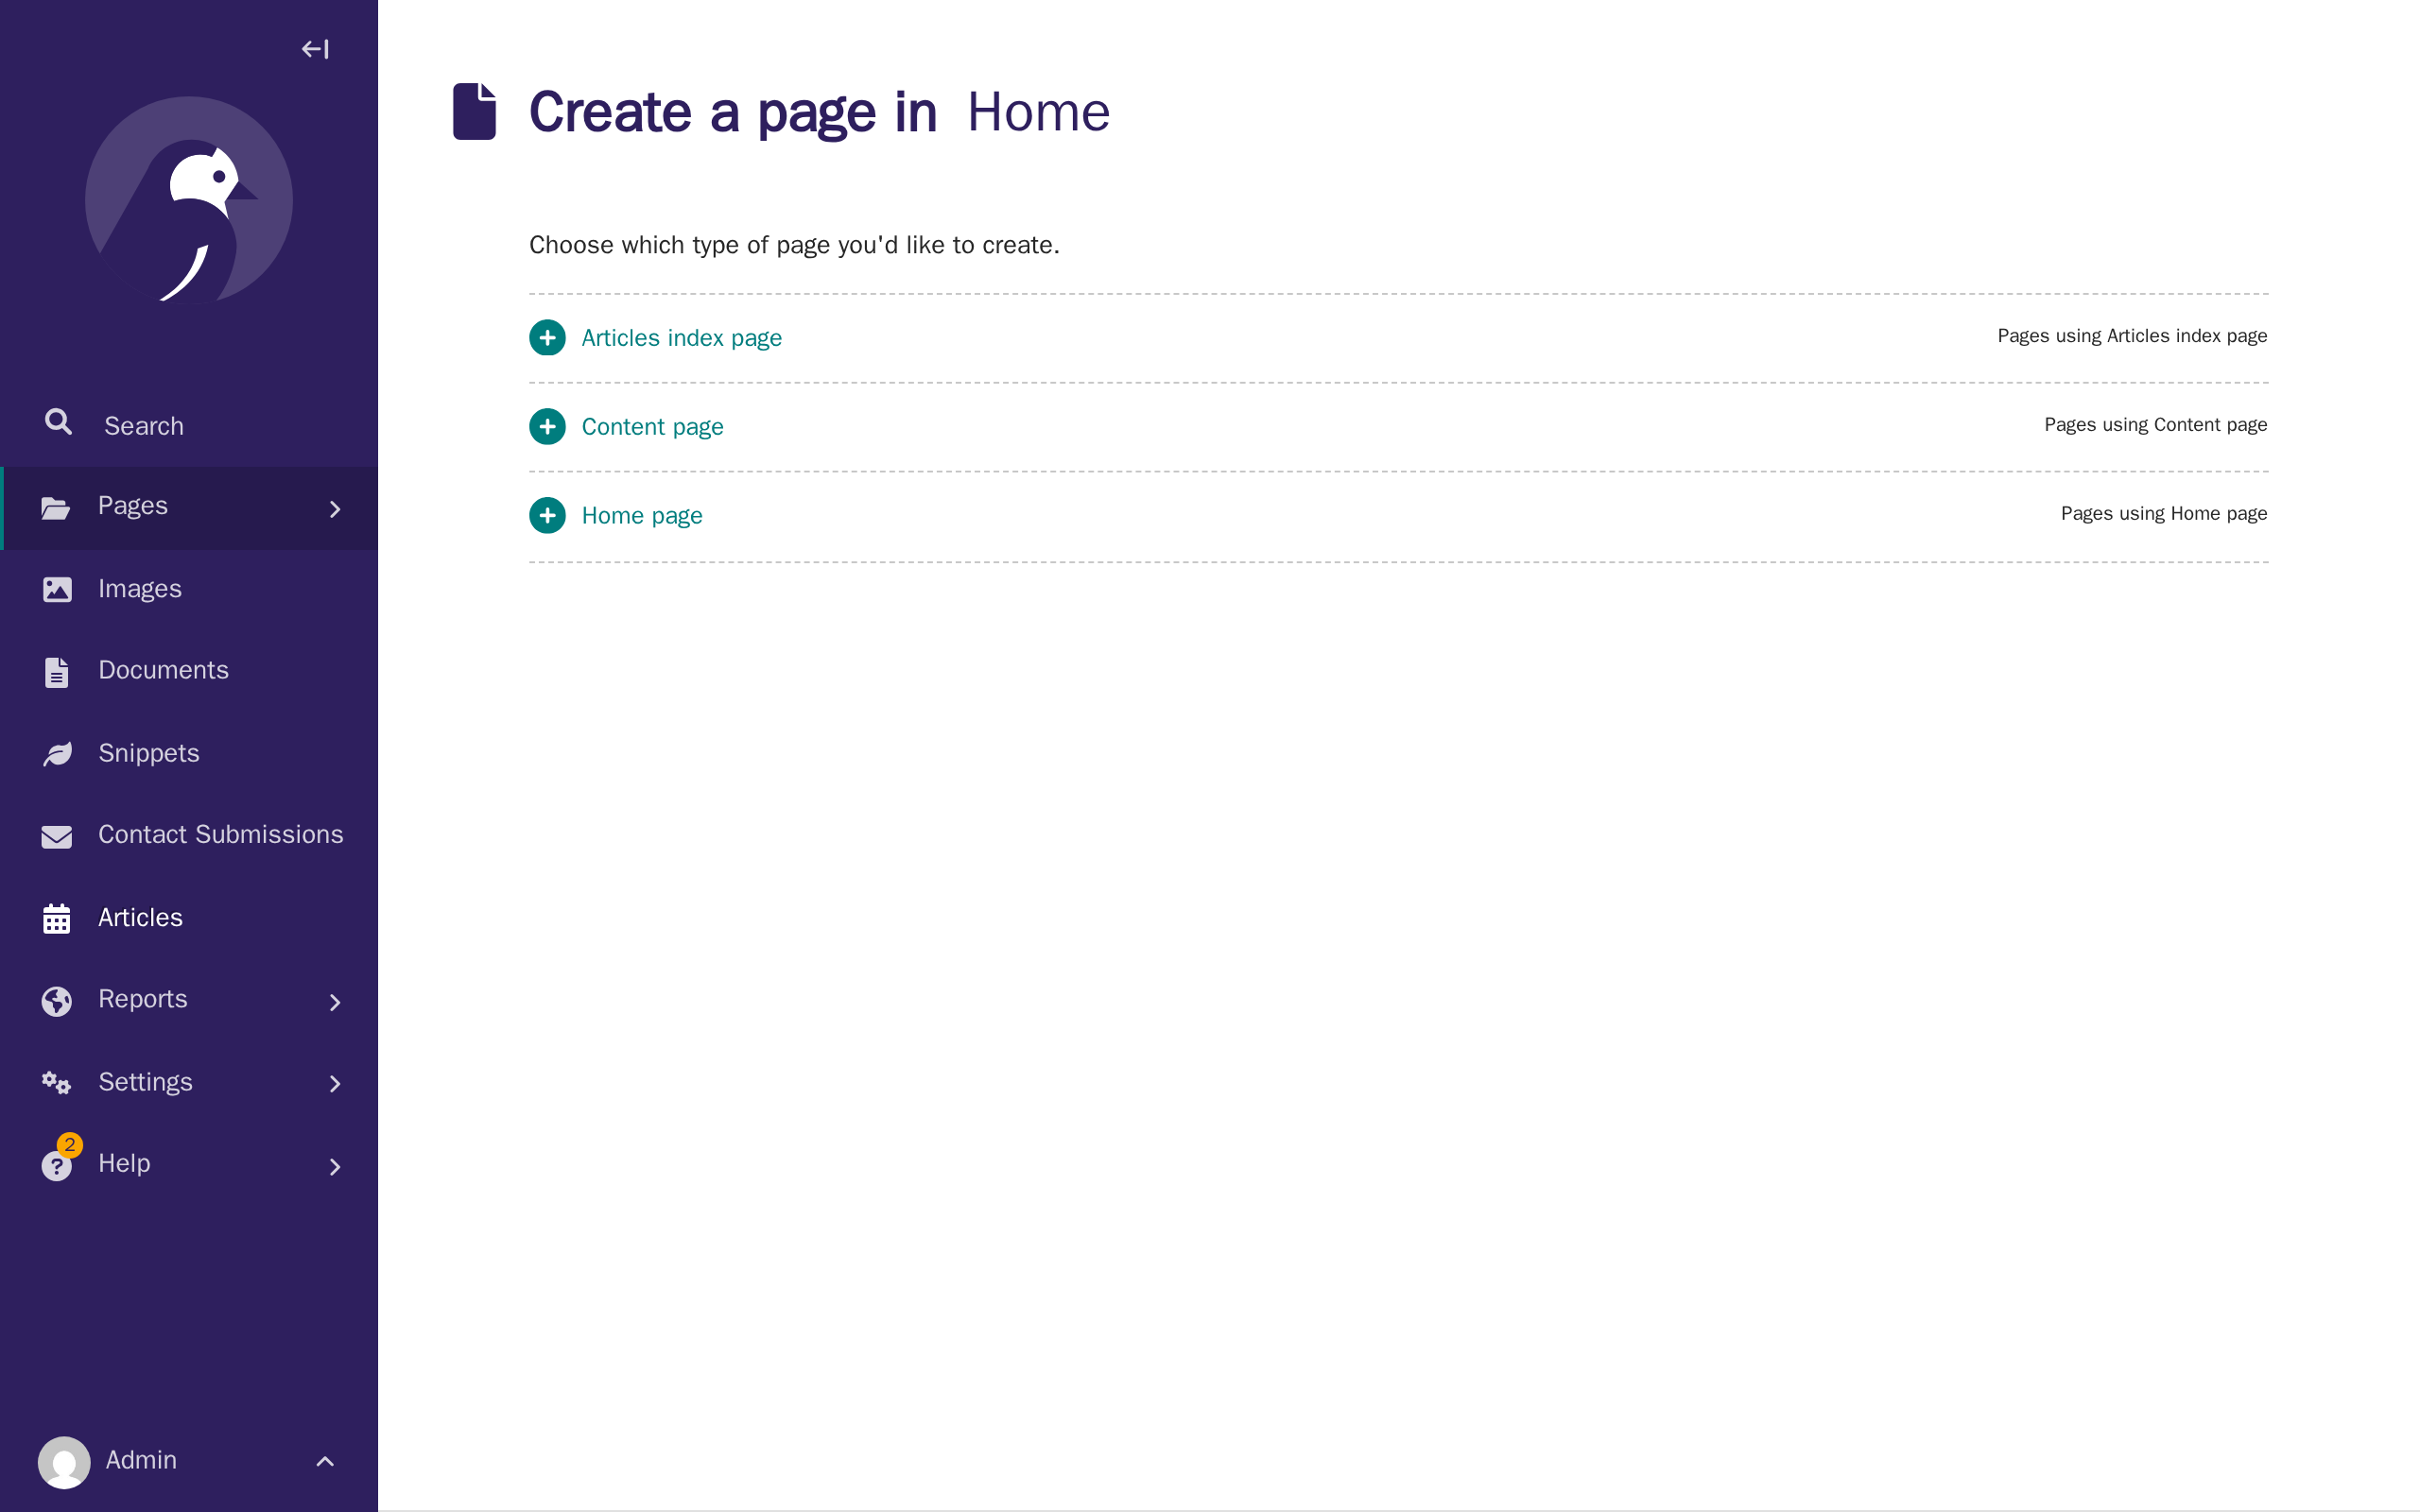
Go back to Pages > Home. Click Add child page, then click Content page.
-
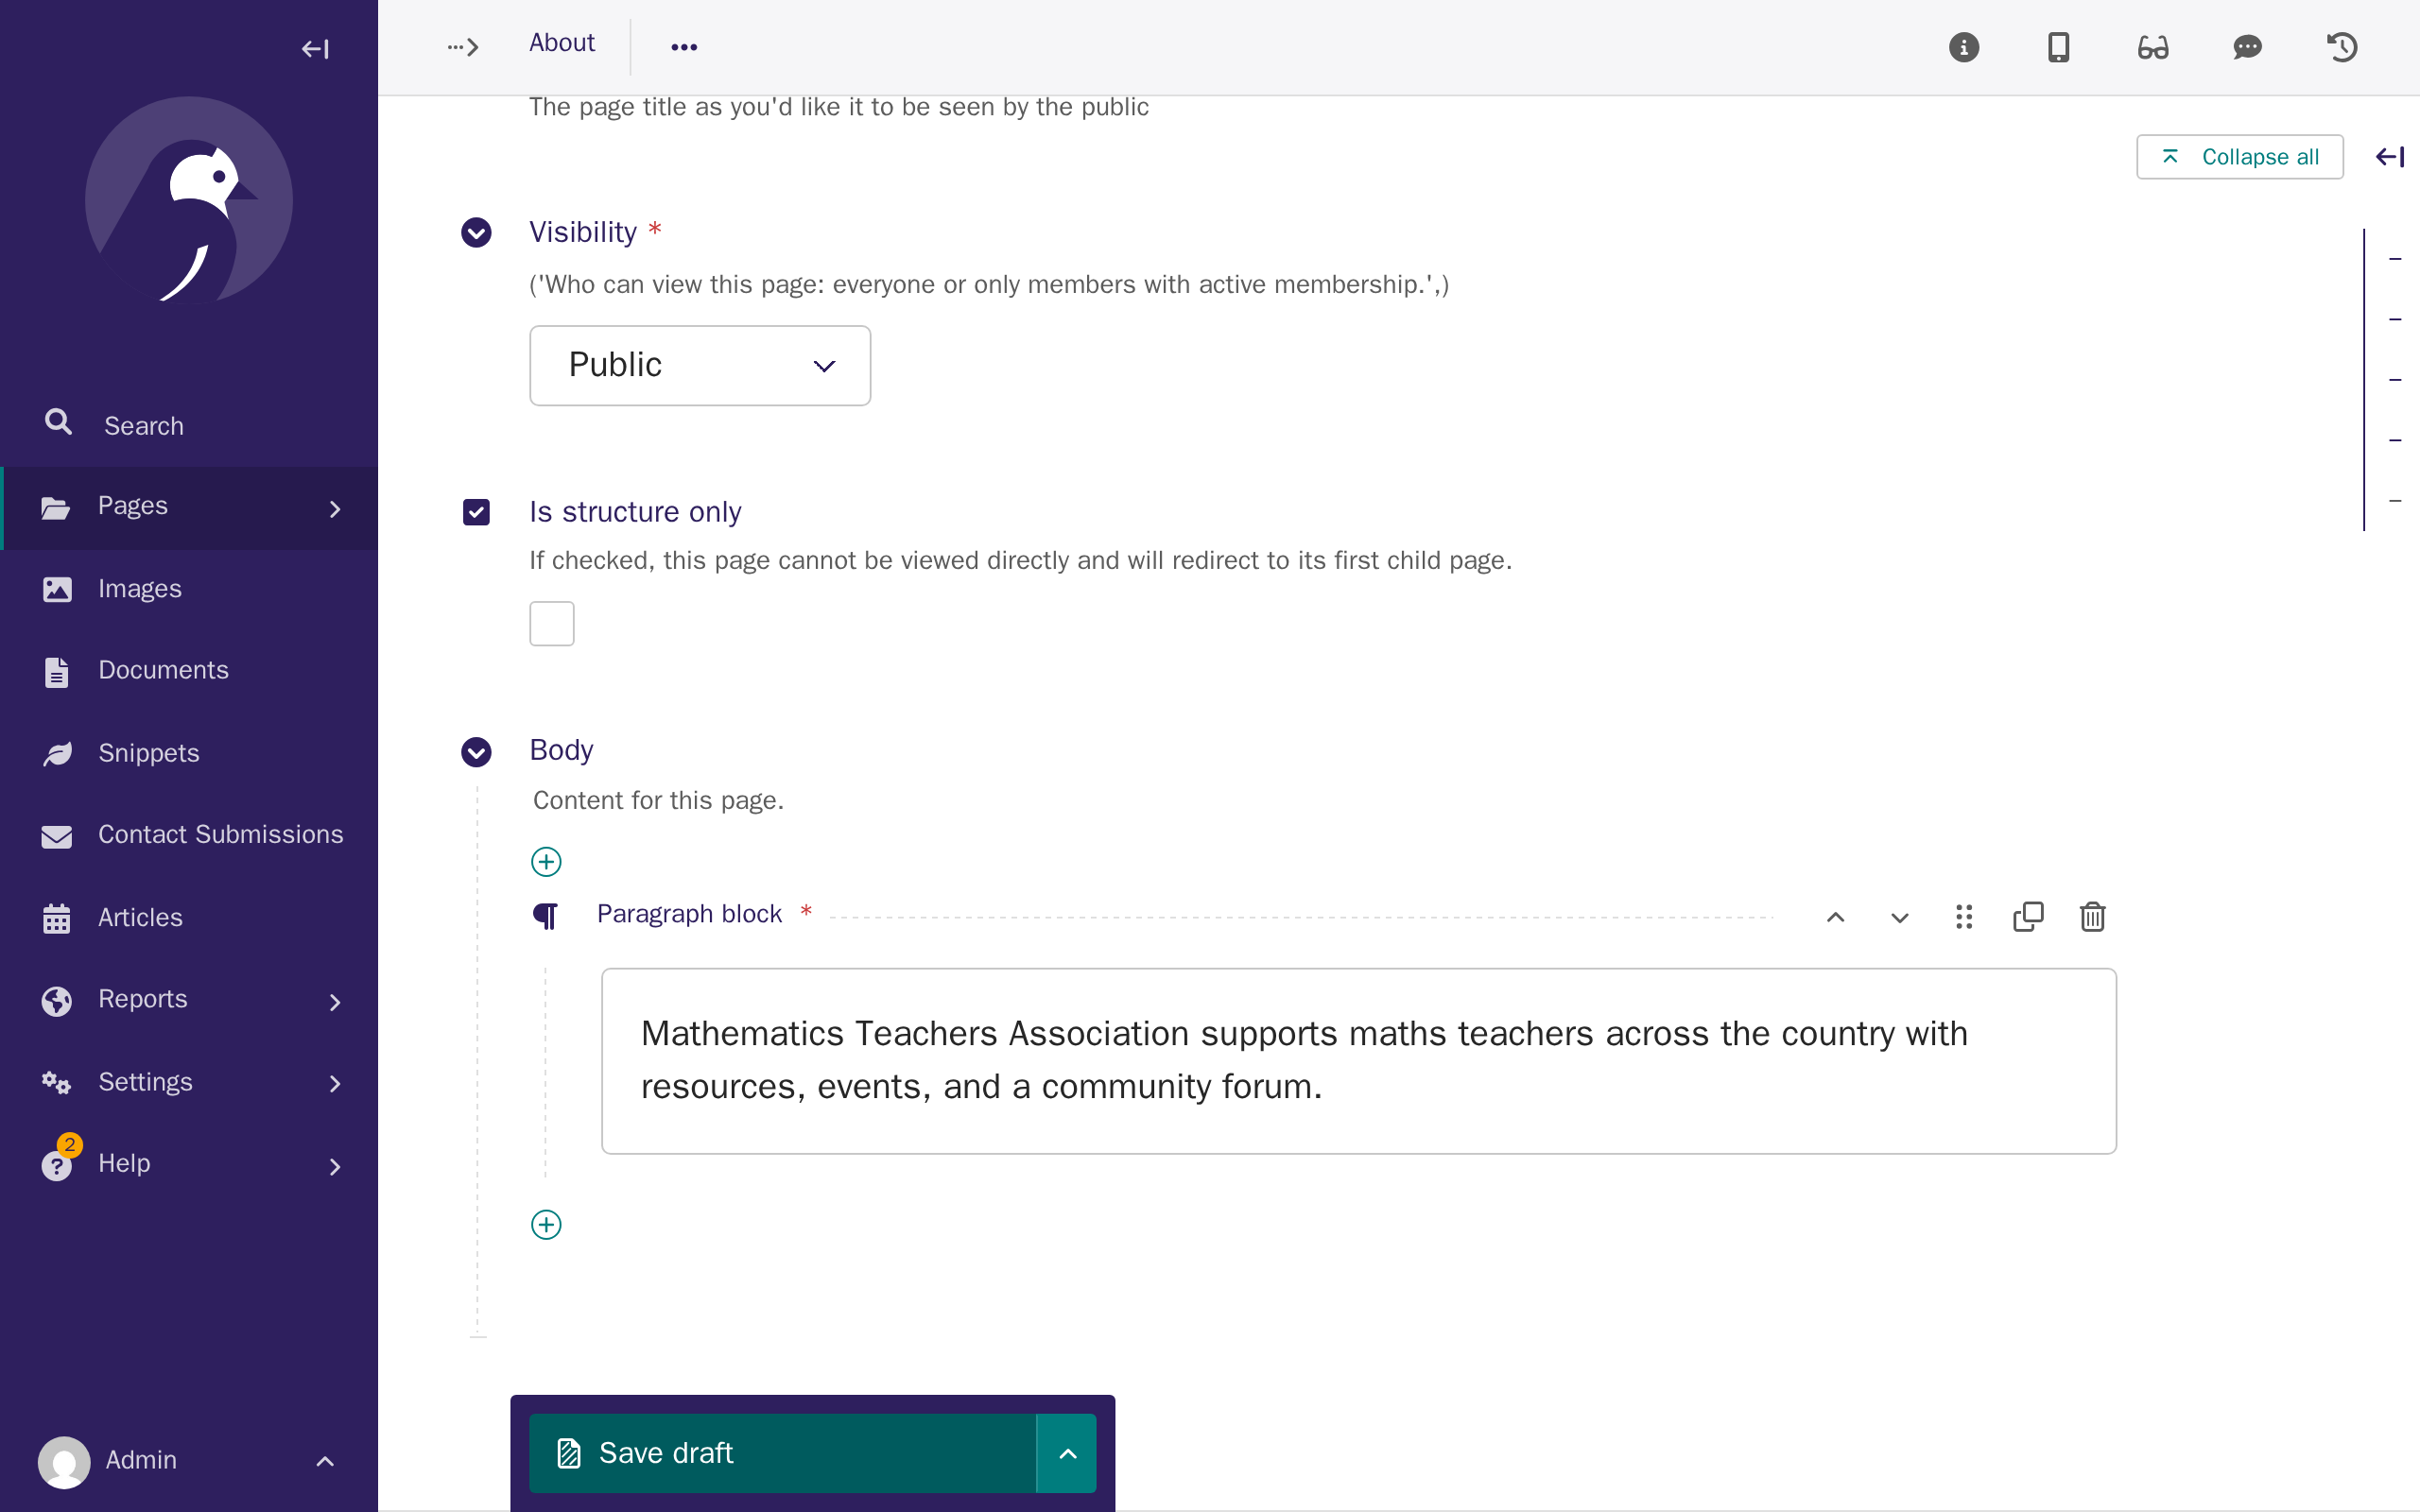
Type About as the title. In the Body section, click the + button, choose Paragraph block, and write a sentence or two about your association.
-
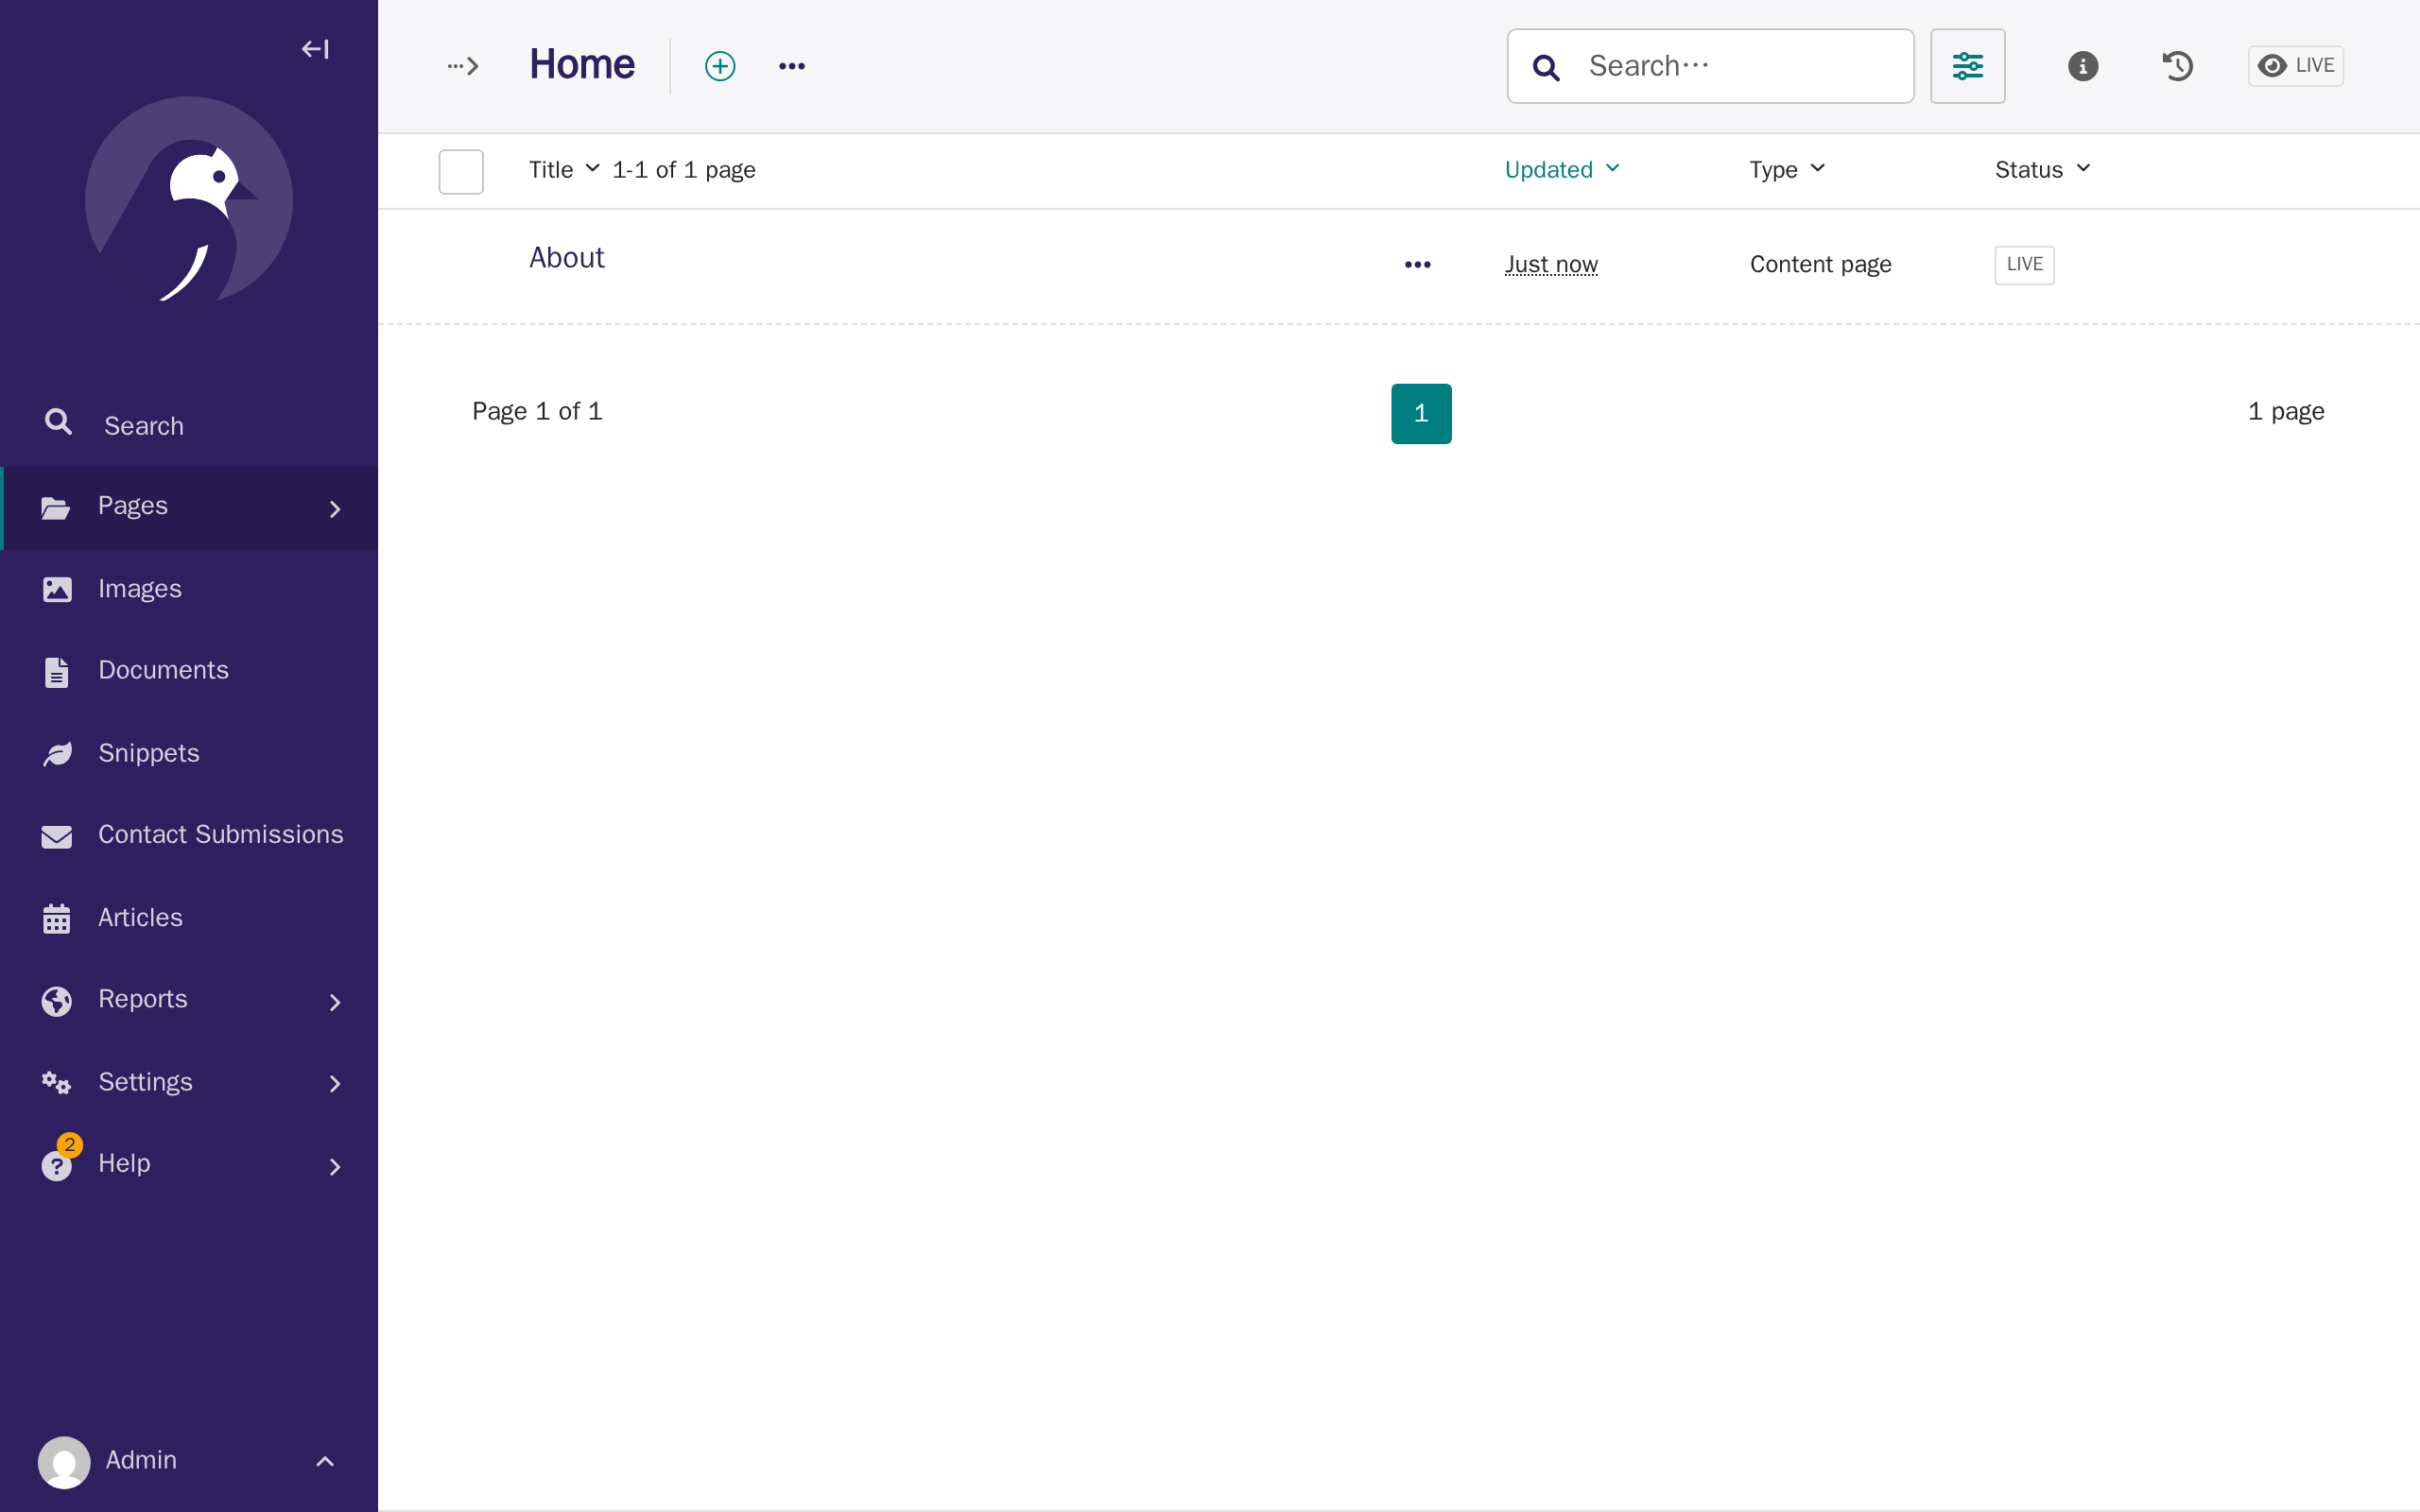
Click the arrow next to Save draft, then click Publish.
-
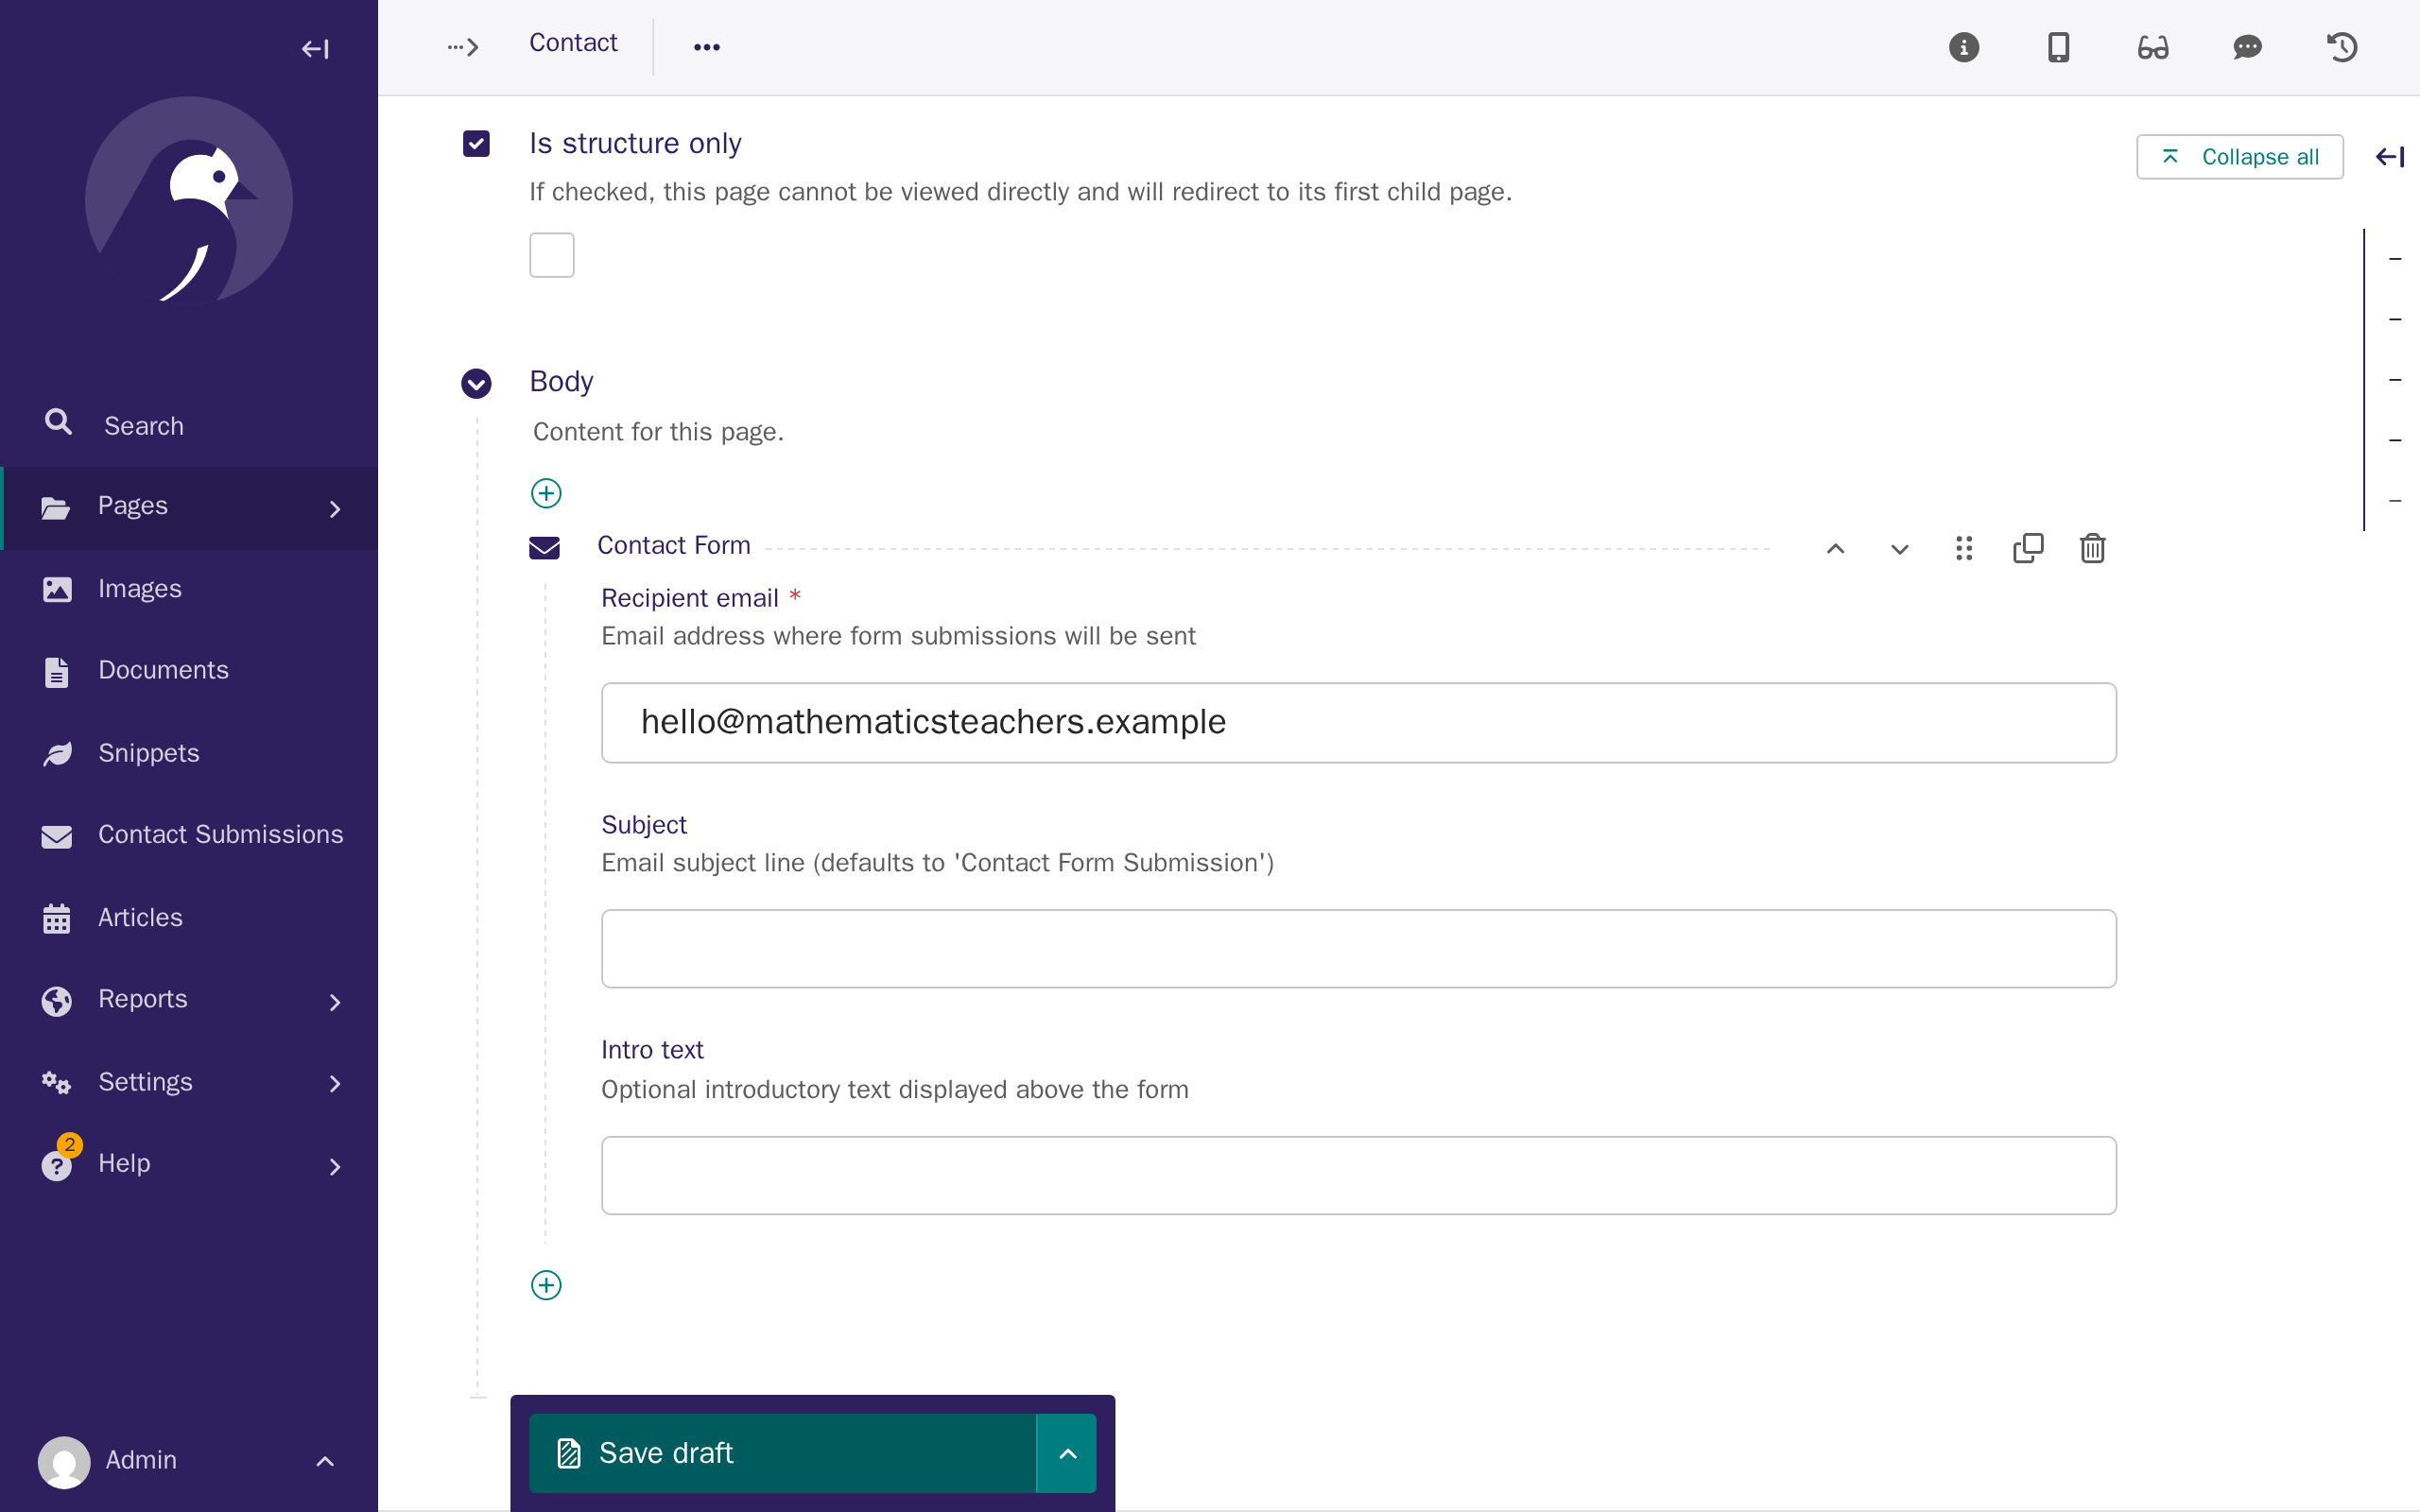
Create a Contact page the same way — but for its content, choose Contact Form instead of a paragraph, and enter your association's email address as the recipient. This is the address that receives a message whenever a visitor fills in the form.
-
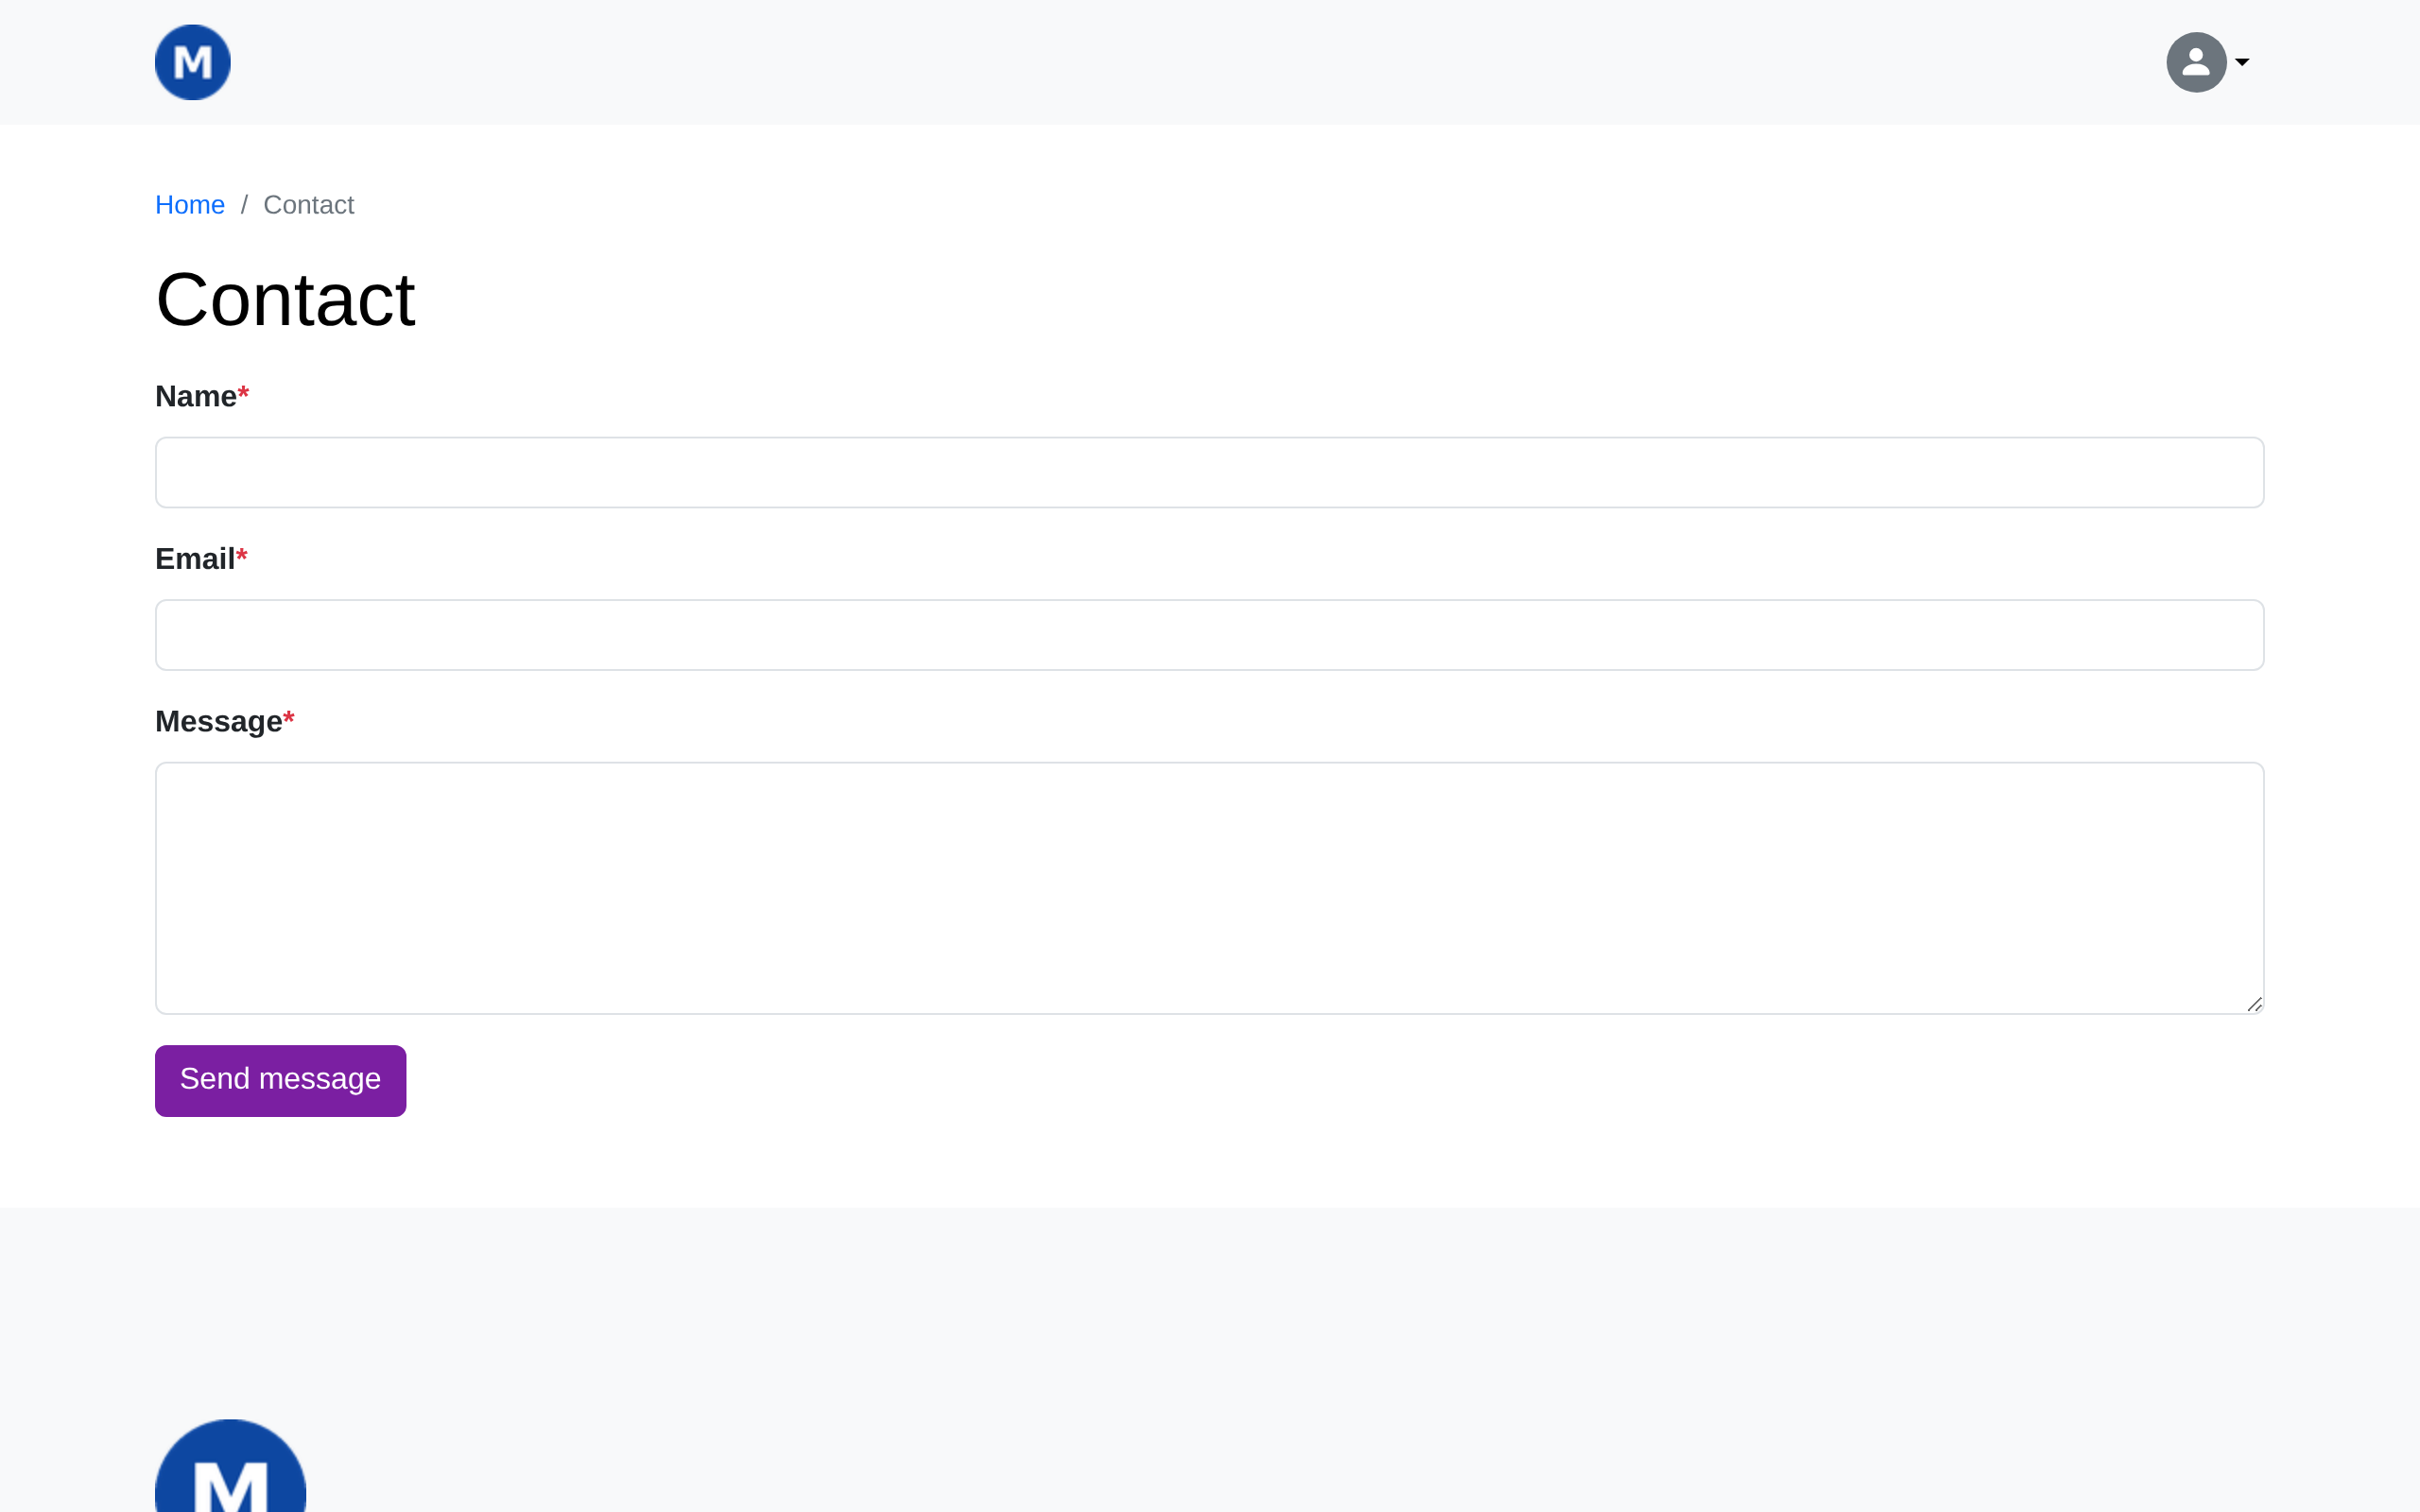
Click the arrow next to Save draft, then click Publish, then open your new Contact page on your live site to see the form visitors will use.
Create more pages the same way
Repeat steps 6–8 for any other core pages your site needs, such as an "Our story" page. Every content page follows the same pattern: add a child page, choose Content page, give it a title and some content, then publish it.
A handful of short words — admin, cms, forum, and a few others — are reserved for the website's own use, and can't be used as a page's web address (its slug, normally set automatically from the title) when the page sits directly under Home — a page titled "Our story" is fine; one titled "Forum" directly under Home isn't.
See the CMS admin guide's Reserved URL patterns for the main ones — you'll only hit this if you try to create one of those pages, and the CMS tells you clearly if you do.
Save draft vs. Publish
These two buttons do different things, and it's worth knowing the difference:
- Save draft keeps your changes private. Only people signed in to the CMS can see a draft — visitors to your site still see the old version, or nothing at all if the page has never been published.
- Publish makes your changes visible to every visitor immediately.
You can save a draft as many times as you like while you're still working on a page, and publish it only when you're happy with it. Toggle preview lets you check a draft looks right before you publish it, without anyone else seeing it first.
What's next
Your new pages exist and are published, but they won't appear in your site's menus yet. The next tutorial covers navigation & menus — adding your new pages so visitors can actually find them.